Advertisement
Quick Links
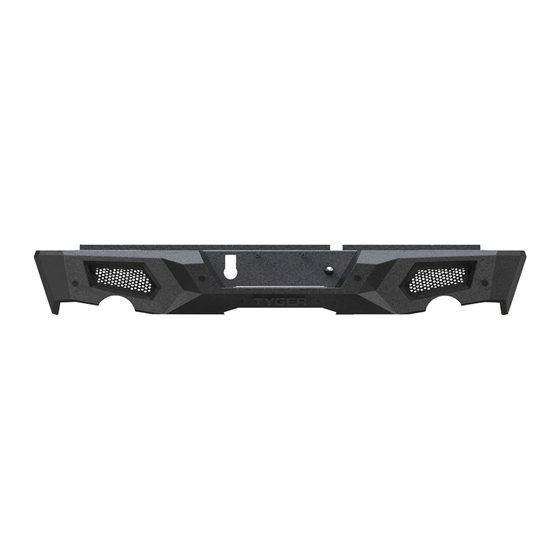
REAR BUMPER
BEFORE INSTALLATION
READ INSTRUCTIONS CAREFULLY BEFORE STARTING INSTALLATION. REMOVE
CONTENTS FROM BOX AND VERIFY ALL PARTS ARE PRESENT. FAILURE TO
IDENTIFY DAMAGE BEFORE INSTALLATION COULD LEAD TO A REJECTION OF
ANY CLAIM. IF MISSING PARTS OR ANY DAMAGE FOUND, PLEASE TAKE A
PICTURE FOR THE CLAIM PURPOSE. TO FILE YOUR CLAIM, PLEASE VISIT:
WWW.TYGERAUTO.COM/CONTACT
TORQUE VALUES
Fastener Size
Class 8.8 Torque (ft-lbs)
6mm
8mm
10mm
12mm
14mm
Class 10.9 Torque (ft-lbs)
6-7
15-16
31-32
54-55
87-88
125-126
Customer Support: www.TygerAuto.com/Contact
TG-BP9D80398
6-7
22-23
44-45
78-79
1/6
Parts List
TYGER Rear Bumper
x1
Push-in License Plate Light
x1
x2
Plastic Plugs for License Plate Mount
Hole Plug for Step Area
x1
Sensor Hole Plugs
x4
Sensor Retaining Rings
x4
20mm X 2mm Foam Washers
x4
Dodge Wiring Harnesses
x2
Sensor Cover Kit
x1
12mm Double Nut Plates
x2
12-1.75mm X 40mm Hex Bolts
x4
12mm X 37mm X 3mm Flat Washers
x4
12mm Lock Washers
x4
4mm X 10mm Button Head Bolts
x8
2.5mm Wrench
x1
Nylon Cable Ties 200mm
x10
Advertisement

Related Manuals for Tyger TG-BP9D80398


Summary of Contents for Tyger TG-BP9D80398
- Page 1 REAR BUMPER Parts List TG-BP9D80398 TYGER Rear Bumper Push-in License Plate Light Plastic Plugs for License Plate Mount BEFORE INSTALLATION Hole Plug for Step Area READ INSTRUCTIONS CAREFULLY BEFORE STARTING INSTALLATION. REMOVE Sensor Hole Plugs CONTENTS FROM BOX AND VERIFY ALL PARTS ARE PRESENT. FAILURE TO...
- Page 2 PROCEDURE: READ INSTRUCTIONS CAREFULLY BEFORE STARTING INSTALLATION. ASSISTANCE IS HIGHLY RECOMMENDED TO AVOID STEP 2 POSSIBLE INJURY OR DAMAGE TO THE VEHICLE. ALLOW EXHAUST TO COMPLETELY COOL BEFORE STARTING INSTALLATION. Remove the license plate. Place blocks or jack stands under the bumper to support it during bumper bolt removal.
- Page 3 STEP 4 Rear Determine if the vehicle is equipped with sensors. Models without bumper sensors: a. Select the included (4) Rubber Plugs. b. From behind bumper, push plugs into sensor mounting holes, Factory Receiver Hitch (Fig 7). Screws have been provided to lock the plugs in the sleeve.
- Page 4 b. Remove the outer plastic sleeve from the sensor, (Fig 9) d. Insert sensor with Seal into sensor mount, (Fig 11). Push Sensor Retaining Clip into sensor mount and lock into mounting holes, (Fig 11). Retaining Clip Sensor Seal (Fig 9) Remove the Sleeve (Right) From Each Sensor (Fig 11) Push Sensor Into Sensor Sleeve On the Back of The Bumper c.
- Page 5 LED cube style light installation (light not included). a. Remove outer covers from back of Bumper, (Fig 12). STEP 5 b. Attach lights to mounting tabs on back of each end of the Bumper, (Fig 12). Snap the towing harness plug into the opening in the LD2 Bumper, (Fig 13).
-
Page 6: Complete Installation
STEP 8 STEP 9 Line up the (2) mounting holes in the back of the driver/left side Level and adjust the Bumper. Slowly open the tail gate and check of the Bumper with the brackets on the end of the frame. Slide (1) for clearance.
Need help?
Do you have a question about the TG-BP9D80398 and is the answer not in the manual?
Questions and answers