Table of Contents
Advertisement
Quick Links
Advertisement
Table of Contents

Related Manuals for CYP OR-HD88S


Summary of Contents for CYP OR-HD88S
- Page 1 OR-HD88S v1.3 HDMI 8 x 8 Matrix Switcher OPERATION MANUAL...
- Page 2 Precautions Failure to follow the precautions described below may cause damage to this v1.3 HDMI Matrix and void the warranty. • DO NOT open the case. This will void the warranty, if you find a problem with this product, please return it to your retailer or seller who will assist you or pro- vide you with a solution. • DO NOT use third-Party AC adaptors or power cords.
-
Page 3: Table Of Contents
Table of Contents Introduction Application Package Contents System Requirements Features Operation Controls and Functions Front Panel Rear Panel Remote Control IR Custom Codes Discrete IR Codes for 8x8 HDMI Matrix (IR3) IR Pin Assignment RS-232 Protocols Command Sets Specifications Connection Diagram Finden Sie ab Seite 9. -
Page 4: Introduction
1. Introduction Thank you for purchasing this HDMI V1.3 Matrix. As HDMI products become increasingly popular, users often have multiple HDMI sources and displays. This HDMI matrix provides an excellent and convenient solution for connecting all of your HDMI equipment. You can select which source to view on each display using the remote control. -
Page 5: System Requirements
4. System Requirements HDMI source device(s) and HDMI display device(s). 5. Features • v1.3HDMI, HDCP 1.1 and DVI 1.0 compliant. • HDMI 8 x 8 Matrix Switcher. • Resolutions supported: • PC: VGA to UXGA • HDTV: 480i to 1080p, plus 1080p24fps. • High Definition audio supported: Dolby TrueHD, Dolby Digital Plus, DTS-HD Mas- ter Audio + LPCM. -
Page 6: Operation Controls And Functions
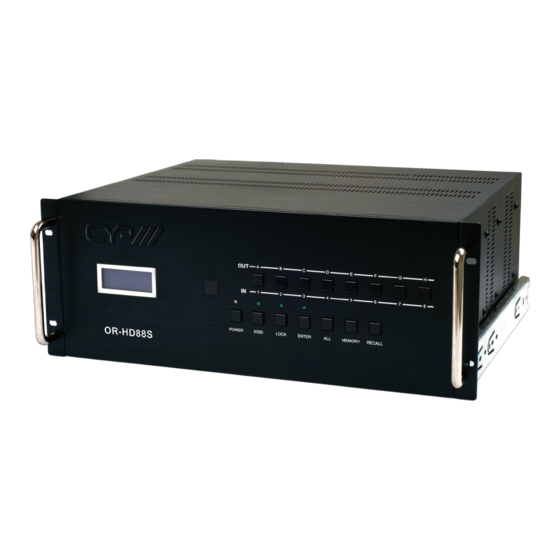
6. Operation Controls and Functions 6.1 Front Panel OR-HD88S 1. LCD Display: This shows the settings information with each input and output selection. 2. IR Sensor. 3. POWER: Press this button to turn the system ON. Once the system is turned on, the LED will illuminate Green and when entering standby mode, will illuminate Red. - Page 7 5. LOCK: Press this button to lock all the functions and press it again to release the lock. When the LED turns Green, the lock is activated and when it turns Red, the key lock has been released. 6. ENTER: Press this button after each and every selection to confirm the setting. If this button is not pressed after 20 seconds, the selection will be cancelled.
-
Page 8: Rear Panel
6.2 Rear Panel 1. HDMI OUTPUT A~H: These HDMI ports are to be connected to the HDMI displays. 2. SERVICE: This connection is for a 9-pin D-sub cable to your host PC, in order to upgrade your firmware. 3. RS-232: Connect a 9-pin D-sub cable from your host so you can control the 8 x 8 HDMI Matrix. -
Page 9: Remote Control
7. Remote Control The remote contol can be set-up to handle multiple formats by using the dipswitches on the rear of the remote control, under the battery cover. There are a total of four dipswitches with two types of settings. When all dipswitches are set to ON/↑ (in the upper position), the remote control is able to control all the inputs and outputs. -
Page 10: Ir Custom Codes
7.1 IR Custom Code Data Remote Control Dipswitches 7.2 Discrete IR Codes for 8x8 HDMI Matrix (IR3) Select/ INPUT INPUT INPUT INPUT INPUT INPUT INPUT INPUT Dipswitch Output A ↓↓↓↓ 0x88 0x89 0x8A 0x8C 0x8D 0x8E 0x90 0x91 Output B ↑↓↓↓ 0x88 0x89 0x8A 0x8C 0x8D 0x8E... -
Page 11: Ir Pin Assignment
8. IR Pin Assignment 1 IR signal 2 Power 5V 3 Ground 9. RS-232 Protocols OR-HD88S Remote Control Console Definition Definition → ← Baud Rate: 9600bps Data bit: 8bits Parity: None Flow Control: None Page 8... -
Page 12: Command Sets
9.1 Command Sets COMMAND ACTION POWER 00 Power Off (standby) POWER 01 Power On PORT 11 Output A select Input1 PORT 12 Output A select Input2 PORT 13 Output A select Input3 PORT 14 Output A select Input4 PORT 15 Output A select Input5 PORT 16 Output A select Input6 PORT 17... - Page 13 PORT 47 Output D select Input7 PORT 48 Output D select Input8 PORT 51 Output E select Input1 PORT 52 Output E select Input2 PORT 53 Output E select Input3 PORT 54 Output E select Input4 PORT 55 Output E select Input5 PORT 56 Output E select Input6 PORT 57...
-
Page 14: Specifications
10. Specifications Inputs 8 x HDMI, Service Ports - 1 x RS232, 1 x USB, 1 x IR jack Outputs 8 x HDMI, 1 x RS-232 Power Supply 24V DC/6.25A (US/EU standards, CE/FCC/UL certified) Dimensions (mm) 482 (W) x 385 (D) x 176 (H) Weight (g) 9500 Chassis Material Metal Color Black Operating Temperature Operating from 0°C ~ 40°C Page 11... -
Page 15: Connection Diagram
11. Connection Diagram Page 12... - Page 16 www.cypeurope.com...
Need help?
Do you have a question about the OR-HD88S and is the answer not in the manual?
Questions and answers