
Subscribe to Our Youtube Channel
Related Manuals for Renishaw TONiC T20 1 Series


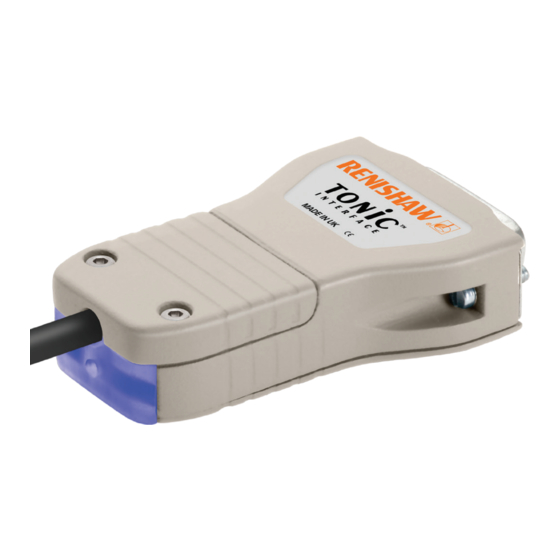
Summary of Contents for Renishaw TONiC T20 1 Series
- Page 1 Installation guide M-9653-9248-04-B RSLM high accuracy linear encoder T20x1 REXM/REXT ultra-high accuracy angle encoder system...
-
Page 2: Further Information
Renishaw plc. The user is cautioned that any changes or modifications not expressly approved by Renishaw plc or authorised representative could void the user’s authority to operate the equipment. -
Page 3: Storage And Handling
Storage and handling Readhead The REXM/REXT is a non-contact However, in harsh environments optical encoder that provides good such as machine tool applications, immunity against contaminants protection should be provided to such as dust, fingerprints and prevent ingress of coolant or oil. light oils. -
Page 4: Installation Drawing
Installation drawing Dimensions and tolerances in mm 9.9 – 10.1 * * NOTE: Graduations are centered Nominal Dimensions Holes Line within this dimension external count Scale θ diameter (mm) 6 ±0.25 52 * 8 192 52.1 – 52.2 90° 0.25 57 * 9 000 57.25 –... - Page 5 T20x1 installation drawing (on REXM/REXT) Dimensions and tolerances in mm (Roll tol. ±1.0°) 0.24 (Yaw tol. ±0.4°) 2 off holes M2.5 through, 0.25 counterbored top face Alternative Ø3 x 2.75 deep from mounting alternative mounting face face 13.5 Ring and readhead optical centreline 6.75 ref 4.25...
- Page 6 interface installation drawing quick-start guide Dimensions and tolerances in mm This section is a quick-start guide to installing a TONiC system. More detailed information on installing the system is contained in the following sections of the installation guide. INSTALLATION Ensure scale, readhead optical window and mounting faces are clean and free from obstructions. 33.3 If required, ensure reference mark selector magnet is correctly positioned.
- Page 7 Installation Mounting Step 2 REXM/REXT should be flange mounted onto a flat Clean the mounting face on the lower side surface, this eliminates all installation errors except of the REXM/REXT. Clean the mating eccentricity, which can be compensated using twin surface on the mounting shaft.
- Page 8 Alternative method -using adjustment screws Step 3 Mounting ‘Slot’ fiducial It is essential that 4 adjustment screws are used, aligned to the 4 fiducial points (indicated by a ‘slot’ or ‘dimple’ mark machined into the front face of the ring). IMPORTANT: To achieve the highest accuracy, the ring must not be distorted.
- Page 9 Ring orientation for partial arc applications The partial arc DSi is based on a ring with two reference marks opposite each other. The ring must be installed so that when the ring rotates only H1 can see R1 and only H2 can see R2. Small angular movements Large angular movements (<357°) To allow the DSi to operate with very small angular movements the ring must be mounted in a certain...
-
Page 10: System Connection
System connection Disconnecting the readhead Approved ESD precautions must be followed at all times during readhead Remove the cover plate on the interface and interface electrical connections. (2 x M2.5 hex head screws). The readhead is connected to the Ti interface via a small, rugged Gently lever the connector PCB connector to allow for easy feed-through during installation. - Page 11 ™ Optical centreline centre of the mounting hole to the left of the ‘Renishaw’ logo within ±0.5 mm. Green spacer No external actuator or physical adjustment is required. Pitch Rideheight 0°...
-
Page 12: System Calibration
System calibration Switching Automatic Gain Control on or off Calibration is an essential operation that completes readhead set-up, with the optimum incremental and AGC can be switched on or off via the interface. reference mark signal settings stored in the readhead’s non-volatile memory. Press and hold the CAL button on the interface for >3 seconds to switch AGC on or off. - Page 13 P and Q limit actuators are not suitable for ring encoder (REXM/REXT) installation. Analogue Yellow Limit switch signal detail is included here for information only. Sine Green Please contact your local Renishaw representative if you require limits on your rotary installation. Violet Reference mark Analogue Grey Pink...
- Page 14 Electrical connections grounding and shielding Analogue outputs Extension cable max. 50 m Customer dependent upon Readhead Ti/TD interface electronics Inner shield output frequency 120R Output signals Outer shield Remote CAL operation (Analogue versions only) IMPORTANT: The outer shield should be connected to the machine earth (Field Ground). The inner shield should be connected to 0 V.
-
Page 15: Output Specifications
Output specifications Digital output signals - Analogue output signals Form - Square wave differential line driver to EIA RS422A (except limits P and Q) … Incremental 2 channels A and B in quadrature (90° phase shifted) Incremental 2 channels V and V differential sinusoids in quadrature (90°... -
Page 16: General Specifications
Where V = maximum linear speed (m/s) and D = external diameter of REXM/REXT (mm) Angular speed (rev/min) = π Renishaw encoder systems have been designed to the relevant EMC standards, but must be correctly integrated to achieve EMC compliance. In particular, NOTE: TD maximum speeds are resolution dependant as defined above. - Page 17 RENISHAW and the probe emblem used in the RENISHAW logo are ® registered trademarks of Renishaw plc in the UK and other countries. apply innovation is a trademark of Renishaw plc. © 2007-2023 Renishaw plc All rights reserved...
Need help?
Do you have a question about the TONiC T20 1 Series and is the answer not in the manual?
Questions and answers