Advertisement
Quick Links
Advertisement

Related Manuals for Sungrow IDC30E


Summary of Contents for Sungrow IDC30E
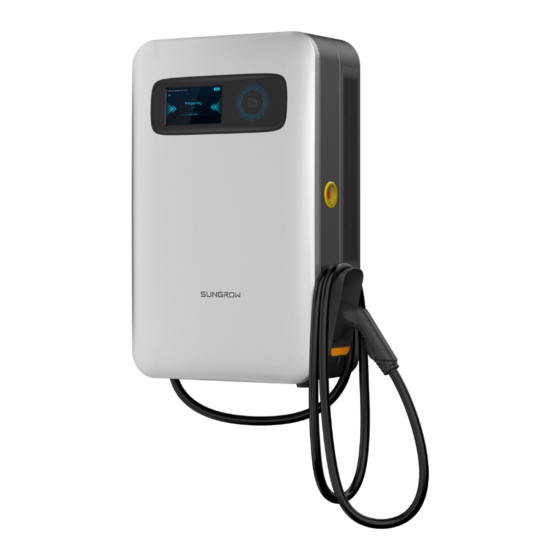
- Page 1 Quick Installation Guide EV Charger IDC30E www.sungrowpower.com...
- Page 2 Uppmt Working shoes Goggles Insulating gloves Earplugs Dust proof mask Vacuum cleaner Marker Phillips Screwdriver No.13 wrench Gradienter French wrench Measuring tape No.19 wrench Cable drilling tool: Pan head tamper proof Rubber hammer Electric drill Φ12/Φ18 wrench set Wall-mounted charger installation Fix the holding bracket onto the wall Φ12(70mm Depth.)...
- Page 3 Attach the bracket holders onto the charger and twist in the handrails. 14×M5×12 Hexalobular socket pan head tamper proof screws Install the charger . After detaching the handrails, place the sealing plugs into the handrail holes. Secure the charger's bracket holders onto the mounting bracket. 2×M5×12 Hexalobular socket pan head tamper proof screws...
- Page 4 Install the connector socket onto the charger. A:4×M5×12 Hexalobular socket pan head tamper proof screws ; B:1×M4×12 Hexalobular socket countersunk head screws Connect the charger to the AC input. AC cable diameter: 18mm-25mm (OT2.5-5) 3+0.2N•m Pole-mounted charger installation(optional) Charger foundation recommendation dimensions. Embeded n60 PVC conduit 6X 18 120mm...
- Page 5 Remove the mounting pole's top cover and rear cover . A:6×M5×14 Hexalobular socket countersunk head screws; B:6×M5×12 Hexalobular socket pan head tamper proof screws Place the pole mount to a proper position on the ground. Mark the positions and drill the holes. Φ18(120mm Depth.)...
- Page 6 Twist in the handrails and lift the charger onto mounting pole. Install and secure the bottom cover. Location pin 10×M8×16 Hexalobular socket pan head tamper proof screws Install the connector socket. A:4×M5×12 Hexalobular socket pan head tamper proof screws ; B:1×M4×12 Hexalobular socket countersunk head screws...
- Page 7 Open the cabinet door and connect the AC cables. Connect the charger to the AC input. 3+0.2N•m AC cable diameter: 18mm-25mm (OT2.5-5) Install the mounting pole's top cover, rear cover and the charging...
- Page 8 Dpoofdu!uif!Dibshfs!up!Joufsofu BUUFOUJPO The ethernet cable is plugged in the RJ45 socket “LAN”. Or the SIM card is inserted (The sim card should be inserted before powered up). Or a strong and stable Wi-Fi connection is present at the charger location. Jdpo Icon Description...
- Page 9 If successful you should see this logo or this one BUUFOUJPO When you will connect the charger to internet for the first time, the charger will connect to Sungrow Monitoring Platform it’s why you might see this logo: but it’s still not connected to the EV charging backend.
- Page 10 More information in the QR code or at http://support.sungrowpower.com/ Specifications subject to change without notice.
Need help?
Do you have a question about the IDC30E and is the answer not in the manual?
Questions and answers