
Related Manuals for Antunes VCT-2


Summary of Contents for Antunes VCT-2
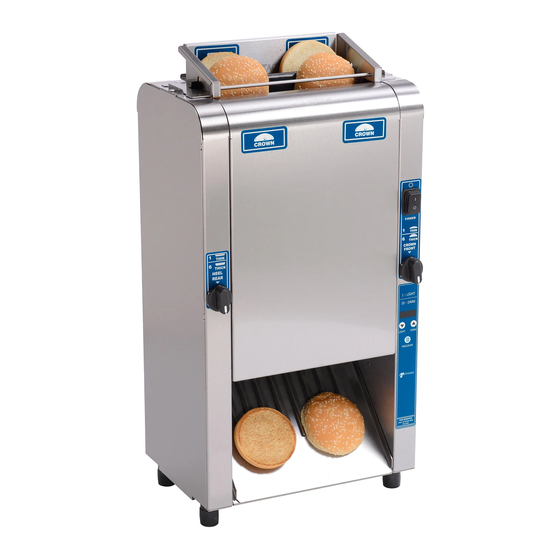
- Page 1 ® Mini Contact Toaster Model VCT-2 Owner’s Manual Mfg. Numbers: 9210922 & 9210923 Original Instructions P/N 1011550 Rev. D 03/21 CAUTION: Read all instructions before using the machine www.antunes.com...
-
Page 2: Table Of Contents
Equipment Information to Save If there are problems with the installa- Authorized Service Agency tion or operation of this product, contact Before Use Antunes Technical Service toll free at Safety Information +1-877-392-7854. Installation This manual contains safety, installation, and operating procedures for the unit. -
Page 3: Safety Information
Have the unit serviced only by openings on the equipment. qualified personnel. Contact y Install this unit to comply with the Antunes Technical Service basic plumbing code of the Building y Do not immerse the cord, for adjustment or repair. -
Page 4: Specifications
(330.2 mm) 25.5” (647.7 mm) Model & Plug Volts Watts Amps Hertz Mfg. No. Description 9210922 1900 50/60 Type G 13 Amp 230V VCT-2 9210923 Pin & Sleeve 16 Amp 1900 50/60 VCT-2 IEC-309 P/N 1011550 Rev. D 03/21 ®... -
Page 5: Installation
If any parts are missing hang over edge of table or counter. or damaged, contact Install the Bun Feeder and Bun Antunes Customer Service Chute onto the unit (Figure 1). IMMEDIATELY at +1-877-392- Refer to the section titled Installing 7856 (toll free). -
Page 6: Installing The Release Sheet
Installing the Release Sheet Bun Thickness Compression Knob Settings The Release Sheet allows buns to pass Turn unit on and Install Release through the toaster without sticking. The Sheet over Platen. The unit will feed The toaster uses two Bun Thickness toaster should never be operated without the Release Sheet into place. -
Page 7: Operating Instructions
Operating Check the color against Quality Photos 4. After the system check, the unit begins to warm up and Lo-P appears (Buttered White Bun Toasting, Multi grain Instructions Bun Toasting, Chicken Salad Sandwich on the display. toasting). Adjust settings if needed. NOTE: If the toasting quality needs adjustment, refer to the section... -
Page 8: Adjusting Toast Quality
Adjusting Toast Quality Hi Limit Reset Button The unit can be adjusted to provide a When the toaster reaches the newly A hi-limit control turns off power to the lighter or more darkly toasted product. set Light/Dark temperature, the USE unit if it overheats. -
Page 9: Maintenance
Maintenance Cleaning the Release Sheet Inspect the Release Sheet. Replace WARNING the Release Sheet if it is worn, creased, or torn. The unit will remain hot while it is cooling down. Personal injury and Spray an approved cleanser on a clean, dry towel. -
Page 10: Weekly Maintenance
Weekly Maintenance Rinse scrub pad in clean water. y Press against scrub pad Platen Butter buildup on the platen will have a with gloved hand, while it is Cleaning Tool negative affect on toast quality. Follow in water, to rinse it out. the procedure below to clean the platen. -
Page 11: Monthly Cleaning
Monthly Cleaning NOTE: You may need to repeat steps 7 The monthly preventative maintenance steps include: and 8 to ensure the Conveyor Belt Chains are completely free y Cleaning the Conveyor Belt Chains y Checking the Conveyor Belt of debris and cleanser. Chains for Stretching y Checking the Roller Tensioners Cleaning the Conveyor Belt... -
Page 12: Reassembling The Toaster
Checking the Conveyor Belt Reassembling the Toaster Chains for Stretching Reinstall the Belt Wraps onto the toaster under the support rods and Set the Bun Thickness Compression making sure the flap is pointing Knobs to 6 and 6 and ensure both down. -
Page 13: Quarterly Cleaning
Quarterly Cleaning 10. Connect the Belt Wrap hooks to the Conveyor Belt Chain. The Quarterly Cleaning involves cleaning NOTE: Make sure the Belt Wraps are the interior of the unit. Follow these installed under the support steps. rods. Turn the unit off, unplug the power 11. -
Page 14: Replacing The Belt Wraps
Replacing the Belt Wraps Cleaning the Rear Fan (9210922 ONLY) Turn the unit off, unplug the power Bun Feeder cord, and allow the unit to cool for 15 The frequency of Belt Wrap replacement minutes before proceeding. depends on usage and daily mainte- nance. -
Page 15: Troubleshooting
Plug power cord into the proper electrical outlet. Reset circuit breakers. If they trip again, check the power Circuit breakers turned off or tripped. cord,plug, and outlet for damage. Contact Antunes Damaged electrical outlet, plug, or cord. Technical Service, your maintenance person, or authorized... -
Page 16: Troubleshooting (Continued)
Troubleshooting (Continued) Problem Possible Cause Corrective Action Clean or replace Belt Wraps as described in the Belt wraps are dirty, worn or damaged. Maintenance section of this manual. Clean Platen as described in the Maintenance section of Platen has butter/debris buildup. this manual. - Page 17 Power Switch Hex Nuts for Hex Nuts for mounting mounting Relay Board Relay Board Transformer Relay Board P/N 1011550 Rev. D 03/21 ®...
-
Page 18: Parts List
Label, Wiring Diagram 1001592 Label, Chain Tensioning NOTICE 1031188 Spec Label (9210922 ONLY) Use only genuine Antunes replacement parts in this unit. 1031556 Spec Label (9210923 ONLY) Use of parts other than those supplied by the manufacturer 2100230 Bumper, Recess W/Washer will void the warranty. - Page 19 Idler Sprocket Replacement Kit 4070383 Board, Line Filter 0022789 Air Filter Weldment 0013260 Drive Chain Tensionser 0600155 Compression Setting Spring 7001084 Cleaning Tool Kit - VCT-2 7001115 Idler Sprocket Replacement Kit 7001372 Relay Board Kit 7001602 Baffle Kit 7001529 Drive Chain Tensionser 0600155...
- Page 20 Replacement Parts P/N 1011550 Rev. D 03/21 ®...
-
Page 21: Replacement Parts (Continued)
Replacement Parts (continued) (Included in Kit 7001115) P/N 1011550 Rev. D 03/21 ®... -
Page 22: Replacement Parts (Continued)
Replacement Parts (Continued) 74 44 P/N 1011550 Rev. D 03/21 ®... -
Page 23: Replacement Parts (Continued)
Replacement Parts (Continued) P/N 1011550 Rev. D 03/21 ®... -
Page 24: Wiring Diagram
Wiring Diagram P/N 1011550 Rev. D 03/21 ®... -
Page 25: Notes
Notes P/N 1011550 Rev. D 03/21 ®... -
Page 26: Limited Warranty
The remedies described above are exclusive and in no event shall Antunes be liable for special consequential or incidental damages for the breach or delay in performance of this warranty.
Need help?
Do you have a question about the VCT-2 and is the answer not in the manual?
Questions and answers