Table of Contents
Advertisement
Quick Links
Advertisement
Table of Contents

Related Manuals for AV Access 4KEX40-eARC


Summary of Contents for AV Access 4KEX40-eARC
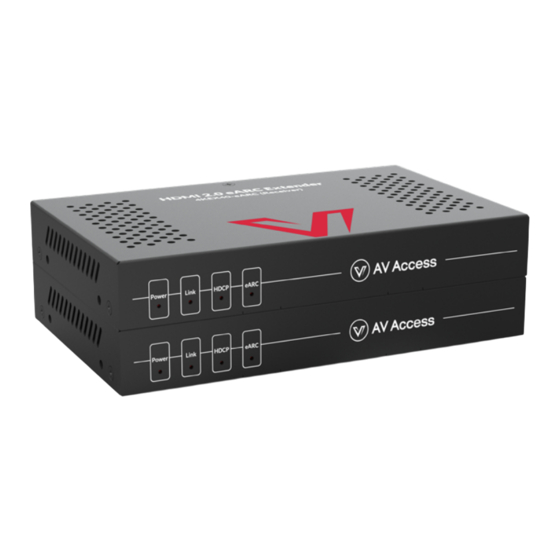
- Page 1 HDMI 2.0 eARC Extender 4KEX40-eARC User Manual...
-
Page 2: Table Of Contents
Table of Contents Introduction ......................2 Overview ............................2 Features ............................2 Package Contents ........................3 Panel .............................. 3 Front Panel ......................... 3 Rear Panel ........................... 4 Installation and Application................... 5 Brackets Installation ......................... 5 Application ..........................5 Specification ......................7 Warranty ......................... -
Page 3: Introduction
Introduction Introduction Overview 4KEX40-eARC is an HDMI 2.0 eARC Extender. It supports 4K@60Hz 4:4:4 with HDR and HDCP 2.3 compliant, and offers the distribution of uncompressed UHD video, audio, power, and IR together up to 40m/131ft over a single Cat 6 or above cable. -
Page 4: Package Contents
Introduction Package Contents Before you start the installation of the product, please check the package contents: Transmitter x 1 Receiver x 1 Power Adapter (DC 12V 2A) x 1 IR Emitter x 1 IR Receiver (30 KHz ~ 50 KHz) x 1 ... -
Page 5: Rear Panel
Introduction Rear Panel Transmitter Name Description Connect to the provided power adapter. With bi- directional PoC function supported, one power adapter is needed to be connected to the transmitter or receiver to power both units. IR In Connect to the IR receiver cable provided. IR Out Connect to the IR emitter cable provided. -
Page 6: Installation And Application
Installation and Application Installation and Application Brackets Installation Note: Before installation, please ensure the device is disconnected from the power source. Attach the installation bracket to the enclosure using the screws provided. The bracket is attached to the enclosure as shown. Repeat step 1 for the other side of the device. - Page 7 Installation and Application Power Supply Apple TV AV Receiver Blu-ray Player IR Out Roku Player Power HDMI eARC/ARC Roku Transmitter HDBT Receiver IR In HDMI eARC/ARC AV Receiver Remo te Display www.avaccess.com info@avaccess.com...
-
Page 8: Specification
Specification Specification Technical Transmitter: 1 x HDMI In, 1 x HDBT Out, 1 x IR In, 1 x IR Out, 1 x DC 12V In, 1 x FW (Micro-USB) Input/Output ports Receiver: 1 x HDMI Out, 1 x HDBT In, 1 x IR In, 1 x IR Out, 1 x DC 12V In, 1 x FW (Micro-USB) Input Signal Type HDMI 2.0 with 4K@60Hz 4:4:4 8bit, HDCP 2.3... -
Page 9: Warranty
The warranty has expired. The defects are caused by the fact that the product is repaired, dismantled or altered by anyone that is not from an AV Access Technology Limited authorized service partner. The defects are caused by the fact that the product is used or handled improperly, roughly or not as instructed in the applicable User Guide.
Need help?
Do you have a question about the 4KEX40-eARC and is the answer not in the manual?
Questions and answers