Advertisement
Quick Links
Pack 03
B U I L D
I N S T R U C T I O N S
STAGE 11: THE ENGINE FAN
STAGE 12: OIL LINES AND HIGH-PRESSURE OIL LINE
STAGE 13: THE GEARBOX AND CLUTCH HOUSINGS
STAGE 14: FITTING THE ENGINE TO THE CHASSIS
"MERCEDES-BENZ" and
are the intellectual property of Mercedes-Benz Group AG.
They are used by Agora Models under license.
Advertisement

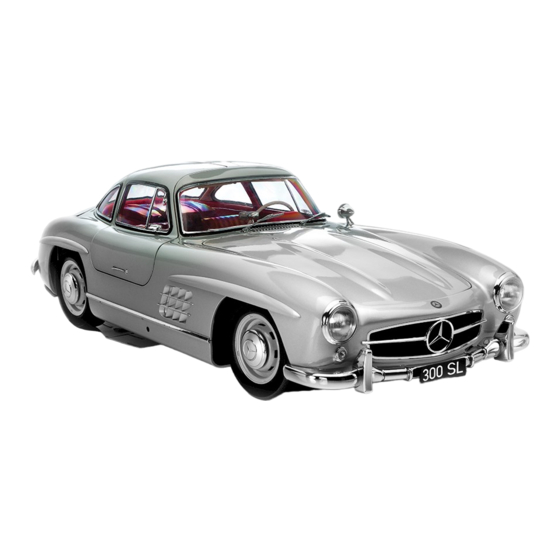
Summary of Contents for Agora Models MERSEDES-BENZ 300SL GULLWING 1955 Pack 03
- Page 1 STAGE 12: OIL LINES AND HIGH-PRESSURE OIL LINE STAGE 13: THE GEARBOX AND CLUTCH HOUSINGS STAGE 14: FITTING THE ENGINE TO THE CHASSIS "MERCEDES-BENZ" and are the intellectual property of Mercedes-Benz Group AG. They are used by Agora Models under license.
- Page 2 Advice from the experts Spare screws are included with each part. Occasionally, you may be instructed to keep spare or unused screws for a later stage. Keep these spares in a safe place and label them correctly. Please make sure you don’t mix up the screws. They look quite similar, but the threads do vary slightly. Using the wrong screws may damage the parts.
-
Page 3: Color Coding
STAGE 11: THE ENGINE FAN STAGE 11 – REQUIRED PARTS In this stage, you will put together the engine fan assembly with its fan belt and pulleys, then fit Code Name Quantity Material them onto the Mercedes 300 SL engine block. Fan drive shaft Fan blades Pulley (fan) - Page 4 FITTING THE FAN SUPPORT BACKPLATE The fan support backplate is inserted onto the shaft at the front end of the engine block that the protrusion on the back slides into its corresponding recess on the engine block. Then the fan pulley and the fan drive shaft are fitted as shown in figure 1.
- Page 5 STAGE 12: OIL LINES AND HIGH-PRESSURE OIL LINE In this stage, we explain how to install the three oil lines and the high-pressure line. STAGE 12 – REQUIRED PARTS Code Name Quantity Material High-pressure oil line Oil line 1 Oil line 2 Oil line 3 –...
- Page 6 INSTALLING THE SECOND OIL LINE The thicker end of oil line 2 is inserted in the upper hole at the bottom of the crankcase . The other end of oil line 2 is pressed into the hole in the the left engine block , as shown.
- Page 7 STAGE 13: THE GEARBOX AND CLUTCH HOUSINGS STAGE 13 – REQUIRED PARTS In this stage, you will assemble the gearbox and clutch housings. Later, both parts will be fixed to Code Name Quantity Material the rear end of the engine. Gearbox housing (left) Zinc Gearbox housing (right)
- Page 8 ASSEMBLING THE GEARBOX HOUSING The self-tapping screws create their Place the left side of the gearbox housing own thread when the right side , as shown in the picture. Make sure they are screwed the holes of both parts match exactly, and that they stay in place when assembled.
- Page 9 STAGE 14: FITTING THE ENGINE TO THE CHASSIS In this stage, you will fix the engine onto the tubular chassis of the 300 SL. STAGE 14 – REQUIRED PARTS Code Name Quantity Material Main chassis Zinc Screws 2.6 x 5mm 2 + 1* Iron * Replacement screws included...
- Page 10 FITTING THE ENGINE TO THE TUBULAR CHASSIS This installment explains how to assemble the complete engine group from stage 13 with the front part of the main chassis . First, the motor is placed on the chassis as shown in the picture. Hold both pieces in this position and turn the assembly upside down.


Need help?
Do you have a question about the MERSEDES-BENZ 300SL GULLWING 1955 Pack 03 and is the answer not in the manual?
Questions and answers