Table of Contents
Advertisement
Quick Links
Advertisement
Table of Contents

Subscribe to Our Youtube Channel
Related Manuals for ACME STAGE PAR 100 COLOUR IP


Summary of Contents for ACME STAGE PAR 100 COLOUR IP
- Page 1 STAGE PAR 100 COLOUR IP...
-
Page 2: Table Of Contents
Menu 1. Safety Instructions ..........................1 2. Technical Specifications ........................2 3. Installation and Connection ......................3 4. How to set the unit ...........................4 4.1 Rear Panel ............................4 4.2 Main Function..........................5 5. How to control the unit ........................9 6. DMX512 configuration ......................... 10` 7. -
Page 3: Safety Instructions
1. Safety Instructions Please read the instruction carefully which includes important information about the installation, usage and maintenance. WARNING Please keep this User Manual for future consultation. If you sell the fixture to another user, be sure that they also receive this instruction booklet. ... -
Page 4: Installation And Connection
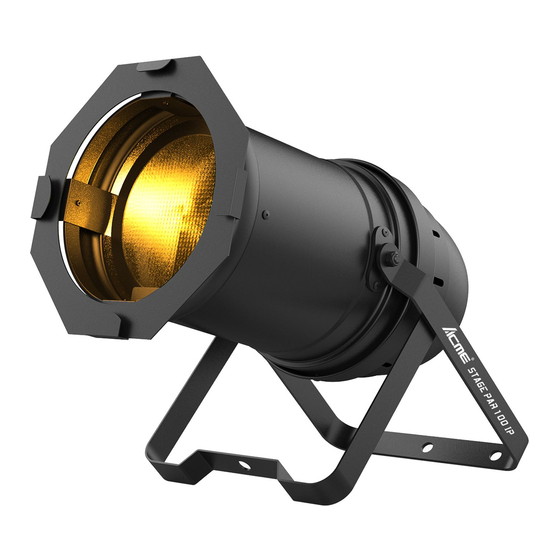
Ideal for Professional stages, Concerts, clubs, discotheques, Mobile DJs, etc. Input Voltage: AC100V~240V,50/60Hz Total Power consumption: 110W Beam Angle: 7°/11.5°/16°/20.5°/25° IP Grade: IP X4 LED Sources: PUMG-120F4A-ND4P Dimension/Weight: 534 x 281 x 224mm, 4.5Kg 21"x11"x8.8"in, 9.9lbs Installation and Connection The unit should be mounted via its screw holes on the bracket. -
Page 5: How To Set The Unit
4. How to set the unit 4.1 Rear Panel Display: Show the various menus and the selected functions; ○ ○ 2 LED indicator: POWER Power On DMX input present ○ 3 Button: MENU To select the programming functions DOWN To go forward in the selected functions To go backward in the selected functions ENTER To confirm the selected functions... -
Page 6: Main Function
4.2 Main Function To select any functions, press MENU button until the required one is shown on the display. Select the function by ENTER button. Use DOWN and UP button to change the mode. Once the required mode has been selected, press ENTER button to setup or it will return to the main functions without any change after idling 8 seconds automatically. - Page 7 DMX 512 Address Setting Select the , press the ENTER button and the display will blink. Use the DOWN and UP button to change the DMX 512 address ( 001-512) . Once the address has been selected, press the ENTER button to setup or exit menu mode without any change after 8 seconds automatically.
- Page 8 Select the , press the ENTER button. Use the DOWN and UP button to select (Dimmer Mode 1)… (Dimmer Mode 4). Once selected, press the ENTER button to setup or exit menu mode without any change after 8 seconds. Back to the functions without any change press the MENU button again.
- Page 9 Display Inverse Select the , press the ENTER button. Use the DOWN and UP button to select (Display Normal) or (Display Inverse). Once selected, press the ENTER button to setup or exit menu mode without any change after 8 seconds automatically. Back to the functions without any change press the MENU button again.
-
Page 10: How To Control The Unit
Select the DMX performance menu to set the lamp channel 4channel / 6channel / 7channel / 8channel. Select the device label menu to change the lamp model. The initial model is STAGE PAR 100 COLOUR IP.. Select the identity device menu, and the off / on option will appear. When you select on, the strobe will appear on the lamp, and select off to turn off the strobe. -
Page 11: Dmx512 Configuration
6. DMX512 configuration Channel Mode:... -
Page 12: Dmx512 Connection
7. DMX512 Connection Mode connection:... -
Page 13: Troubleshooting
1. Connect the fixture together in a “daisy chain” by XLR plug cable from the output of the fixture to the input of the next fixture. The cable cannot be branched or split to a “Y” cable. Inadequate or damaged cables, soldered joints or corroded connectors can easily distort the signal and shut down the system 2. -
Page 14: Fixture Cleaning
interference to DMX interface circuit. Error code Err1 Temperature Fault Err2 LED Fan Fault Err3 Main board and sub board communication Fault 9. Fixture Cleaning The cleaning of internal must be carried out periodically to optimize light output. Cleaning frequency depends on the environment in which the fixture operates: damp, smoky or particularly dirty surrounding can cause greater accumulation of dirt on the fixture’s optics. - Page 16 Declaration of Conformity We declare that our products (lighting equipments) comply with the following specification and bears CE mark in accordance with the provision of the Electromagnetic Compatibility (EMC) Directive 2004/108/EC. EN55103-1: 2009 ; EN55103-2: 2009; EN61000-3-2: 2006 + A1:2009 + A2:2009; EN61000-3-3: 2008. &...
Need help?
Do you have a question about the STAGE PAR 100 COLOUR IP and is the answer not in the manual?
Questions and answers