
Subscribe to Our Youtube Channel
Related Manuals for Premier Mounts RFM


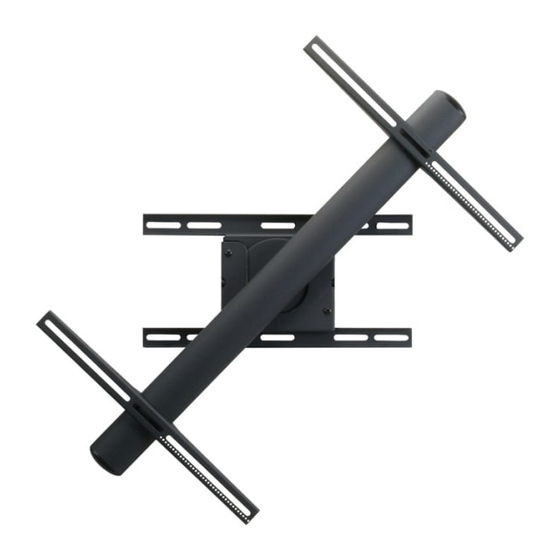
Summary of Contents for Premier Mounts RFM
- Page 1 Installation Guide premiermounts.com | p. 800.368.9700 | e. orders@premiermounts.com 500 W Central Ave, Suite A, Brea, CA 92821 USA 9531-009-041-0X v6.3 publ. 05/28/19...
-
Page 2: Weight Limit
COMPLETELY UNDERSTOOD. KEEP THESE INSTALLATION INSTRUCTIONS IN AN EASILY ACCESSIBLE LOCATION FOR FUTURE REFERENCE. PREMIER MOUNTS DOES NOT WARRANT AGAINST DAMAGE CAUSED BY THE USE OF ANY PREMIER MOUNTS PRODUCT FOR PURPOSES OTHER THAN THOSE FOR WHICH IT WAS DESIGNED OR DAMAGE CAUSED BY... - Page 3 Leveling Arm ENHANCED DESIGN FEATURES RFM mount may contain an Enhanced Leveling Arm and Rotational Limiter. The Rotational Limiter with Enhanced Leveling Arm designed to limits the user from rotating in a full 360 degrees motion, causing cables to coil around the axle.
-
Page 4: Included Hardware
Installation Guide Included Hardware: 5/16" x 3" Lag Bolt 5/16" Washer (Qty.4) Griplate™(Qty.4) Finned Anchor Straw (Qty.1) 5/32" Allen Key M5 Security Allen (Qty.4) (Qty.4) (Qty.1) Key (Qty.1) M4 x 16mm Comb. M4 x 25mm Comb. M4 x 30mm Comb. M6 x 16mm Comb. - Page 5 Installation Guide Place the wall mount against the wall in the Drill a "pole hole" in the center of the upper right mark desired viewing location. using a 1/4" drill bit and power drill. Use a pencil to mark the upper right mounting location alone the center of the wall stud.
-
Page 6: Concrete Installation
Installation Guide Concrete Installation Insert one (1) 5/16" x 3" lag bolt and one (1) 5/16" Two people are recommended for this step: one washer into each pilot holes. person to level the wall mount and another person to Tighten all lag bolts using a socket wrench and mark the mounting locations. -
Page 7: Selecting The Mounting Hardware
Installation Guide 1. Insert one (1) 5/16" x 3" Lag Bolt and one (1) 5/16" washer into each pilot holes. 2. Tighten all lag bolts using a socket wrench and 1/2" socket. Do not over tighten the lag bolt. Selecting the Mounting Hardware Insert a small straw or toothpick into the threaded inserts found on the Use a pencil to mark the depth of the threaded insert on the small straw or toothpick. - Page 8 Installation Guide Bottom Slide the mounting brackets into the cross bar. Rotational Support M4, M6, or M8 screws (Top of display) Griplate™ (Universal Washer) Universal Spacer (Optional) Align the brackets to the display mounting holes. Use the depth measuring straw to determine the appropriate hardware.
- Page 9 Installation Guide M8 x 10mm Set Screw Center the cross bar to the display and tighten the two (2) M8 x 10 Set Screws using the 5/32" Allen Key to secure the brackets. Two or three person is recommended for this step. Lift the cross bar and place it into the wall mount.. premiermounts.com | p.
- Page 10 Installation Guide Install the M6 Knurl Knob removed from step 1 to secure the cross bar from dislodging. Tension Screw THE MOUNT IS READY TO USE. SEE NEXT PAGE IF INSTALLED WITH ROTATIONAL LIMITER. premiermounts.com | p. 800.368.9700 | e. orders@premiermounts.com Page 10...
- Page 11 Installation Guide THE ROTATIONAL LIMITER FINETUNE LEVEL ADJUSTMENT LEVEL On Enhanced Leveling Arm Only Adjust the (2) M4 x 8mm Set Screw on the Enhanced Leveling Arm to achieve perfect 90° (Portrait) and 0° (Landscape) position. INSTALL THE ROTATIONAL LIMITER TO CHANGE DIRECTION OF THE ROTATION. Rotational Limiter (reversible, shown at LANDSCAPE...
- Page 12 Premier Mounts intends to make this manual accurate and complete. However, Premier Mounts makes no claim that the information contained herein covers all details, conditions or variations, nor does it provide for every possible contingency in connection with the installation or use of this product.
Need help?
Do you have a question about the RFM and is the answer not in the manual?
Questions and answers