Advertisement
Table of Contents
- 1 Preparing Lighting Parts and Removing Tiles
- 2 Assembling tan and White Lighting Tiles
- 3 Placing Lighting Round Plates and Filling Corners
- 4 Assembling Green Lighting Tiles and Wire Routing
- 5 Assembling White Lighting Tiles and Restoring Removed Tiles
- 6 Installing LED Bulb Inside Photocopier
- 7 Final Assembly and Powering the Lighting Set
- Download this manual
Advertisement
Table of Contents

Related Manuals for Glow Bricks Lego The Office 21336


Summary of Contents for Glow Bricks Lego The Office 21336
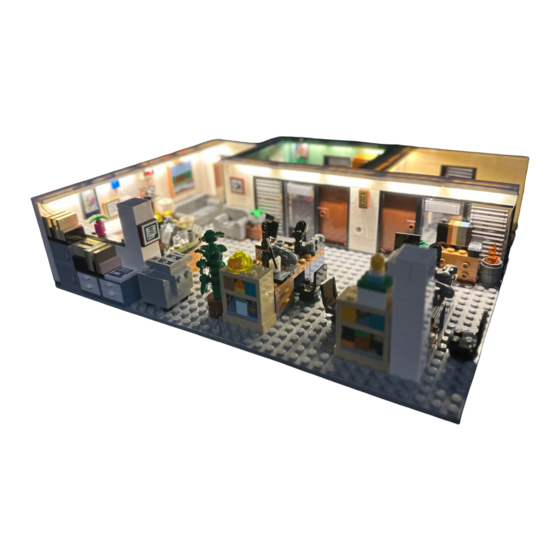
- Page 1 The Office...
- Page 2 Take the lighting part with fire be ready, then remove the tiles as shown...
- Page 3 Assemble the tan and white lighting tiles to replace the remove tiles Beware of the direction, the lights of white tiles should be facing the main office side Then assemble the lighting flame inside the basket at the corner and the yellow lighting round plate to the lamp, the wire in between two lights can be hidden by the cabinet and the chair...
- Page 4 The remain lighting round plates will be used to place on the lamp shown in red circle, then in blue circle, move the 1x6 white tiles to fill up the corner *Use the white 1x2 tile provided to fill up the right corner Leave the connector for the other lighting part...
- Page 5 Now take the other lighting part, start by assembling the green lighting tiles Remove the green tiles on the side to let the wires go through...
- Page 6 Now assemble the white lighting tiles and put the removed tiles back after that Assemble the lighting round plates on the lamp as shown...
- Page 7 The single led bulb will be used to put inside the photocopier, start by detaching the photocopy machine as shown Clip the led bulb below the clear window, then restore the machine to stable the bulb inside the machine...
- Page 8 Assemble the last lighting round plate to the lamp At last, connect the plugs then you can power up the lighting set by the USB cable...
Need help?
Do you have a question about the Lego The Office 21336 and is the answer not in the manual?
Questions and answers