Advertisement
Quick Links
Advertisement

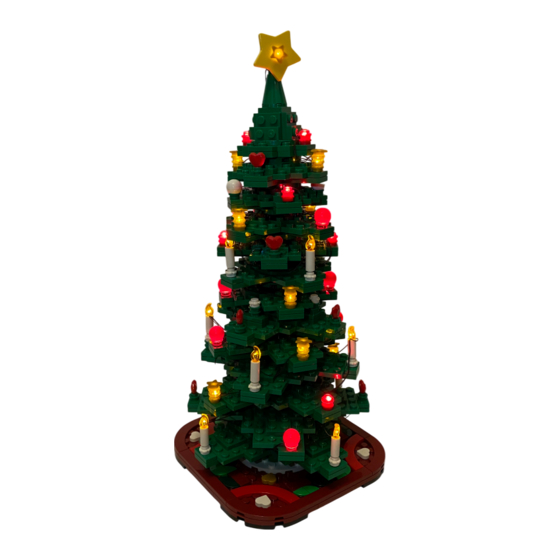
Summary of Contents for Glow Bricks Lego Christmas Tree 40573
- Page 1 Christmas Tree...
- Page 2 Firstly separate the tree as shown, and for the lighting kits to distinguish which one It belongs to would be the orange round plate with a LED bulb attached, that’s for the top...
- Page 3 Now let’s start with the top first Take the top end part away and detach as shown...
- Page 4 Assemble with the lighting part *the gold round plate would be switch from the front to the back or you can just throw it away Now put it back on top and the wire can be hidden by the removing a green plate underneath...
- Page 5 Now assemble the two red lighting round plates under it’s original parts As shown in the picture, you can lift up the top to hire the wire in between the plates Then assemble the yellow lighting parts, lift up the stars put the round plates on and put the starts back onto the lighting round plates...
- Page 6 Now move it downward to assemble another red light Remember it’s done by layer to layer, never jump to other level until you finished filling up the red/yellow light on the certain level Now to the level with 2 reds 2 yellows...
- Page 7 At last, assemble the four lighting flames on the candle After assembling you may realize the 2 reds and 2 yellows at the bottom have no lights, don’t worry they would be filled up by the other lighting parts...
- Page 8 Now it’s turn for the bottom area This time we would start from the bottom end...
- Page 9 After assembling four candle lights then do the red round plate at the upper level Basically just follow the red/yellow parts located level by level to do the assembling which is very similar with the previous steps...
- Page 10 At last, there should be four ligiting round plates left...
- Page 11 Now combine the tree and assemble the four lights leftover to the bottom end of the top half At last, connect the two connectors to the USB cable...


Need help?
Do you have a question about the Lego Christmas Tree 40573 and is the answer not in the manual?
Questions and answers