Subscribe to Our Youtube Channel
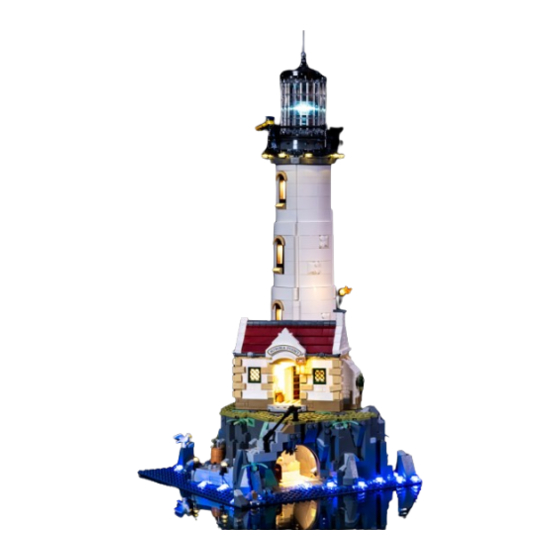
Summary of Contents for Glow Bricks Motorised Lighthouse Lego 21335
- Page 2 Firstly detach the roof of the house and the wall of the lighthouse facing the house...
- Page 3 Take the lighting part with white 1x6 plates and assemble them and the lighting yellow round block Then remove some red bricks from the roof to get the lighting fire installed on the chinmey...
- Page 4 Restore the removed bricks and the roof back to the house Then starting assembling the 1x2 brown lighting plate to the bottom window...
- Page 5 Once the lighting plate installed, restore the wall to the lighthouse and start the installation for the upper level Keep it until all three windows are assembled...
- Page 6 There’re 8 pcs of lighting round plates follow by the 1x2 lighting plate from the last step, pull them to the top of the lighting house and assemble them around the bottom of the big black round plate as shown...
- Page 7 Then remove the wall for the other side of the lighthouse to install the lights Pull the remain lights through first Start from the top level this time, assemble the black lighting plate above the window like this...
- Page 8 After the top level, assemble the remain levels same way as the other side...
- Page 9 Now it’s turn for the other lighting parts Remove the shown 2x8 green plate at the front door of the house...
- Page 10 Get the 1x4 black lighting plate and the connect through the hole from the bottom and assemble it with the removed green plate from last step Restore the green plate and pull the connector to the back of the model Then assemble the lighting slopes around the model randomly...
- Page 11 The lighting round plates from this set must be assembled here The rest are assembled anywhere you like, just spread them equally to surround the model At last connect with the USB cable and it’s done...


Need help?
Do you have a question about the Motorised Lighthouse Lego 21335 and is the answer not in the manual?
Questions and answers