Table of Contents
Advertisement
Quick Links
FZ-i / FX-i SERIES
FZ-i WP/ FX-i WP SERIES
FZ-GD/ FX-GD SERIES
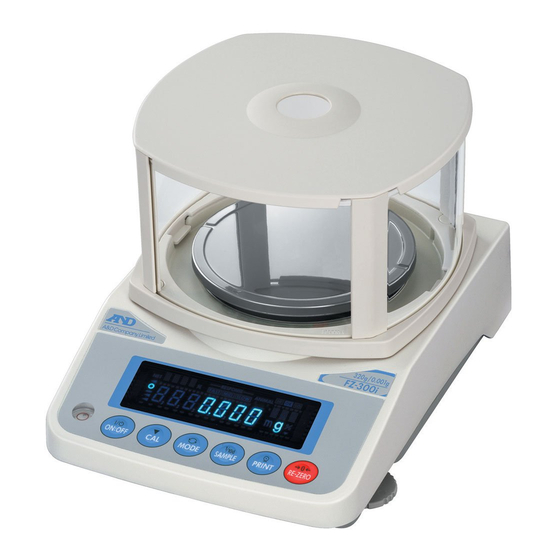
Precision Balance
INSTRUCTION MANUAL
FZ-120i / FZ-200i / FZ-300i / FZ-500i
FZ-1200i / FZ-2000i / FZ-3000i / FZ-5000i
FX-120i / FX-200i / FX-300i / FX-500i
FX-1200i / FX-2000i / FX-3000i / FX-5000i
FZ-120i WP / FZ-200i WP / FZ-300i WP
FZ-1200i WP / FZ-2000i WP / FZ-3000i WP
FX-120i WP / FX-200i WP / FX-300i WP
FX-1200i WP / FX-2000i WP / FX-3000i WP
FZ-120GD / FZ-200GD / FZ-300GD
FZ-1200GD / FZ-2000GD / FZ-3000GD
FX-120GD / FX-200GD / FX-300GD
FX-1200GD / FX-2000GD / FX-3000GD
1WMPD4001863D
Advertisement
Table of Contents


Need help?
Do you have a question about the FZ-i WP Series and is the answer not in the manual?
Questions and answers