Luxul XGS-1008 - 8-Port Gigabit Desktop Switch Quick Install Guide
- User manual (12 pages) ,
- Quick install manual (9 pages) ,
- Quick install manual (9 pages)
Advertisement
Physical Installation
Install the XGS-1008 in a stable/safe place to avoid any possible damage. Avoid placement in direct sunlight and do not place heavy articles on the XGS-1008. Ensure there is adequate space for proper heat dissipation and ventilation around the switch.

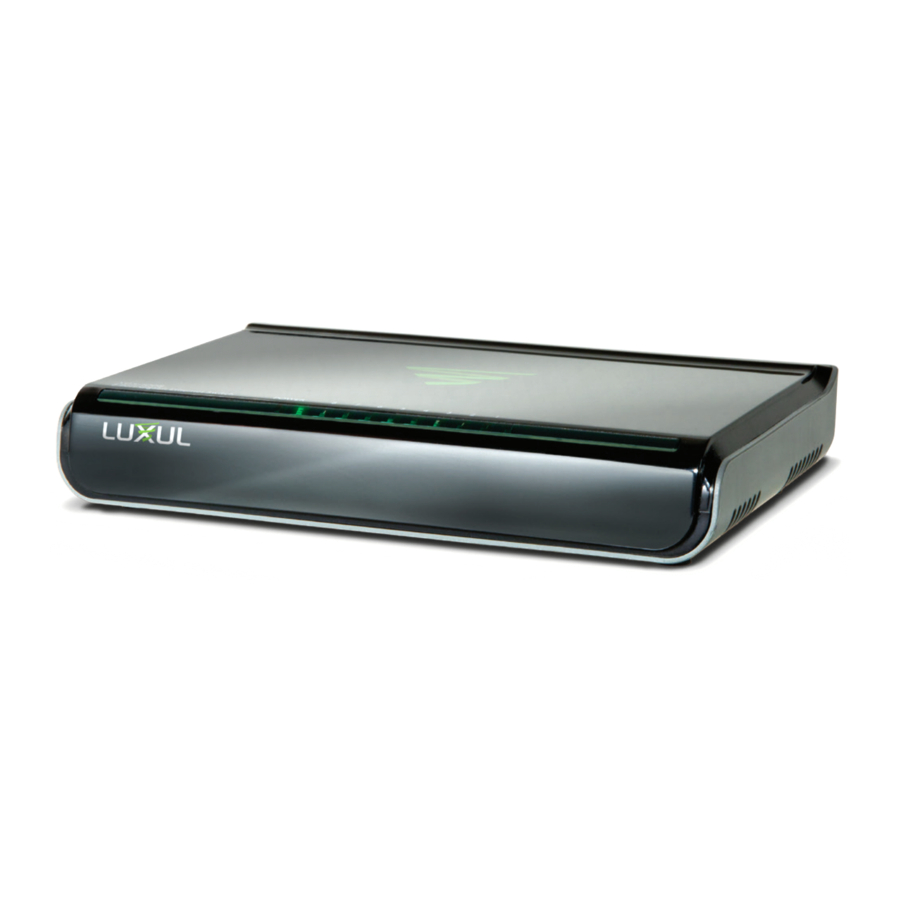
XGS-1008 Front Panel and Side View Showing Ventilation
Connecting Power
Connect the included AC power adapter to a power outlet near the XGS-1008, then connect the power adapter plug to the switch power connector.

XGS-1008 Rear Panel Detail with DC Power Connector

Use only the included power supply. If a different power supply is used, it could damage the XGS-1008.
Connecting Ethernet
Connecting Devices
Use standard Ethernet cable to connect the XGS-1008 to Ethernet devices as shown below. Luxul recommends Category-5, super Category-5 or Category-6 unshielded twisted pair (CAT5/CAT5e/CAT6 UTP). To ensure best performance and stable data transmission at 1000 Mbps, use Category-6 shielded twisted pair.

Connecting the XGS-1008 to a Device
When a device is properly connected, the Link/Activity LEDs for each port lights up green/orange. Please refer to the section on LED Indicators for definitions and troubleshooting.
Connecting to a Router or Other Switch
For best performance, and to maximize available ports, Luxul recommends connecting LAN devices to the XGS-1008, then connecting the switch to a router LAN port or another switch as shown in the illustration.

Connecting the XGS-1008 to a Router or Switch
When devices are properly connected, the Link/Activity LEDs for each port light up green/orange. Refer to the section on LED Indicators for definitions and troubleshooting.
Hardware Description
Front Panel
The front panel of the XGS-1008 includes eight Link/Activity LEDs and one power LED. For more information on these LEDs, refer to the table describing these indicators in the next section.

XGS-1008 Front Panel View

XGS-1008 Rear Panel View
LED Indicators
The LED indicators of the XGS-1008 include one Power indicator and 8 Link/ Activity indicators. These LED indicators show the operating status of the XGS-1008 and each switch connection.
The following chart shows the LED indicators of the XGS-1008 along with a description of each indicator:
| LED | Color | Status | Description |
| Power | Green | On | The XGS-1008 is powered. |
| Off | The XGS-1008 is unpowered. Check the DC power supply to ensure proper connection to the outlet and switch. | ||
| Link/ Activity | Green | On | The XGS-1008 is connected at 1000Mbps. |
| Blinking | The XGS-1008 is transmitting/receiving data packets at 1000Mbps. | ||
| Orange | On | The XGS-1008 is connected at 10/100Mbps. | |
| Blinking | The XGS-1008 is transmitting/receiving data packets at 10/100Mbps. | ||
| Off | Indicates the port is not connected to a device. |

Documents / ResourcesDownload manual
Here you can download full pdf version of manual, it may contain additional safety instructions, warranty information, FCC rules, etc.
Download Luxul XGS-1008 - 8-Port Gigabit Desktop Switch Quick Install Guide
Advertisement


Need help?
Do you have a question about the XGS-1008 and is the answer not in the manual?
Questions and answers