Table of Contents
Advertisement
Quick Links
Quick Install Guide
24-Port Gigabit Ethernet
Use the XMS-1024P to:
Cost-effectively Add 802.3af/at PoE Capability to Your
„
Network
Deliver Power and Data for up to 24 PoE-Enabled Network
„
Devices with a Maximum Output of 320 Watts
Simplify PoE Device Installation, Including IP Sercurity
„
Cameras, VoIP Devices, and Wireless AP' s
Future Proof Your Network with Gigabit Speeds
„
(10X Performance of Fast Ethernet)
Optimize and Protect Your Network with Advanced
„
VLAN, QoS and Network Security Features
Simply Connected
XMS-1024P
Managed PoE Switch
Advertisement
Table of Contents

Subscribe to Our Youtube Channel
Related Manuals for Luxul XMS-1024P


Summary of Contents for Luxul XMS-1024P
-
Page 1: Quick Install Guide
Simply Connected Quick Install Guide XMS-1024P 24-Port Gigabit Ethernet Managed PoE Switch Use the XMS-1024P to: Cost-effectively Add 802.3af/at PoE Capability to Your „ Network Deliver Power and Data for up to 24 PoE-Enabled Network „ Devices with a Maximum Output of 320 Watts Simplify PoE Device Installation, Including IP Sercurity „... -
Page 2: Document Conventions
No part of this publication may be modifi ed or adapted in any way, for any purposes without permission in writing from Luxul. The material in this manual is subject to change without notice. Luxul reserves the right to make changes to any product to improve reliability, function, or design. No license is granted, either expressly or by implication or otherwise under any Luxul intellectual property rights. -
Page 3: Package Contents
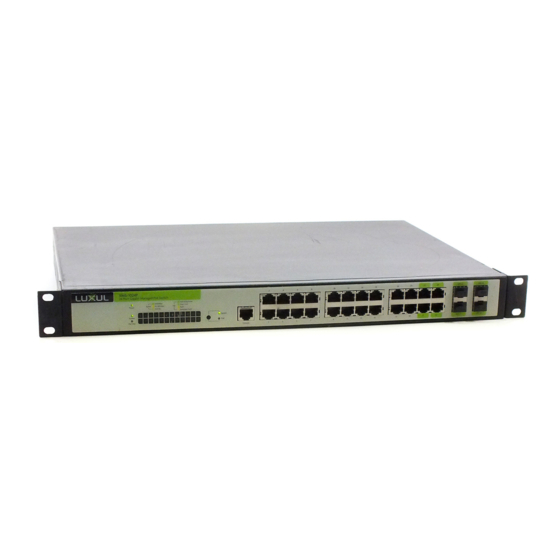
HARDWARE DESCRIPTION Front Panel The front panel of the XMS-1024P Switch includes 1 console port, 24 1000Mbps RJ45 and 4 shared SFP expansion ports, as well as LED indicators for each port. Each 1000Mbps port has one Link/Activity/PoE LED. A push button switch with an LED indicator switches the display between Link/Activity and PoE. - Page 4 At startup, port LEDs will flash for 1 second as a self test. When an SFP optical interface is in use, the Link/Activity LED of the corresponding Ethernet port will indicate the SFP status. 14203 Minuteman Drive, Suite 201, Draper, UT 84020-1685 | luxul.com | 801-822-5450 LUX-QIG-XMS-1024P 093140913...
-
Page 5: Preparing For Installation
Check the power cord to confirm a secure connection. „ Avoid placement in direct sunlight. „ When installing the XMS-1024P on a flat surface, attach the rubber feet to the „ bottom of the device to avoid scratching the surface. © 2014 Luxul. All Rights Reserved. -
Page 6: Desktop Setup
XMS-1024P INSTALLATION Installing the XMS-1024P in a Rack The XMS-1024P can easily be installed in a standard 19” rack. The XMS-1024P includes two mounting ears for installing and stabilizing the switch. For attaching the mounting ears and installing the switch within a rack, please refer to the following illustration: Rack-Mounting the XMS-1024P Using the included screws, attach the mounting ears to each side of the switch. -
Page 7: Default Ip Address
1024P and a router. Otherwise, loops can occur and result in network failure. Default IP Address The XMS-1024P default IP address is 192.168.0.4. This address can be changed. However, for hassle free installation of other plug and play Luxul devices, it is recommended that the default IP value be maintained. Login The XMS-1024P is not equipped with internal DHCP server. -
Page 8: Advanced Settings
„ ACCESSORIES OUT OF THE REACH OF CHILDREN! The XMS-1024P may become warm when in use for extended time periods. This is normal and is not a „ malfunction. DO NOT install where it will be exposed to paper, cloth or other flammable materials.
Need help?
Do you have a question about the XMS-1024P and is the answer not in the manual?
Questions and answers