
Subscribe to Our Youtube Channel
Related Manuals for Luxul XGS-1008-E


Summary of Contents for Luxul XGS-1008-E
- Page 1 QUICK INSTALL GUIDE 8-Port Gigabit Switch XGS-1008 Includes: XGS-1008 8-Port Gigabit Switch „ Power Adapter „...
- Page 2 INSTALLATION AND SETUP Physical Installation Install the XGS-1008 in a stable/safe place to avoid any possible damage. Avoid placement in direct sunlight and do not place heavy articles on the XGS-1008. Ensure there is adequate space for proper heat dissipation and ventilation around the switch.
- Page 3 Connecting Power Connect the included AC power adapter to a power outlet near the XGS-1008, then connect the power adapter plug to the switch power connector. XGS-1008 Rear Panel Detail with DC Power Connector CAUTION: Use only the included power supply. If a different power supply is used, it could damage the XGS-1008.
- Page 4 Connecting Devices Use standard Ethernet cable to connect the XGS-1008 to Ethernet devices as shown below. Luxul recommends at least Cat-5e unshielded twisted pair (CAT5e UTP) cabling. To ensure best performance and stable data transmis- sion at 1000 Mbps, use Category-6 unshielded twisted pair (CAT6 UTP).
- Page 5 Connecting to a Router or Other Switch For best performance, and to maximize available ports, Luxul recommends connecting LAN devices to the XGS-1008, then connecting the switch to a router LAN port or another switch as shown in the illustration.
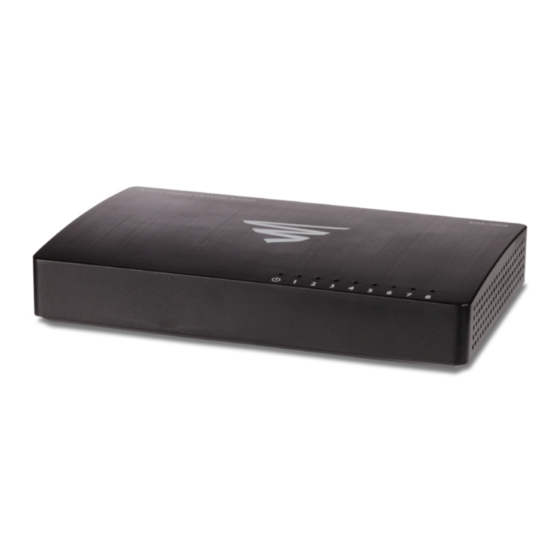
- Page 6 Hardware Description Front Panel The front panel of the XGS-1008 includes eight Link/Activity LEDs and one Power LED. For more information on these LEDs, refer to the table describing these indicators in the next section. XGS-1008 Front Panel View XGS-1008 Rear Panel View...
- Page 7 LED Indicators The LED indicators of the XGS-1008 include one Power indicator and 8 Link/ Activity indicators. These LED indicators show the operating status of the XGS-1008 and each switch connection. The following chart shows the LED indicators of the XGS-1008 along with a description of each indicator: Color Status...
- Page 8 Luxul product. © Copyright 2017 Luxul. All rights reserved. The name Luxul, the Luxul logo, the Luxul logo mark and Simply Connected are all trademarks and or registered trademarks of Luxul Wireless, Inc. All other trademarks and registered trademarks are property of their respective holders.
Need help?
Do you have a question about the XGS-1008-E and is the answer not in the manual?
Questions and answers