Table of Contents
Advertisement
Quick Install Guide
18-Port/16 PoE+/2 Gig Uplink
Use the XFS-1816P to:
Connect up to 16 IP Cameras or Other
f
PoE-Enabled Devices
Add PoE/PoE+ Capability to Your Network
f
(Max Output 230 Watts)
Enable High Speed LAN Connectivity
f
with Gigabit Uplinks
Simply Plug and Play
f
Simply Connected
XFS-1816P
Smart Switch
Advertisement
Table of Contents

Subscribe to Our Youtube Channel
Related Manuals for Luxul XFS-1816P


Summary of Contents for Luxul XFS-1816P
-
Page 1: Quick Install Guide
Simply Connected Quick Install Guide XFS-1816P 18-Port/16 PoE+/2 Gig Uplink Smart Switch Use the XFS-1816P to: Connect up to 16 IP Cameras or Other PoE-Enabled Devices Add PoE/PoE+ Capability to Your Network (Max Output 230 Watts) Enable High Speed LAN Connectivity... -
Page 2: Document Conventions
No part of this publication may be modifi ed or adapted in any way, for any purposes without permission in writing from Luxul. The material in this manual is subject to change without notice. Luxul reserves the right to make changes to any product to improve reliability, function, or design. -
Page 3: Package Contents
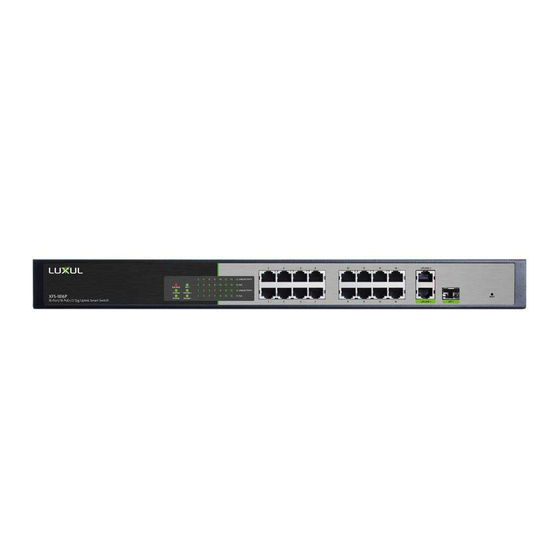
HARDWARE DESCRIPTION Front Panel The front panel of the XFS-1816P switch includes 16 10/100Mbps ports, 2 Gigabit uplink ports and 1 shared Gigabit SFP port. Each port has one Link/Activity LED, and one PoE LED. There are also two Gigabit uplink LEDs, one Power LED, one System LED, and a reset button. -
Page 4: Reset Button
To Restore the Default Settings: With the XFS-1816P powered on, press and hold the Reset but- ton for 15 seconds. You can now release the Reset button, and the switch automatically restores the factory default settings. When the System LED comes on again, the XFS-1816P will be set to factory defaults. -
Page 5: Installation Preparation
The rear panel provides an AC input socket and power on/off switch. Use the included power cable to connect the XFS-1816P to a surge protected outlet. The built-in high-perfor- mance switching power supply of the XFS-1816P supports an input range of: AC 100-240V, 50/60Hz 3A. -
Page 6: Before Connecting To The Network
Check the power cord to confi rm a secure connection. Avoid placement in direct sunlight. When installing the XFS-1816P on a fl at surface, attach the rubber feet to the bottom of the device to avoid scratching the surface. XFS-1816P INSTALLATION... -
Page 7: Network Connections
The XFS-1816P supports 10/100 Mbps half/full-duplex mode. All RJ-45 ports support Auto MDI/MDIX and can be used as ordinary ports or as Uplink ports. Any RJ-45 port can be used to connect the XFS-1816P to an Ethernet enabled device (including servers, routers, and other switches) without a crossover cable. -
Page 8: Advanced Settings
This device complies with part 15 of the FCC Rules. Hereby, Luxul, 14203 Minuteman Drive, Suite 201, Draper, Utah, 84020, declares that this Luxul XFS-1816P is in compliance with the essential requirements and other relevant provisions of Directive 1999/5/EC. For a copy of this report send a self addressed stamped envelope to: Luxul CE, 14203 Minuteman Drive, Suite 201, Draper, Utah, 84020.
Need help?
Do you have a question about the XFS-1816P and is the answer not in the manual?
Questions and answers