Table of Contents
Advertisement
Quick Links
Advertisement
Table of Contents

Related Manuals for Lilliput RM-1731S


Summary of Contents for Lilliput RM-1731S
-
Page 2: Important Safety Instructions
Important Safety Instructions: Please read User Guide before using this product. Please keep User Guide for future reference. Please read the precaution to prevent possible danger and loss of property. Precaution: Please do not place the display screen towards the ground. ... -
Page 3: Table Of Contents
Contents Important Safety Instructions: ................. 1 Precaution: ......................1 1. Production Description ..................3 2. Menu Setting ....................... 5 3. Product Parameters ................... 16 4. Accessories ......................16 5. Trouble Shooting ....................17 Appendix 1: 3D LUT Loading ................... 18 Appendix 2: Remote Terminal Instructions ............ -
Page 4: Production Description
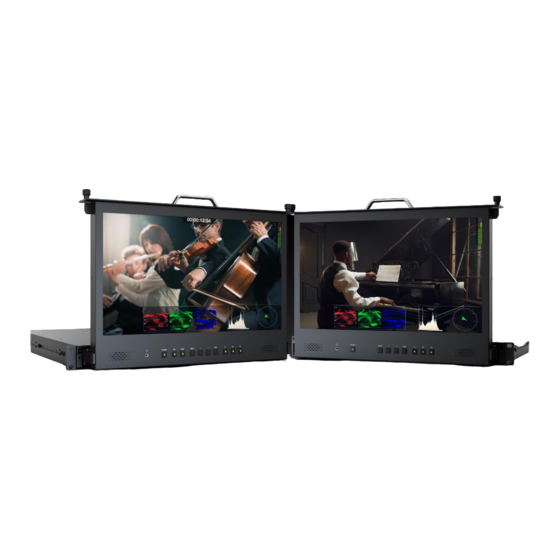
1. Production Description 1.1 Front Panel ① ② ③ ④ ⑤ ⑥ ⑦ ⑧ ⑨ 1. Earphone Jack 2. POWER: Power ON/OFF. 3. SDI: Signal switch to SDI mode when light on. (Only available on SDI HDMI version) 4. HDMI: Signal switch to HDMI mode when light on. (Only available on SDI HDMI version) 5. - Page 5 volume, brightness, contrast, color, hue, sharpness and backlight. 7. > Select option in the menu. Increase the option value. 8. Exit Button 9. F1~F3 User definable buttons Assigned function by factory as follow: [F1]: Peaking [F2]: Waveform [F3]: Level Meter (Long press any F1-F2-F3 buttons for 3-5 seconds to custom options.)...
-
Page 6: Menu Setting
Menu Setting Before setting the functions, please make sure the device is connected correctly. 2.1 Shortcut keys 2.1.1 Function Menu Under non menu screen, press < or > buttons to activate function bar, and then press the "MENU" button can activate the shortcut menu bar to select brightness, contrast, saturation, tint, sharpness, volume, back light. - Page 7 3.2 MENU Operations 3.2.1 PICTURE Brightness Control the degree of brightness between 0-100. Contrast Control contrast ratio between 0-100. Saturation Adjust the color intensity between 0-100. Tint Adjust tint between 0-100. Sharpness Control sharpness of the image between 0-100. ...
- Page 8 Camera Log Use this item to choose one of the camera Log modes: - [Off]: Turn off Camera Log. - [Def. Log]: Use this item to choose one of the Camera Log modes as the following sequence: [SLog2ToLC-709], [SLog2ToLC-709TA], [SLog2ToSLog2-709], [SLog2ToCine+709], [SLog3ToLC-709], [SLog3ToLC-709TA], [SLog3ToSLog2-709], [SLog3ToCine+709], [ArriLogCTo709], [ArriLogCToP3DCI], [CLogTo709], [VLogToV709], [JLogTo709], [JLogTo709HLG], [JLogTo709PQ], [Z7 NLogTo709], [D780 NLogTo709]...
- Page 9 Color Temp. Use this item to choose one of the color temperature presets: [5500K], [6500K], [7500K], [9300K], [User]. Note: Only available under [User] mode to adjust R/G/B Gain and Offset. R/G/B Gain Adjust the R/G/B Gain of the current Color Temperature from 0 to 255. Default value: 128. ...
- Page 10 User Marker H1/H2: Adjust the position of vertical markers from 1 to 1920 (Step value is 1). V1/V2: Adjust the position of horizontal markers from 1 to 1080 (Step value is 1). Note: User maker only in [Aspect Maker], [User] mode available. ...
- Page 11 Note: Aspect, Anamorphic and Check Feld functions only can be adjusted only under [Aspect] mode. Aspect Select the aspect of the image among [Full], [4:3]. Anamorphic Use this item to activate or deactivate anamorphic: Off、1.3X、1.5X、1.8X、2.0X、2.0X MAG. Overscan Use this item to activate or deactivate overscan.
- Page 12 3.2.4 WAVEFORM Full Mode Use this item to activate or deactivate Full Mode: [Off], [Y], [YCbCr], [RGB] and [Vector]. Waveform Use this item to activate or deactivate Waveform. Select the waveform mode from among [Off], [Y], [YCbCr], and [RGB]. - [Y]: Display Y Waveform.
- Page 13 Peaking Level Use this item to adjust the level of peaking from 1-100. The higher peaking level is, the more obvious peaking effect is. False Color Use this item to activate or deactivate the false color function. When activated, [Default], [Spectrum], [ARRI], [RED] are for optional. ...
- Page 14 Histogram Use this item to activate or deactivate histogram. Time Code Use this item to activate or deactivate the Time Code. When activated, [LTC], [VITC] are for optional. Note: Time code is only available under SDI mode. 3.2.5 AUDIO ...
- Page 15 [Ch9&Ch10], [Ch11&Ch12], [Ch13&Ch14], and [Ch15&Ch16]. Mute Select whether to activate or deactivate Mute. 3.2.6 SYSTEM Language Option: [Chinese], [English]. Color Bar Turn on/off color bar. When the color bar on, it can be selected: [100%], [75%]. OSD Timer Option: [10s], [20s], [30s].
- Page 16 Sub net Mask Manually configure Sub net Mask: xxx.xxx.xxx.xxx Note: When [DHCP] on, Sub net Mask cannot be manually set. Gateway Manually configure Gateway: xxx.xxx.xxx.xxx Note: When [DHCP] on, Gateway cannot be manually set. Reset Select the Reset option, press the Menu button to automatically reset.
-
Page 17: Product Parameters
4. Product Parameters Model HDMI Version SDI HDMI Version Panel 17.3 inch Resolution 1920 × 1080 Aspect Ratio 16:9 Brightness 300 cd/m2 Contrast 800: 1 Viewing Angle 170° / 170°(H/V) Input Voltage DC 10~24V Input Signal HDMI 2.0 HDMI 2.0, 3G-SDI Output Signal HDMI 2.0 HDMI 2.0, 3G-SDI... -
Page 18: Trouble Shooting
6. Trouble Shooting 1) Only black-and-white display: Check whether the color saturation is properly setup or not. 2) Power on but no pictures: Check whether the cables of SDI and HDMI are correctly connected or not. Please use the standard power adapter coming with the product package. -
Page 19: Appendix 1: 3D Lut Loading
Appendix 1: 3D LUT Loading 3D LUT supports upload color calibration document and User Log via USB flash disk. Format Requirement LUT format Type: .cube 3D Size: 17x17x17/33x33x33 Data Order: BGR Table Order: BGR USB flash disk version USB: System: FAT32 Size:... - Page 20 LightSpace CMS software user demo - Activate LUT Tool.exe. - Click Input File, then select *LUT.
- Page 21 - Click Output File, choose the file name. - Click Generate Lut button to finish. USB Loading Copy the needed files to the root directory of the USB flash disk. Plug the USB flash disk into USB port of the device after power on.
-
Page 22: Appendix 2: Remote Terminal Instructions
Appendix 2: Remote Terminal Instructions Cross-connection network cable 1) Connect LAN Port on the device to PC network interface by using network cable. 2) Manually configure the IP of the computer which the monitor needs to connect to: xxx.xxx.xxx.xxx 3) Install the Net framework(The device uses OS Win 8 and above do not need to be installed as it ships with this framework.)... - Page 23 Home Screen 1) Software Setup Open the software, it displays related IP address on the left of pop-up window if the device is connected successfully. Picture: The home screen of the application 2) Software Setup 1. Source Zone: To check and setup the selected Source. The settable parameters will be different for different Sources.
- Page 24 4. Copy & Paste Button: Using Copy Button with Paste Button to read and save data get from the device which IP address marks as blue. The copied data can be saved until the process closed. After copy the data from the display device, click Paste Button to save it. The data can be sent to select multiple devices.
Need help?
Do you have a question about the RM-1731S and is the answer not in the manual?
Questions and answers