Advertisement
Advertisement

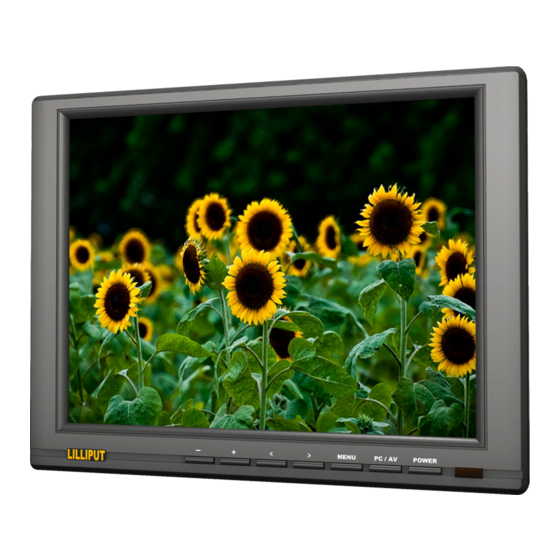
Related Manuals for Lilliput FA1045


Summary of Contents for Lilliput FA1045
- Page 1 TFT LCD COLOR MONITOR...
- Page 2 DEAR CUSTOMERS Thank you for purchasing the liquid crystal display monitor. This product employs new integrate circuits and high quality TFT LCD modules. It is putting out with its low power consumption, emits no radiation, and other advantage characteristics. This product is shaped with modern style and is easy to be carried with.
-
Page 3: Table Of Contents
CONTENTS 1. PRODUCT DESCRIPTION -------------------- 2. REMOTE CONTROLLER --------------------- 3. MENU OPERATION ---------------------------- IN AV MODE-------------------------------------- IN PC MODE-------------------------------------- IN DVI&HDMI&YBPDR MODE-------------- 4. MATCHED CABLES------------------------- 5. ACCESSORIES ------------------------------------ 6. PARAMETER -------------------------------------- 7. TROUBLESHOOTING --------------------------- 8. REMARK----------------------------------------... -
Page 4: Product Description
1. PRODUCT DESCRIPTION 2 3 4 5 17 16 15 14 13 12 10 9 8 1. - : Volume down or to adjust the value of setting function 2. +: Volume up or to adjust the value of setting function 3. - Page 5 15. Audio L/R input 16. Audio L/R output 17. USB port(Touch connector) 2. Remote control 1. MUTE 2. PC(VGA),AV1,AV2,HDMI,DVI,YPBPR and S-video switch : Left move,Volume down or to adjust the value of setting function 4. MENU: To activate OSD menu (long press to underscan/overscan pictures automatically when receiving HDMI (High-Definition Multimedia Interface) signals) 5.
-
Page 6: Menu Operation
3.MENU OPERATION Before setting the menu functions, please make sure the device is connected correctly. When power on, press MENU on the device or on the remote controller. The menu of function setting will display on the screen. Press >/< buttons on the device or ▼/▲ buttons on the remote controller to select items on the left of the display. - Page 7 IN DVI & HDMI & YPBTR MODE (Note: DVI & HDMI optional) item to a new page. Icon Name Function Brightness Adjust the level of brightness Contrast Adjust the level of contrast Saturation Adjust the level of saturation Tint Adjust the tint of image OSD H-Position Adjust the on-screen-display horizontally OSD V-Position...
-
Page 8: Matched Cables
Choose language between English and Chinese Language Japanese(optional) Enter to next page (See picture below) for Miscellaneous miscellaneous selections Exit OSD Select “Exit” to quit the on-screen-display menu. Sharpness Adjust the sharpness of picture Adjust the display duration of OSD from 5-100 OSD Duration seconds. -
Page 9: Parameter
5. ACESSORIES 1. 4 pin Y/C signal cable 1 piece 2. HDMI type A-C 1 piece 3. Touch pen 1 piece 4. Drive disk 1 piece 5. Remote control 1 piece 1 piece 6. DVI cable 7. VGA15-pin cable 1 piece 8. -
Page 10: Troubleshooting
7. TROUBLE SHOOTING Only black-and-white image Make the level of color saturation and brightness is proper. Power on but no picture Make sure the AV &VGA &HDMI&DVI&YPBPR&S connector cable is tightly connected from the video out connector AV &VGA &HDMI&DVI&YPBPR&S connector signal output connector. Make sure you are using the standard power adapter coming with the monitor.
Need help?
Do you have a question about the FA1045 and is the answer not in the manual?
Questions and answers