Table of Contents
Advertisement
Advertisement
Table of Contents

Related Manuals for Lilliput T5


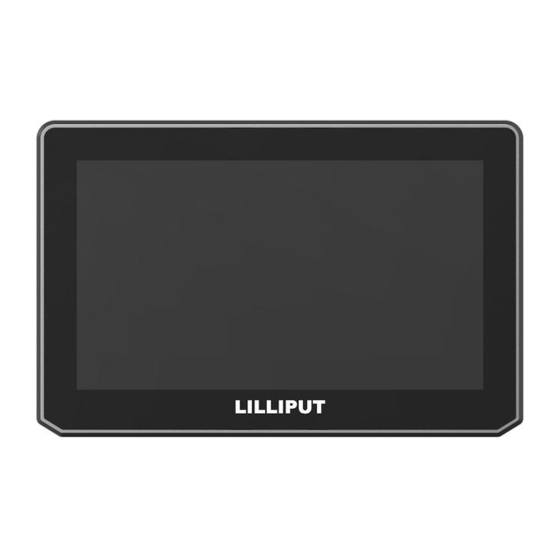
Summary of Contents for Lilliput T5
- Page 2 Important Safety Instructions: Please read User Guide before using this product. Please keep User Guide for future reference. Please read the precaution to prevent possible danger and loss of property. Precaution: Please do not place the display screen towards the ground. ...
-
Page 3: Table Of Contents
Contents 1. Main Features ..................3 2. Production Description ................4 2.1 Back Housing .................. 4 2.2 DV Battery Mount Plate ..............5 3. Menu Setting ................... 6 3.1 Shortcut Touch Gesture ..............6 3.2 Menu Operation ................8 3.2.1 Peaking Function ..............8 3.2.2 Color Adjustment ............... -
Page 4: Main Features
1. Main Features Support HDMI 2.0 4K 60 HZ input Support Touch Function Peaking (Red/Green/Blue/White) False Color( Off/Default/Spectrum/ARRI/RED) Check Field( Off/Red/Green/Blue/Mono) LUT : Camera LUT/ Def LUT/ User LUT Scan: Aspect/Zoom/Pixel to Pixel ... -
Page 5: Production Description
2. Production Description 2.1 Back Housing 1) Menu button: when use button, it can be used as the option to determine key. 2) " “Left button When no menu, once press " " button, it will display shortcut menu: Brightness, Contrast, Color, Tint, Backlight, Volume. After selecting one of the options, press "... -
Page 6: Dv Battery Mount Plate
10) USB: for LUT load and update 11)HDMI 2.0 Input 12)DC 7-24V Input 2.2 DV Battery Mount Plate First put battery into the plate, Please slide LP-E6 battery to the left, Please slide F970 battery to the right. PUSH Botton: Press the “PUSH “button to remove the battery. -
Page 7: Menu Setting
3. Menu Setting Before setting the functions, please make sure the device is connected correctly. 3.1 Shortcut Touch Gesture Left slide up and down: back light control. Right slide up and down: volume control. Slide left and right: activate the shortcut menu... - Page 8 Two-finger zoom: no menu display, arbitrary zoom-in and zoom-out of image, and support moving image when zooming-in. Center slide up and down: activate or hide the menu Power Button: Short press: power button Long press: touch switch...
-
Page 9: Menu Operation
3.2 Menu Operation 3.2.1 Peaking Function -Peaking Use this item to activate or deactivate the peaking function. - Peaking Color Select one of the peaking colors: [Red], [Green], [Blue], [White], [Black]. - Peaking Level Use this item to adjust the level of peaking from 1-100. The higher peaking level is, the more obvious peaking effect is. - Page 10 color table is between 0-100 IRE. - Exposure Use this item to activate or deactivate the exposure function. Note! When activated, exposure works if the input signal exceeds the designated exposure level. - Exposure Level Use this item to adjust the level of exposure among 1-100. - Histogram Use this item to activate or deactivate histogram.
-
Page 11: Color Adjustment
3.2.2 Color Adjustment - Brightness Control the degree of brightness between 0-100, default value: 50. - Contrast Control contrast ratio between 0-100, default value: 50. - Saturation Adjust the color intensity between 0-100, default value: 50. - Tint Adjust tint between 0-100, default value: 50. - Sharpness Control sharpness of the image between 0-100, default value: 0. -
Page 12: Lut
- R/G/B Gain Adjust the R/G/B Gain of the current Color Temperature from 0 to 255. Default value: 128. - R/G/B Offset Adjust the R/G/B Offset of the current Color Temperature from 0 to 511. Default value: 256. 3.2.3 LUT - Camera LUT Adjust the camera LUT model among [Off], [Def. -
Page 13: Display
disk. Insert the USB flash disk to the device, the User Log is saved to the device automatically at the first time. the power indicator will flash when User Log is saved, stop flashing when saved completely. Default: User1 If the User Log is not loaded for the first time, the device will pop up a prompt message, please choose whether to update or not. - Page 14 - Overscan Use this item to activate or deactivate overscan. - H/V Delay Select one of the H/V modes: [OFF], [H], [V], [H/V]. When H/V Delay on, the blanking portions of the input signal will be displayed horizontally and vertically. - Freeze Choose [On] to capture one frame of current image on the screen, and choose [Off] to close freeze function.
-
Page 15: Audio
3.2.5 Audio - Volume Adjust the volume among 0-100. - Level Meter Select whether to activate or deactivate level meter. Note! Level meter default: [on]. - Audio Channel Select one of the audio channels among [CH1&CH2], [CH3&CH4], [CH5&CH6], [CH7&CH8]. Note! Audio channel default: [CH1&CH2]... -
Page 16: Marker
3.2.6 Marker - Center Marker Select [On] to display the center marker “+” and [Off] not to display it. - Aspect Marker Select the aspect ratio of the marker: [Off], [16:9], [1.85:1], [2.35:1], [4:3], [3:2], [Grid]. - Safety Marker Select the size of the safety markers: [95%], [93%], [90%], [88%], [85%], [80%]. Note! When [Aspect Marker] is selected as [Grid], the safety marker cannot be displayed. -
Page 17: Setting
[White]. - Aspect Mat. Select whether to activate or deactivate aspect mat. Adjust the value of transparency, The higher transparent value is, the lower transparent effect is. When activated, it can be selected from [ 1-7], (Step value is 1). -Thickness Adjust the thickness mode among [1-15], (step value is 1). -
Page 18: Product Parameters
Adjust the level of the back light from 0 to 100, default value: 100 - Color Bar Option: [Off], [100%], [75%], default: [off]. - F Config F1 optional function: peaking, false color, exposure, histogram, Level meter, mute, Center marker, aspect marker, safety marker, overscan, scan, aspect, Gamma, camera LUT, check field, H/V delay, freeze, color bar, default: peaking. -
Page 19: Accessories
5. Accessories Standard: 1) HDMI A/C cable 2) Mini Hot shoe mount 3) Sun shade frame 1 pc 4.5) Folding sun shade cover... -
Page 20: Trouble Shooting
Lilliput’s price list. 7.1.2. It is possible that you may need to return products to Lilliput for servicing or troubleshooting. Before you send any product to Lilliput, you must e-mail us, telephone us or fax us and wait for a Return Material Authorization (RMA) form to be sent to you. -
Page 21: Free Repair Exclusions
After our verification that the returned product matches our warranty terms and conditions, Lilliput will repair the defective product free of charge, and also bear the resend transportation charge. If the delivered product is confirmed out of warranty, our customer service center will inform the customers.
Need help?
Do you have a question about the T5 and is the answer not in the manual?
Questions and answers