Advertisement
Quick Links
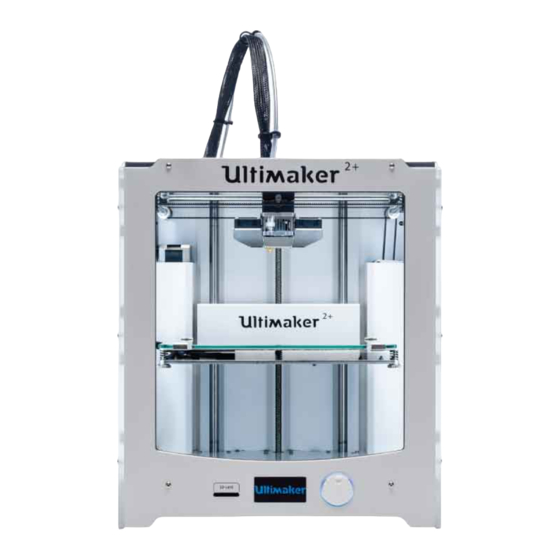
Repair manual Ultimaker 2+
Replacing
the mainboard
For internal use only
Replacing the mainboard
Make sure the filament is removed, the Ultimaker is turned off and the
power supply is disconnected before you start the replacement.
Tip: All orientations are noted as seen from the front of the printer.
Note: These instructions are the same for the Ultimaker 2, Ultimaker
2 Extended and Ultimaker 2 Go, as well as the Ultimaker 2+ and
Ultimaker 2 Extended+. Small differences are explained for the
specific steps.
Equipment/supplies needed
Tools
•
2.0 hex screwdriver
•
Slotted screwdriver
•
Pliers or socket wrench
Parts
•
1x 1370 Ultimainboard 4 steppers
1
Page.
Advertisement

Subscribe to Our Youtube Channel
Summary of Contents for Ultimaker 2+
- Page 1 For internal use only Replacing the mainboard Make sure the filament is removed, the Ultimaker is turned off and the power supply is disconnected before you start the replacement. Tip: All orientations are noted as seen from the front of the printer.
- Page 2 They are not attached with bolts. To remove the left motor cover on the Ultimaker 2Go, grab the top of the cover and pull forwards and to the left. This will dislodge the tabs of the cover from the notches in the frame.
- Page 3 Remove the Fan PWM Note: This process is different for several printers. Ultimaker 2Go: The mainboard of the Ultimaker 2Go is upside down compared to the other printers in the complete Ultimaker 2 family. It does not have to be flipped, since the side with the connectors is already facing towards you.
- Page 4 Disassembly • Remove the X limit switch cable (blue) • Remove the PT100B sensor cable • Remove the Heated bed sensor cable • Remove the Y limit switch cable (red) • Remove the Z limit switch cable (black) Tip: The spacers are small and easily get lost. Remove the bolts one by one, and hold the spacer just before the bolt comes out completely.
- Page 5 Disassembly 6. Flip the Ultimainboard around • This makes it easier to remove certain other connections. • Remove the Heater Cartridge cable • Remove the Bed heater wires cables • Remove the Hot end fan cable Tip: To remove the heater wires it is easier to first slide the whole •...
- Page 6 Note: This process is different for several printers. Ultimaker 2 Go: The Ultimaker 2 Go does not have a heated bed, so, • Connect the blue-orange cable of the 5V hot end fan to the obviously, also no heater wires.
- Page 7 ‘EXP1’. Connect the other cable to ‘EXP2’. Note: This process is different for several printers. Ultimaker 2 / 2 Extended / 2 Go: The PT100 is a silver cable with three thin wires at the end, two red and one white.
- Page 8 Ultimainboard with the bolts. Note: This process is different for several printers. Ultimaker 2 Go: The mainboard of the Ultimaker 2Go is upside down compared to the other printers in the complete Ultimaker 2 family. It does not have to be flipped, since the side with the connectors is For internal use only already facing towards you.
- Page 9 Re-assembly 4. Secure the Ultimainboard to the bottom panel 5. Ensure good cable management 6. Placing the ferrite core • Very loosely screw the bolts into the threaded spacers on the • Place all the cables on the left side of the Ultimainboard neatly •...


Need help?
Do you have a question about the 2+ and is the answer not in the manual?
Questions and answers