Advertisement
Quick Links
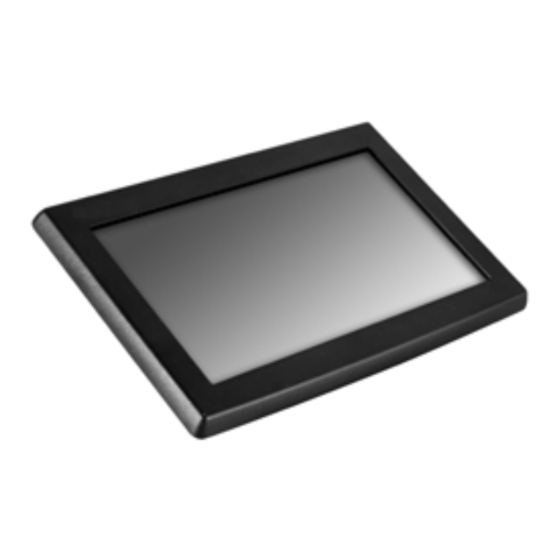
PD-6807U/6807R
Rear-Mount Customer Display
User Manual
PD-6807U/6807R
Product Features
OPOS application support
7" graphical customer line display
TFT LCD panel with resolution up to 800 x 480
Adjustable font and background color
JPEG graphics display support
Support to 13 code pages, each having 128 characters
Support to 12 international character sets, each having 12 characters
Slide show and screen saver support
Command emulations support: ADM, Aedex, ESC/POS, Futaba,
Noritake, UTC
Powered through the USB or COM port
Virtual COM port supported for USB interface
Rear-mount for PS-3000 series terminal
19520905020 Ver. A0
Package Contents
7" Rear-Mount Customer Display
with Bracket (x 1)
3-10L Self-Tapping Screw (x 4)
USB Cable for PD-6807U (x 1)
RS-232 Cable for PD-6807R (x 1)
User Manual (x 1)
1
Advertisement

Subscribe to Our Youtube Channel
Related Manuals for POSIFLEX PD-6807U


Summary of Contents for POSIFLEX PD-6807U
- Page 1 Package Contents 7” Rear-Mount Customer Display with Bracket (x 1) 3-10L Self-Tapping Screw (x 4) USB Cable for PD-6807U (x 1) RS-232 Cable for PD-6807R (x 1) User Manual (x 1) PD-6807U/6807R Product Features OPOS application support ...
- Page 2 Views of the PD-6807U/PD6807R Front View TFT LCD Panel Rear View Screw Holes Bottom View of PD-6807U USB Port Bottom View of PD-6807R RJ45 Port USB Port DC-IN Power Jack (Reserved)
- Page 3 PS-3000 series POS terminal. Insert the USB or RS-232 cable into the POS terminal. For PD-6807U model, align the A type connector of the USB cable with the USB port of your POS terminal; for PD-6807R model, have the RJ50 connector of RS-232 cable with a label describing “To Host”...
- Page 4 Insert the USB or RS-232 cable into the customer display. For PD-6807U model connect the B type connector of USB cable to the USB port of the customer display; For PD-6807R model, attach the RJ45 connector of the RS-232 cable with a label describing “To PD”...
- Page 5 Tuck the extra cable into the rear I/O compartment. Before putting the rear I/O cover back Cable Exit into place, make sure the cable can be threaded through the cable exit as shown in the figure. Press down the cover to close the rear I/O compartment.
- Page 6 Installing the Virtual COM Driver for PD-6807U Refer to the following steps for the driver installation. Connect the USB cable of PD-6807U to your POS terminal. Locate the “SA_PD_LM” folder from the “Drivers” folder in the Local Disk (C:) of your POS terminal You will find the “USB_VCOM”...
-
Page 7: Specifications
Specifications PD-6807U PD-6807R LCD Panel 7" TFT LCD Surface Treatment Anti Glare (Up Polarizer) Language Code Support PC437/PC850 (Western Euro)/PC860 (Portuguese)/ PC863 (Canadian, French)/PC865 (Nordic)/ PC866 (Cyrillic2)/PC864 (Arabic)/PC858 (Euro)/ PC737 (Greek)/W1257 (Baltic)/W1253 (Greek)/ PC857_Turkish/PC775 (Baltic)/PC855 (Cyrillic)/ W1254_Turkish/W1255 (Hebrew)/ W1251 (Cyrillic)/PC862 (Hebrew)/W1252 (Latin)/... - Page 8 <MEMO>...
- Page 9 <MEMO>...
- Page 10 <MEMO>...
Need help?
Do you have a question about the PD-6807U and is the answer not in the manual?
Questions and answers