Advertisement
Quick Links
Advertisement

Related Manuals for Cookology HICYL351BK


Summary of Contents for Cookology HICYL351BK
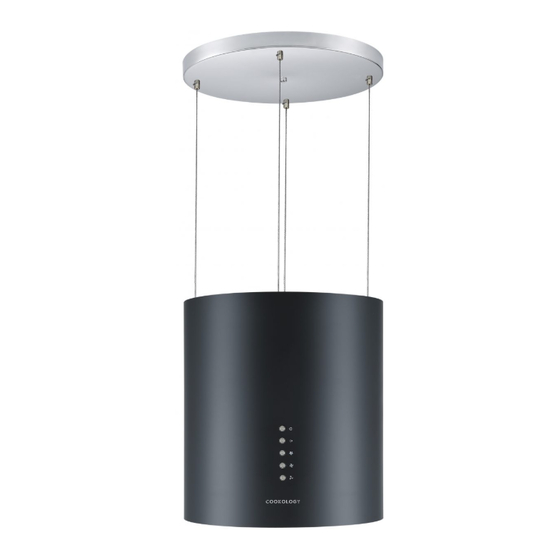
- Page 1 HICYL351BK & HICYL351SS HICYL351COP & HICYL351WH Cooker hood Instruction manual...
-
Page 2: Table Of Contents
CONTENT 1……………………………………….Notice 2……………………………………….Feature 3………………………………………..Installation 4………………………………………..Notice of installation 5………………………………………..Safety Warning 6…………………………………………Speed adjustment 7…………………………………………Maintenance 8………………………………………….. Abnormity and Solution... -
Page 3: Notice
1.Notice This appliance can be used by children aged from 8 years and above and persons with reduced physical, sensory or mental capabilities or lack of experience and knowledge if they have been given supervision or instruction concerning use of the appliance in a safe way and understand the hazards involved. - Page 4 The instructions shall state the substance of the following: – there shall be adequate ventilation of the room when the range hood is used at the same time as appliances burning gas or other fuels (not applicable to appliances that only discharge the air back into the room);...
- Page 5 – CAUTION: Accessible parts may become hot when used with cooking appliances. The installation instructions shall include the substance of the following: – the air must not be discharged into a flue that is used for exhausting fumes from appliances burning gas or other fuels (not applicable to appliances that only discharge the air back into the room);...
- Page 6 discharge of air have to be fulfilled. The installation instructions for range hoods with accessible metallic enclosures of class II construction shall include details that indicate the location and maximum permitted lengths for any fixing or mounting screw or other fixing device that penetrates into the range hood to attach an accessory such as a facia or duct fitting.
-
Page 7: Feature
substance of the following warning. Warning: Failure to install the screws or fixing device in accordance with these instructions may result in electrical hazards Feature 1. The cooker hood uses high quality materials, and is made with a streamlined design. 2. -
Page 8: Installation
INSTALLATION 1. Before installation, turn the unit off and unplug it from the outlet. 2. The cooker hood should be placed at a distance of 65~75cm above the cooking surface for best effect. 3. The ceiling must can bear at least 120KGs weight, and the thickness of the ceiling must be ≥30MM. - Page 9 5. Install the four adjustable screw M5*28, direct the wirerope across the adjustable screw to make the wirerope to proper length, and use the wirerope locking screw M4*10 to lock the screw tight, make sure the 4 pcs of wirerope almost the same length. See pic 3. (Calculate the length of the wirerope according pic 1.) 6.
-
Page 10: Notice Of Installation
the power cord along the wirerope with the wire tie. See pic 8. Installation done. 4.Notice of installation 1. Before installation, please ensure the area is clean to avoid suction of the remaining bits of broken wood and dust. 2. It cannot share the same air ventilation tube with other appliance such as gas tube, warmer tube, and hot wind tube. -
Page 11: Speed Adjustment
competent person. Before cleaning, always ensure that you have switched your cooker • hood off. Clean the cooker hood according to the instruction manual and keep • the cooker hood from the danger of burning. No fire for drying your cooker hood. •... - Page 12 2. Power on: Press power button one time, its indicator light will lit on, the hood works at low speed. Indicator light of low speed will be bright. Press power button again to close it, and its indicator light will be off. All the function operation of the hood will be closed, the hood enters into standby mode, and recycle by circle.
-
Page 13: Maintenance
7. MAINTENANCE 1. It is recommended to operate the appliance prior to cooking. 2. It is recommended to leave the appliance in operation for 15 minutes after cooking is terminated in order to completely eliminate cooking vapors and odors. 3. The proper function of the cooker hood is conditioned by the regularity of the maintenance operations, in particular, the active carbon filter. - Page 14 You can clean the filter as below measure: Soak them for about 3 minute in hot water (40-50 degrees) with a grease-loosening detergent then brush it gently with a soft brush. Please do not apply too much pressure, avoid damaging it. Note: Please do not use abrasive detergent for it will damage the hood;...
- Page 15 • When activated carbon filter attached, the suction power will be lowered. BULB REPLACEMENT Important : The Bulb must be replaced by a competent person. Always switch off the electricity supply before carrying out any operations on the appliance. When handling bulb, make sure it is completely cool down before any direct contact to hands.
-
Page 16: Abnormity And Solution
Abnormity and Solution Cause Solution Fault The leaf blocked Get rid of the blocking The capacitor damaged Replace capacitor Light on, but motor does not work The motor jammed bearing Replace motor damaged The internal with of motor off or Replace motor a bad smell from the motor Beside the above mentioned, check the following:... - Page 17 ENVIRONMENTAL PROTECTION: This product is marked with the symbol on the selective sorting of waste electronic equipment. This means that this product must not be disposed of with household waste but must be supported by a system of selective collection in accordance with Directive 2002/96/EC.
Need help?
Do you have a question about the HICYL351BK and is the answer not in the manual?
Questions and answers