Advertisement
Quick Links
Advertisement

Subscribe to Our Youtube Channel
Related Manuals for fantastic furniture Milford Pantry 1 Door


Summary of Contents for fantastic furniture Milford Pantry 1 Door
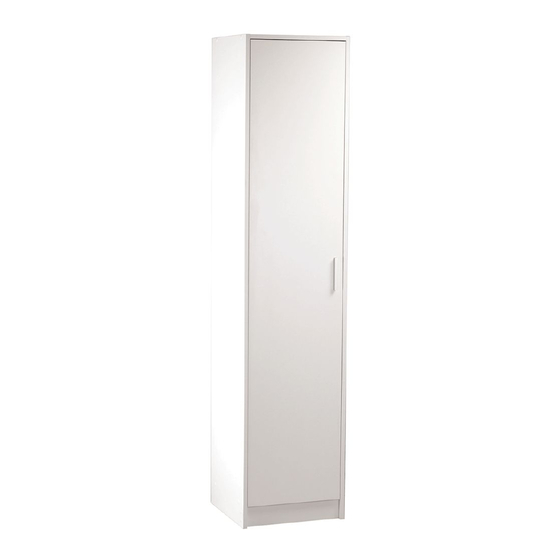
- Page 1 Milford Pantry 1 Door fantasticfurniture.com.au...
- Page 2 Secure it! Reduce the risk of furniture tip-over accidents WARNING: ENSURE THE WALL STRAP IS ATTACHED TO AVOID SERIOUS INJURY OR DEATH. To avoid any serious or fatal injury, a wall strap has been provided with this product to prevent toppling. We strongly recommend that this product is permanently fixed to the wall or other suitable surface.
- Page 3 ’re thrilled you’ve chosen Fantastic Furniture to help create a home you’ll love! Love it? Share it! Fantastic buy! Share how it looks at home on Instagram for your chance to win a $250 Fantastic Furniture Gift Card! @fantasticfurniture fantasticfurniture.com.au Page 3...
-
Page 4: Assembly Checklist
Assembly Checklist Read through the instructions Make sure you have all the required tools. Never use power tools unless instructed. carefully before you begin. Unless instructed, do not fully tighten Identify and lay out all of the components before you begin assembly. screw s until the item is fully assembled. -
Page 5: What You Need
What You Need Right Side Panel Top Panel to assemble the product (P2) (P3) Back Panel (P6) j ustable Shelf (P7) Other tools you need Phillips head screwdriver Hammer. F ixed Shelf (P5) t Side Panel (P1); Right Side Panel (P2); Le t Side Panel Top Panel (P3);... - Page 6 Step 1 (H5) (H5) You will need (H5) (H4) (H4) 6 x Screws 3 x Hinges (H5) (H5) (H4) (H4) (H8) (H8) 1 x Handle 2 x Screws (H5) (H7) (H8) (H4) (H7) Phillips head screwdriver (P9) Attach 3 x Hinges (H4) to oor (P9 ) as shown with 6 x crews (H5 ) by tightening with the Phillips Head crewdriver.
- Page 7 Step 3 You will need (H3) 4 x Dowels (H3) (P5) (H3) (H3) (H3) Insert 4 x owels (H3) into ix ed helf (P5 ). Step 4 E nsure the raw edges of side & shelf panels are at the back of the unit and Cam You will need Nuts are on the underside of the shelf before securing...
- Page 8 Step 5 E nsure the raw edges of top& (H14) bottom panels are at the back You will need of the unit before securing (H14) (P3) (H14) 8 x Screws Phillips head screwdriver (H14) (P1) (P2) (H14) (P4) (H14) (H14) Bottom (H14) Attach Top &...
- Page 9 Step 7 You will need 4 x Caps (H12) (P8) (H12) (P8) (H12) (P8) (P8) (H12) (H12) Attach 4 x Caps (H12) to Feet (P8x4) by pressing firmly into place.Ensure they are secured well. Step 8 You will need 34 x Nails 2 x Screws (H17) (H17)
- Page 10 Step 9 You will need (H6 ) (P7) (P2) 12 x Shelf Supports (H6) (H6) (H6 ) (P7) (P1) (H6 ) (P7) Insert 12 x Shelf Supports (H6) to Left & Right Side Panels (P1&P2) as shown at your desired height.
- Page 11 Step 11 You will need Phillips head Screwdriver This will adjust the door This will adjust the door back This will adjust the door up or down or forwards left or right If after assembling the unit the doors are uneven, you can ad ust the hinges with the Phillips Head Screwdriver.
-
Page 12: Job Complete
Step 13 ( H10) ( H13) You will need 1 x Washer (H13) Screws and wall plugs are not provided please use appropriate fixtures for your wall. We strongly suggest using the wall strap to prevent this unit from toppling. Seek advice from a qualified trades person on how to attach this to your specific wall.
Need help?
Do you have a question about the Milford Pantry 1 Door and is the answer not in the manual?
Questions and answers