
Related Manuals for OPTO-EDU A59.4231


Summary of Contents for OPTO-EDU A59.4231
- Page 1 A59.4231 HDMI+USB+TF Digital Camera, 48M, USB Measure Instruction Manual To ensure the safety and obtain satisfactory performance, please study this instruction manual thoroughly before start to use your instrument.
- Page 2 I. Safety Guidelines 1. During the installation of the equipment, be sure to read this safety guide carefully, operate in strict accordance with the installation and use instructions, and keep this manual properly for reference. 2. The power supply voltage of the camera's power adapter is AC100V—240V@50-60Hz, please confirm whether the power supply is within this range before use.
- Page 3 recording, and press the OK key again to stop video recording. III. Instructions 1. Ready to use: (1). Unscrew the lens cap and install the lens; △! Note: tear off the dust protection film on the front of the photosensitive sheet! ! ! (2).
- Page 4 (6). When the Position is highlighted, press the OK key or the MODEL key to move the lines, and long press to move the lines quickly. (7). When Color is highlighted, press the OK key or the MODEL key to change the color of the line.
- Page 5 5.AWB set (1)Press MENU to open the main menu, press the DOWN key to move to the AWB option, then press the OK key to enter the white balance menu, use the OK key and MODEL to select automatic balance on or automatic white balance off. (2) Enter the white balance setting menu, after turning off the automatic white balance, you can adjust the red, green and blue values.
- Page 6 7. Frequency set Press MENU to open the main menu, press the DOWN key to move to the Frequency option, then press the OK key to enter the optical frequency menu, use the UP key and the DOWN key to select 50Hz or 60Hz, press the OK key to confirm and exit, press MENU Menu key to give up the operation and return to the main menu.
- Page 7 10. Resolution set Press MENU to open the main menu, press the DOWN key to move to the Resolution option, then press the OK key to enter the Resolution menu, use the UP key and the DOWN key to select the desired pixel, press the OK key to save and exit to return to the main menu. 11.
- Page 8 13. Date & Time set Press MENU to open the main menu, press the DOWN key to move to the Date & Time option, and then press the OK key to enter the date and time menu. Press the OK key to switch and select the cycle to select the item to be adjusted (such as year, month, day).
- Page 9 15. Monitor set Press MENU to open the main menu, press the DOWN key to move to the Monitor option, then press the OK key to enter the Monitor menu, use the UP key and the DOWN key to select the desired display scale, press the OK key to save and exit to return to the main menu.
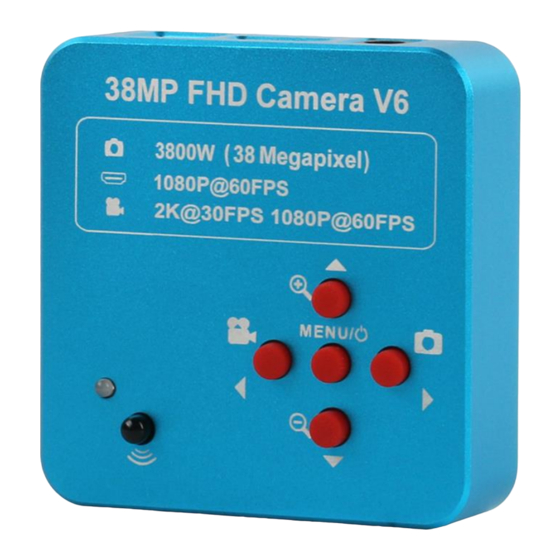
- Page 10 VI. Remote control and button operation instructions Electronic Amplification Left Button Horizontal Mirror Vertical Mirror Black And White Photograph Electronic Zoom Out Up Key Right Click Menu Automatic Exposure Down Key Auto White Balance Center Reticle Play Freeze Play Back Video VII.
Need help?
Do you have a question about the A59.4231 and is the answer not in the manual?
Questions and answers