
Related Manuals for Motobilt MB1199


Summary of Contents for Motobilt MB1199
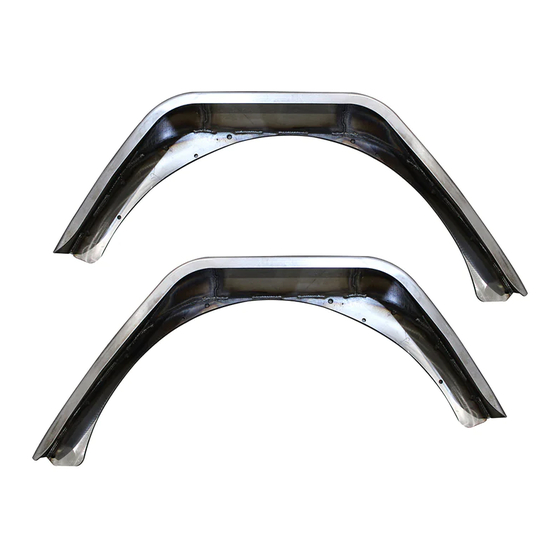
- Page 1 REV: 0 MB1199 - Assembly JLU Rear Highline Fenders ASSEMBLY INSTRUCTIONS motobilt.com | 334-219-2333...
- Page 2 REV: 0 MB1199 - Assembly JLU Rear Highline Fenders CONTENTS MB1199 - Weldment, Driver MB1199 - Weldment, Passenger Countersunk Screw Rivnut 1/4"-20 UNC x 1.00" Long 1/4"-20 UNC Qty 16 Qty 16 motobilt.com | 334-219-2333...
- Page 3 REV: 0 MB1199 - Assembly JLU Rear Highline Fenders ASSEMBLY - STEP 1 CLEAN WELDED FENDERS USING ACETONE PAINT OR POWDER COAT WELDED FENDERS, AS DESIRED REMOVE FACTORY OUTER FENDER FLARES, FACTORY INNER FENDER FLARES & ALL PLASTIC CLIPS. CLEAN ALL SURFACES APPLY MASKING TAPE TO ALL MOUNTING SURFACES motobilt.com | 334-219-2333...
- Page 4 REV: 0 MB1199 - Assembly JLU Rear Highline Fenders ASSEMBLY - STEP 2 POSITION MB1199 FENDER CLAMP IN PLACE MARK COUNTERSUNK HOLES MARKER CLAMP CLAMP DO NOT MARK THESE HOLES. THESE ARE CLEARANCE HOLES FOR OPTIONAL ALUMINUM FENDERS SOLD SEPARATELY...
- Page 5 REV: 0 MB1199 - Assembly JLU Rear Highline Fenders ASSEMBLY - STEP 3 REMOVE FENDER DRILL HOLES FOR RIVNUTS USING A STEP DRILL BIT TEST RIVNUT FIT motobilt.com | 334-219-2333...
- Page 6 REV: 0 MB1199 - Assembly JLU Rear Highline Fenders ASSEMBLY - STEP 4 INSTALL RIVNUTS USING A RIVNUT INSTALLATION TOOL motobilt.com | 334-219-2333...
- Page 7 REV: 0 MB1199 - Assembly JLU Rear Highline Fenders ASSEMBLY - STEP 5 FASTEN FENDER TO BODY USING COUNTERSUNK SCREWS PROVIDED COUNTERSUNK SCREW motobilt.com | 334-219-2333...
Need help?
Do you have a question about the MB1199 and is the answer not in the manual?
Questions and answers