Table of Contents
Advertisement
Quick Links
Advertisement
Table of Contents

Subscribe to Our Youtube Channel
Related Manuals for H-KING FRENZY


Summary of Contents for H-KING FRENZY
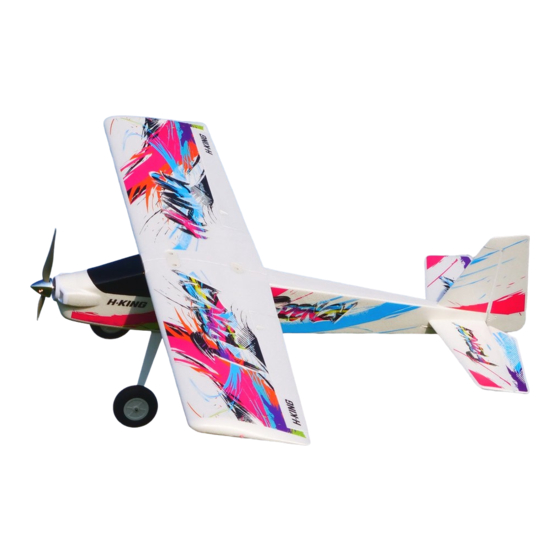
- Page 1 H - KING FRENZY EPO SPORTS AEROBATIC MODEL WITH LED LIGHTS 1400MM...
-
Page 2: Safety Precautions
WARNING This radio controlled model is not a toy. It requires skill to fly and is not recommended for use by beginners without assistance from an experienced model pilot. It should not be operated by children without the supervision of a suitably experienced adult. HobbyKing reserves the right to modify the specification of this model at any time. -
Page 3: Specification
INTRODUCTION: The Frenzy offers a stunning combination of terrific looks and a sensational flight performance. Manufactured from tough EPO it is extremely robust, however, in the event of a "less than perfect" arrival, we supply a range of spares to get you flying again in the shortest time. It is... -
Page 4: Horizontal Stabilizer
ASSEMBLY INSTRUCTIONS: 1. UNDERCARRIAGE Fix the undercarriage halves into position with the four 2.6 x 12mm self-tapping screws as shown in ( A). If the screws become excessively tight whilst fixing, simply back them off a tum or two, and then continue. Note: The undercarriage legs are angled towards the front of the fuselage. -
Page 5: Wing Assembly
4. HORIZONTAL AND VERTICAL STABILIZER FIXING Fix the horizontal stabilizer and vertical stabilizer in position with the two 2.6 x 35mm screws provided, (E). The screws must be tightened sufficiently to securely fix the parts in position, however be careful not to over-tighten the screws. - Page 6 The Frenzy is supplied with a unique 4 way lead for joining the aileron servos and the LED lights. Connect two of the 4 leads to the aileron servos, and two of the leads to the LED lights as shown (J). The other single lead goes to the aileron port in your chosen receiver.
-
Page 7: Propeller & Spinner
8. PROPELLER & SPINNER 1. Remove the propeller set out of its packaging. 2. Disassemble the spinner using a screwdriver. 3. Install the propeller assembly onto the motor shaft as shown in illustration (L). 4. Using a wrench on the adapter nut, tighten the assembly onto the motor shaft. 5. -
Page 8: Battery Installation
10. BATTERY INSTALLATION The battery compartment is accessed by gently squeezing the two raised white tags and lifting the rear of the front hinged cover, (M). Your flight battery, (not-included) can easily be installed and connected to the factory fitted XT60 connector, (N). Make certain the battery and cover are both secure before flight, the battery compartment has been made bigger to except larger batteries if required, if your battery is loose in the compartment please use some foam sponge packing to keep it in place. -
Page 9: Control Surface Deflections
Ailerons: 10mm each way. Elevator: 10mm each way. Rudder: 12mm each way. We hope you enjoy many happy and safe flights with your new H-King Frenzy model aircraft. Check-out the other aircraft in the H-King range at www.hobbyking.com. SPARE PARTS: A FULL RANGE OF SPARE PARTS IS AVAILABLE FOR THE FRENZY.. -
Page 10: Recommended Accessories
Tailwheel Assembly Plastic Wing Joiners Wing Joining Rod SKU: 9325000088-0 SKU: 9325000087-0 SKU: 9325000083-0 Prop Adapter Accessory Pack 3720-880KV Brushless Motor SKU: 9325000086-0 SKU: 9325000084-0 SKU: 9325000085-0 RECOMMENDED ACCESSORIES: OrangeRx Tx6i Mode 2 6ch RADIOMASTER TX12 2.4GHz OrangeRx R620X V3 6Ch 2.4GHz DSM2/DSMX Compatible Compact 12ch Multi Protocol 2.4GHz Receiver... - Page 11 APEX CE SPECIALISTS LIMITED UK REP 89 Princess Street, Manchester, M1 4HT, UK APEX CE SPECIALISTS LIMITED Unit 3D North Point House, North Point Business Park, New Mallow Road, Cork, T23 AT2P, Ireland...
Need help?
Do you have a question about the FRENZY and is the answer not in the manual?
Questions and answers