Advertisement
Quick Links
Advertisement

Related Manuals for H-KING BIXLER V2


Summary of Contents for H-KING BIXLER V2
- Page 1 In s tr uction M anu al...
-
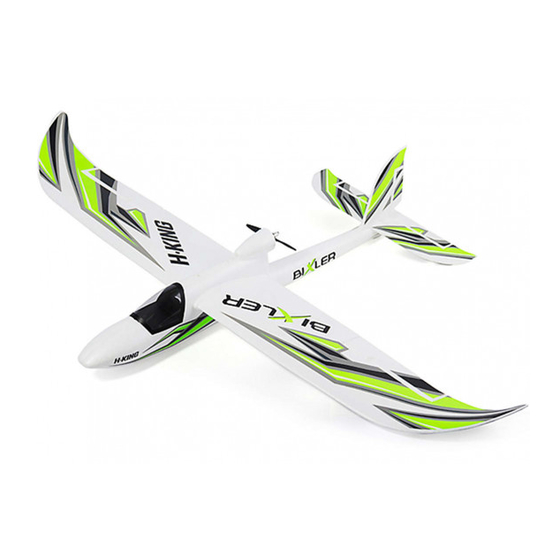
Page 2: Specifications
Specifications Length: 925mm(about 36.5 inches) Wing span: 1400mm Wing area: 26.5dm² Wing loading: 25g/dm² Flight weight: 650g(about 33 ounces) Safety precautions - This is an electric remote controllable model plane and is not a toy. - This BIXLER model is designed for intermediate to advanced pilots. - Children younger than 12 years old must be accompanied by an adult when operating this model. -
Page 3: Battery Charging
1. Fuselage 2. Main Wing Set 3. Horizontal Stabilizer 4. Rudder 5. Propeller 6. Control Rod with Clevises 7. Y-Servo Lead 8. Wing Rod 9. Control Horn Sets Battery Charging The battery must be fully charged before you attempt to fly this BIXLER. To charge the battery, connect the Li-Po battery to the balance charger and the charger to the universal adapter. - Page 4 Assembly Instructions 1. Use a tool to fix and install the aileron. Install the rod to the wing. This rod connects the servo to the wing.
- Page 5 2. Push the wing rod into the wing as shown. Fix the main wing panel to the fuselage. Use a tool to fix and install the main wing onto the fuselage. 04 04...
- Page 6 3. Use a tool to fix and install the vertical tail. Remove any excess glue and hold it in position until the glue sets. Install the linkage rod to the vertical tail. The rod-connecting the servo to the fuselage is pre-assembled. 4.
- Page 7 5. Install the cockpit, glue the plastic cover on the cockpit.
- Page 8 6. Attach the propeller as indicated in the picture. Use a cross head screw driver to tighten it. 7. Make sure the center of gravity (CG) is as indicated in the following diagram. 07 07...
- Page 9 Operating the BIXLER Powering Up 1. The correct power up process is to turn on the transmitter (controller) first. 2. Lower both the throttle stick (left joystick for Mode 2) and the throttle trim tab (left vertical trim tab on Mode 2) all the way down before powering up the BIXLER. 3.
-
Page 10: Control Direction Test
Control Direction Test You should bind your aircraft and transmitter before doing these tests Move the controls on the transmitter to make sure aircraft control surfaces are moving correctly. Note: Make sure tail pushrods move freely and that paint or decals are not adhered to them. -
Page 11: Troubleshooting
Trouble Shooting 10 10...
Need help?
Do you have a question about the BIXLER V2 and is the answer not in the manual?
Questions and answers