Table of Contents
Advertisement
Quick Links
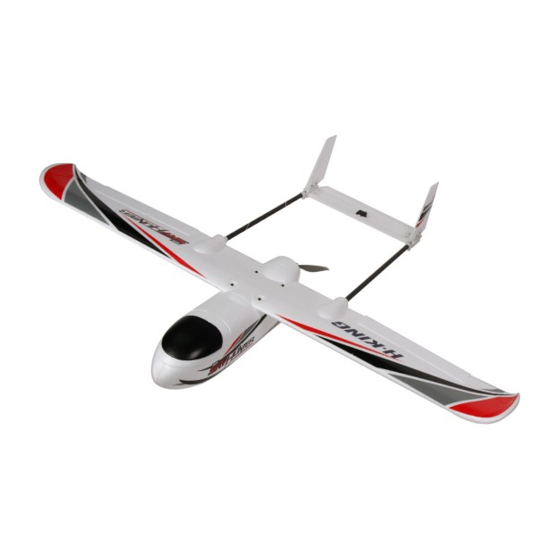
Specs
Wingspan: 1238mm
Length: 855mm
Weight: 830g
Wing Area: 19.5DM²
Features
Molded EPO Airframe
Bolt together construction
Modular 2 piece canopy for sport FPV use
Required
4 Channel Transmitter and Receiver
3S 11.1V 2200~4200mAh Lipoly Battery
3 x 12g Servos
2212 1400kv Brushless Motor
30A Brushless ESC
8x4 Propeller
Plywood under wing tray for flight controllers
Optional Rudder
Molded equipment bays in wing
Advertisement
Table of Contents

Related Manuals for H-KING MINI SKY HUNTER


Summary of Contents for H-KING MINI SKY HUNTER
- Page 1 Specs Required Wingspan: 1238mm 4 Channel Transmitter and Receiver Length: 855mm 3S 11.1V 2200~4200mAh Lipoly Battery Weight: 830g 3 x 12g Servos Wing Area: 19.5DM² 2212 1400kv Brushless Motor 30A Brushless ESC 8x4 Propeller Features Molded EPO Airframe Plywood under wing tray for flight controllers Bolt together construction Optional Rudder Modular 2 piece canopy for sport FPV use...
-
Page 2: Required Items
Tools Required Thank you for purchasing your HobbyKing Mini SkyHunter FPV plane. We hope you enjoy assembling and flying it as we did creating it. A mini sized FPV plane designed for short to mid range flying. The large fuselage bay accomodates from small to larger battery packs, plus a under wing plywood tray can be used to mount flight controllers, OSD, or other equipment. - Page 3 Contents Airframe Assembly 1) Locate elevator servo extension and insert through the left tail boom. The female servo plug should be toward the tail. *Note* For optional rudders, insert rudder servo leads at this time. See page 8 for rudder installation. 2) Connect elevator servo plug to servo extension.
-
Page 4: Recommended Accessories
Recommended Accessories Orange Tsix 6 Ch Transmitter Sku: 9403000063 (Mode 1) Orange RX R615X DSM2/DSMX 9403000064 (Mode 2) Sku: 9442000031 Turnigy NanoTech A-Spec G2 Turnigy Screwdriver Set 3S 11.1V 2200mAh Sku: 9442000031 (Philips/Flat Head) Sku: 9472000003 9442000031 (Hex driver - Metic/Imperial) Turnigy Reaktor 30A 1000W Quanum Complete FPV Bundle Balance Charger... - Page 5 5) Insert wing spar into wing halves. Push together until ends touch. 9) Glue fiberglass wing inserts to wing using contact cement or your favorite choice of glue. *Note* If you plan to break down your Mini Skyhunter, run the elevator servo wire outside of wing.
- Page 6 12) Tighten the four tail boom clamps. Check to make sure tail boom lengths are the same, and that the horizontal stabilier is parallel to the wing. Use blue thread lock to secure. 14) Attach wing to fuselage using M3 screws, using the shorter screws in the aft mounting holes.
- Page 7 2) Glue tray doubler to bottom of main tray piece. Make sure the camera cut 2) Glue servo into rudder with foam safe glue. If you opted for adding rudders, out is oriented, so the large cable cut out is on the left as shown. (bottom view) you would have pre-installed servo leads into the booms in step 1 of General Assembly.
- Page 8 Setup Pre-Flight 1) Before flying this model, check that the model is assembled per this manual and is free from any damage that may have occured during transport. 2) Insert flight battery and check for proper center of gravity. Secure battery with velcro on the bottom of pack and velcro strap around it.
Need help?
Do you have a question about the MINI SKY HUNTER and is the answer not in the manual?
Questions and answers