Table of Contents

Related Manuals for SMITH SYSTEM Flexline Station


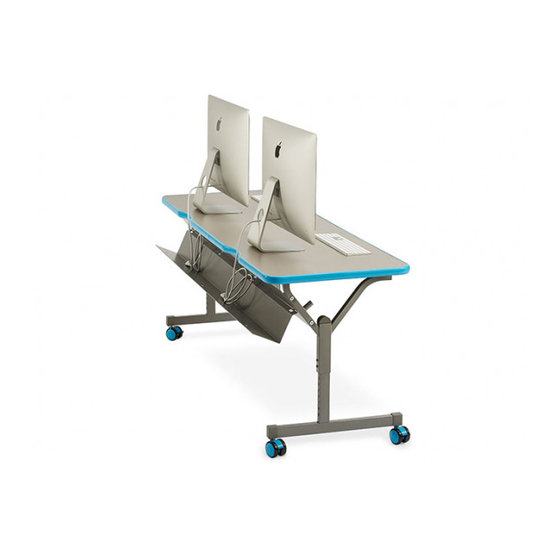
Summary of Contents for SMITH SYSTEM Flexline Station
- Page 1 Flexline Station Assembly Instructions For Assistance in assembling product, missing or damaged parts, or to place an order, please contact customer service at 800-328-1061 You may also place your order online at www.smithsystem.com Form# 179844 04/2013...
- Page 2 Hardware and Components #10x3/4” Wood Screw Button Hd Scrw M8x20mm P/N: 70867 – Connector Bolt ¼-20x23mm P/N: 70054 P/N: 70088 P/N 70871 – Connector Nut ¼-20x17mm (QTY: 32) (QTY: 3) (QTY: 8 of each) Table Top (QTY: 1) Allen Wrench 3/16” 3/8”-16x.625 Dog Nut Screw P/N: 77813 P/N: 77741...
- Page 3 Assembly Instructions Step 1: Place the top on a smooth, clean surface with the bottom facing up, being careful not to scratch the top surface. Step 2: Align the Y-legs and the “L” brackets with the Predrilled holes, but only attach the “L” brackets to the top using (4) Wood Screws.
- Page 4 Step 5: Place the wire manager into the hooks located at the back of the panel. Using the (2) Button Head Screws, attach the wire manager to the “L” Brackets (See Drawing 3). Drawing 3 Step 6: Adjust the legs to the desired height by loosening the 3/8”-16 Dog Nut Screws and pulling out the lower part of the leg to the desired height (See Drawing 4).
Need help?
Do you have a question about the Flexline Station and is the answer not in the manual?
Questions and answers