Table of Contents
Advertisement
Quick Links
Installation
and Operating
Instructions
Model:
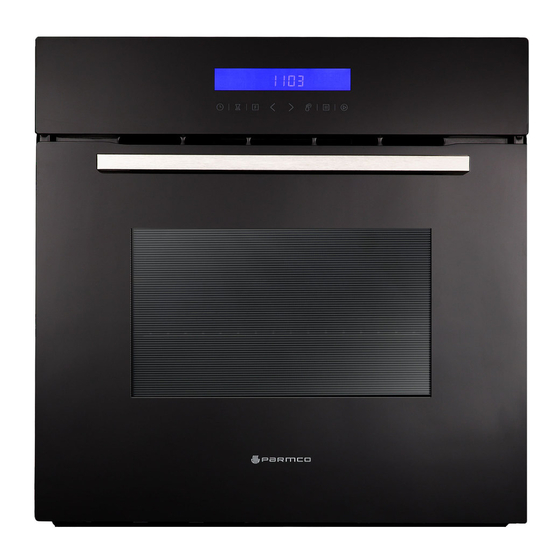
PPOV-6B-9
For your convenience, we recommend to attach the serial number label HERE.
As part of Parmco Appliances commitment to improving and updating product ranges,
we reserve the right to alter, change and update technical specifications and appearance
attributes of all Parmco Appliances products. E&OE.
727626022015
Advertisement
Table of Contents

Related Manuals for Parmco PPOV-6B-9


Summary of Contents for Parmco PPOV-6B-9
- Page 1 PPOV-6B-9 For your convenience, we recommend to attach the serial number label HERE. As part of Parmco Appliances commitment to improving and updating product ranges, we reserve the right to alter, change and update technical specifications and appearance attributes of all Parmco Appliances products. E&OE.
- Page 2 Parmco Appliances before any installation is carried out. We hope you enjoy your new appliance. If you would like to nd out more about this product or any other products in Parmco’s extensive range, visit us on the web at www.parmco.co.nz. Regards,...
-
Page 3: Table Of Contents
Standards and Regulatory Requirements with particular reference to the New Zealand Electrical Standards. Any attempt to install this or any other Parmco product without an authorised person could result in damage to the product and a possible health hazard. Not having an authorised person install this appliance may result in all associated warranties from Parmco Appliances being null and void. -
Page 4: Important Safety Information Page
IMPORTANT SAFETY INFORMATION We recommend that for best performance and to extend the life of your appliance you read the instructions in this owner's manual thoroughly before using your new appliance. It will provide you with all the information you need to ensure its safe installation, proper use and maintenance. - Page 5 DO NOT use a steam cleaner to clean this appliance. NEVER line the oven with aluminium sheets as doing so may damage the enamel and elements. WARNING: Accessible parts may become hot during use. To avoid burns young children should be kept away.
-
Page 6: Product Description
PRODUCT DESCRIPTION This multi-function oven combines the advantages of traditional convection ovens with a modern fan assisted oven in a single appliance. It is an extremely versatile appliance that allows you to choose easily and safely between different cooking modes. It is important to remember that this oven may perform differently to the way your previous appliance worked. -
Page 7: Cooking Functions
COOKING FUNCTIONS Symbol Function description Oven light: Turns on the oven light. Please note this function does no cooking. Defrost: The air circulation at room temperature enables quicker thawing of the frozen food without using any heat. It's a gentle but quick way to speed up the defrost time. -
Page 8: Operating Instructions
OPERATING INSTRUCTIONS 1. SETTING THE CLOCK After the unit is connected to power, the symbols 0:00 will be displayed on the control panel. Press and the hour indicator will flash. Press to adjust the hour digits, time should be within 0-23 hrs. ... - Page 9 4. ENQUIRING FUNCTION During cooking, you can select the enquiring function; after 3 seconds the oven will return to the current working state. During cooking, press to check the current time. If the clock was set, press to check the remaining time. 5.
- Page 10 8. ENERGY SAVING To save energy the display can be turned off. While in standby and timer mode, press for three seconds. The LED display will go off and set in the energy-saving mode. If there is no operation in 10 minutes while in standby mode, the LED display will turn off into the energy saving mode.
-
Page 11: Cooking Guide
COOKING GUIDE Selector Food Weight Rack height PreHeat Temp Cook knob setting Type (in KG) From Time (mins) Deg C Time (mins) bottom Traditional Duck 65.75 Cooking Roast Beef 70-75 Roast Pork 70-80 Roast Lamb 70-80 Biscuits 15-20 Tarts 30-35 Browning Grill Fish... -
Page 12: Maintenance
There is a rubber seal surrounding the oven. Check the condition of the seal on a regular basis. If necessary, clean it but avoid using abrasive products or objects to do so. Should it becomes damaged please contact Parmco Appliances service department. We recommend you avoid using the oven until it has been repaired. - Page 13 Regulatory Requirements, with particular reference to the New Zealand Electrical Standards. Any attempt to install this or any other Parmco product without an authorised person could result in damage to the product and possible health hazard. Not having an authorised person install this appliance may result in all associated warranties from...
-
Page 14: Installation Instructions
Before any procedure, it is important to check that the appliance is DISCONNECTED from the electrical mains. Parmco declines all responsibility for any damage deriving from installations that are in breach of the regulations in force or from failure to comply with these installation instructions. - Page 15 After connection of the appliance to the mains, ensure the cord does not come into contact with any parts of this appliance subject to heating. Never use reductions, shunts, adaptors which can cause overheating or burning. When handling this oven it is essential that you always use the purpose provided handles recessed into the sides of the oven.
- Page 16 Installation Please note the rear panel of the cabinetry must be removed to ensure adequate ventilation. The power switch or socket that connects to the appliance should not be located in the installation housing, but rather in an adjacent cabinet or above the worktop. Remarks: order ensure...
-
Page 17: Accessories
ACCESSORIES Wire shelves: For grilling dishes, to support cake pans or roasting dishes. Slider bracket: These shelves support the rails on the right and left hand side of the oven and can be removed for cleaning. Drip pan: To be used for grilling and to collect fat/spillage of meat juices. Correct placement of the shelves between the side rails is imperative for safety operation. - Page 18 Please retain this Warranty card together with receipt or other proof of purchase date when seeking service during the warranty period • Normal or scheduled maintenance including blocked filters or ducting. • Consumable items such as light bulbs. • Any damage to hobs caused by spills when cooking. • Any breakage or damage of glass items. Please contact Parmco at 09 573 5678 if your • Any damage caused by non recommended product used for cleaning, appliance needs servicing under warranty. Please maintaining, lubricating or similar. have your model number and proof of purchase ready. • Any aspect relating to the installation of the product, or damage caused Warranty repairs must be authorized by Parmco. during installation including blocked access for repair. • Any third party (including reseller) or consequential loss or damage (direct or indirect) however arising. Subject to updates without prior notice, please visit www.parmco.co.nz for E & O.E. 727626022015 the latest version.
Need help?
Do you have a question about the PPOV-6B-9 and is the answer not in the manual?
Questions and answers