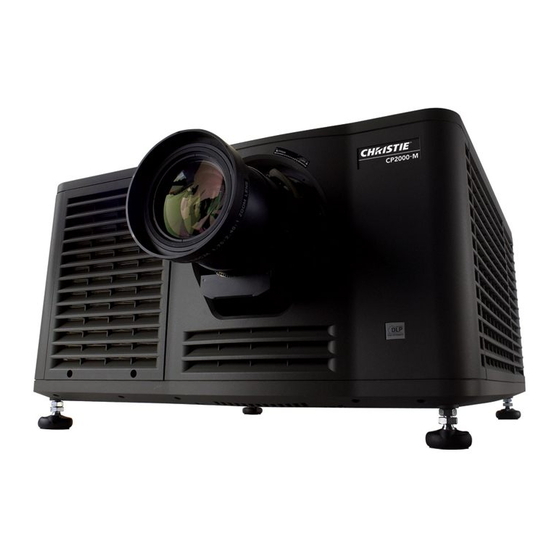
Christie CP2000-M Instruction Sheet
Ballast replacement
Hide thumbs
Also See for CP2000-M:
- User manual (176 pages) ,
- Service booklet (122 pages) ,
- Setup manual (74 pages)
Table of Contents
Advertisement
Quick Links
CP2000-M/MR Ballast Replacement
INTRODUCTION
Use the following instructions when replacing the ballast in CP2000-M/MR (119-001101-xx/119-
002103-xx) projectors. The entire procedure takes approximately 20 minutes to complete.
SAFETY AND WARNING GUIDELINES
disconnect power sources prior to servicing. Once the projector is powered down, allow
the cooling fans to automatically turn OFF before disconnecting from AC and opening
the projector. Depending on your projector model this can take 10-15 minutes.
procedures must be performed by qualified service technicians.
disconnect from AC prior to disassembly.
strap when handling electronic assemblies.
KIT REQUIRED
#003-120476-01 CP2000-M/MR Ballast Replacement Service Kit
TOOLS REQUIRED
• Phillips
#1 (long stem), #2
™
• 10mm wrench (to loosen ground nut)
CP2000-M/MR Ballast Replacement Instruction Sheet
020-100511-01 Rev. 1 (05-2010)
HIGH VOLTAGES MAY BE EXPOSED! Always power down and
QUALIFIED SERVICE TECHNICIANS REQUIRED! All module replacement
NON-INSULATED DANGEROUS VOLTAGES MAY BE EXPOSED! Always
OBSERVE ALL ELECTROSTATIC PRECAUTIONS! Use a grounded wrist
Never operate the projector (or the fans) without all the covers installed.
Instruction Sheet
1 of 5
Advertisement
Table of Contents

Summary of Contents for Christie CP2000-M
- Page 1 CP2000-M/MR Ballast Replacement Instruction Sheet INTRODUCTION Use the following instructions when replacing the ballast in CP2000-M/MR (119-001101-xx/119- 002103-xx) projectors. The entire procedure takes approximately 20 minutes to complete. SAFETY AND WARNING GUIDELINES HIGH VOLTAGES MAY BE EXPOSED! Always power down and disconnect power sources prior to servicing.
- Page 2 Use the correct wattage lamp supplied by Christie. Ensure those within the facility of the projector are also wearing protective safety clothing. Never attempt to remove the lamp when it is hot. The lamp is under a great deal of pressure when hot and may explode, causing personal injury or death, and/or property damage.
- Page 3 (Figure 3/1), use a slotted screwdriver to force the opposite edge into the structure (Figure 3/2) and manually push it into the center structure (Figure 3/3). Figure 3 Re-installing Harness Connectors CP2000-M/MR Ballast Replacement Instruction Sheet 3 of 5 020-100511-01 Rev. 1 (05-2010)
- Page 4 6. Disconnect the AC power harness by pushing in on the clip. (Figure 5) Figure 5 AC Power Harness 7. Disconnect the Ballast Communication harness by removing the two retaining screws and pulling up (Figure 6). Figure 6 Ballast Communication Harness 4 of 5 CP2000-M/MR Ballast Replacement Instruction Sheet 020-100511-01 Rev. 1 (05-2010)
- Page 5 Figure 7 Remove Ballast 9. Pull the ballast out of the projector housing. 10. When installing a new ballast, repeat instructions in reverse. Follow the instructions provided for replacing the lamp. CP2000-M/MR Ballast Replacement Instruction Sheet 5 of 5 020-100511-01 Rev. 1 (05-2010)


Need help?
Do you have a question about the CP2000-M and is the answer not in the manual?
Questions and answers