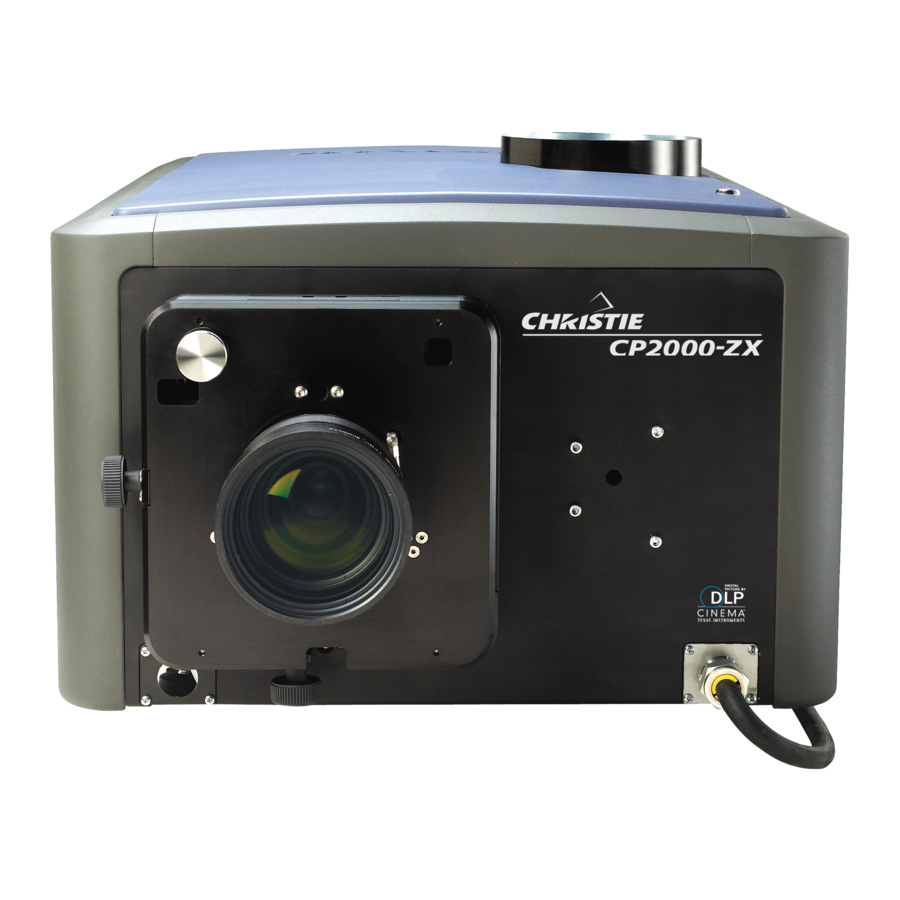
Christie CP2000-ZX Instruction Sheet
Hide thumbs
Also See for CP2000-ZX:
- User manual (164 pages) ,
- Setup manual (58 pages) ,
- Quick setup manual (5 pages)
Advertisement
INTRODUCTION
Use the following instructions when upgrading the Low Voltage Power Supply (Tectrol to Astec
model) in CP2000-ZX (116-001101-xx, 116-001113-xx, 116-001124-xx) projectors.
The entire procedure takes approximately 45 minutes to complete.
KIT REQUIRED
003-003075-01 CP2000-ZX LVPS Upgrade Kit
harnessing in place, 1/8"plastic slot driver, instructions)
TOOLS REQUIRED
CP2000-ZX:
• Phillips #3, #2 (long stem)
• Wrench (to loosen ground nut)
• 1/8" plastic slot driver (for LVPS POT adjustments in CP2000-ZX projectors)
SAFETY AND WARNING GUIDELINES
sources prior to servicing. Once the projector is powered down, allow the cooling fans to
automatically turn OFF before disconnecting from AC and opening the projector. Depending on
your projector model this can take 10-15 minutes.
procedures must be performed by qualified service technicians.
disconnect from AC prior to disassembly.
when handling electronic assemblies.
CP2000-ZX LVPS Upgrade Instruction Sheet
020-100461-01 Rev. 1 (11-2009)
CP2000-ZX LVPS Upgrade
HIGH VOLTAGES MAY BE EXPOSED: Always power down and disconnect power
QUALIFIED SERVICE TECHNICIANS REQUIRED: All module replacement
NON-INSULATED DANGEROUS VOLTAGES MAY BE EXPOSED: Always
OBSERVE ALL ELECTROSTATIC PRECAUTIONS: Use a grounded wrist strap
Never operate the projector (or the fans) without all the covers installed.
Instruction Sheet
(includes low voltage power supply complete with AC and DC
1 of 5
Advertisement
Table of Contents

Subscribe to Our Youtube Channel
Summary of Contents for Christie CP2000-ZX
- Page 1 CP2000-ZX: • Phillips #3, #2 (long stem) • Wrench (to loosen ground nut) • 1/8” plastic slot driver (for LVPS POT adjustments in CP2000-ZX projectors) SAFETY AND WARNING GUIDELINES HIGH VOLTAGES MAY BE EXPOSED: Always power down and disconnect power sources prior to servicing.
- Page 2 Loosen the 3 captive screws securing the cover to the chas- sis. b. Lift the cover enough to clear the tabs at the bottom and remove. Figure 2 Remove LVPS/Ballast 2 of 5 CP2000-ZX LVPS Upgrade Instruction Sheet 020-100461-01 Rev. 1 (11-2009)
- Page 3 8. Also from the AC Relay, disconnect the blue (2nd from the top) and brown (bottom) harnesses on the other side. Keep the white harnesses underneath intact. (Figure 5) Figure 5 AC Relay Signal Harness Connections CP2000-ZX LVPS Upgrade Instruction Sheet 3 of 5 020-100461-01 Rev. 1 (11-2009)
- Page 4 12. Install the LED to the bottom left screw used to secure the LVPS to the firewall. (Figure 7) 13. Secure green harness (ground) to the main earth ground stud using the nut removed in STEP 9. (Figure 7) Figure 7 Install New LVPS 4 of 5 CP2000-ZX LVPS Upgrade Instruction Sheet 020-100461-01 Rev. 1 (11-2009)
- Page 5 To adjust LVPS voltage rails: Use the non-conductive plastic slot driver provided in the service kit when adjusting the LVPS voltage rails on the CP2000-ZX LVPS. LVPS rail adjustment must be performed by a qualified service technician. 1. Remove the LVPS/ballast side cover.


Need help?
Do you have a question about the CP2000-ZX and is the answer not in the manual?
Questions and answers