Advertisement
Quick Links
INTRODUCTION
The following procedure should be performed whenever the coolant system needs to be refilled.
NOTICE: Never allow the pump to run dry to avoid damaging it.
KITS REQUIRED
• #003-001837-xx Coolant Refill Kit
INSTRUCTIONS
SERIES I
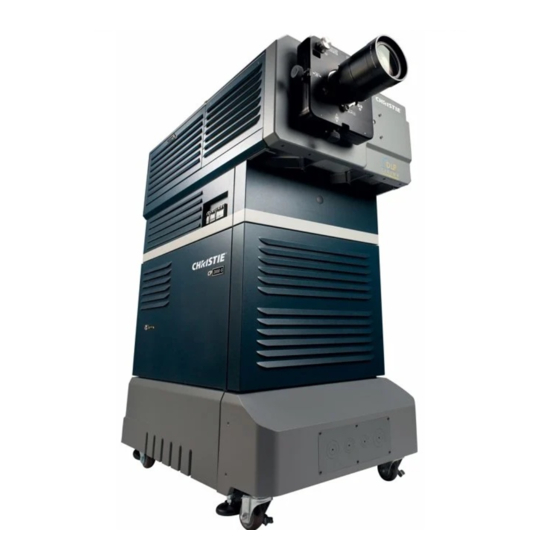
Series 1 projectors include the CP2000-S/-SB/-h/-i/-X/-XB/-Z/-M/-MR and the Roadie 25K/HD+30K/
HD+35K. For details on how to flush the coolant system on these models refer to, Roadie 25K/
HD+30K/HD+35K, CP2000-S/-SB/-h/-i/-X/-XB/-M/-MR/-ZX Coolant Flush Instruction Sheet
(P/N: 020-100179-03).
CP2000-S/-SB/-H/-I/-X/-XB AND ROADIE 25K/D+30K/HD+35K
ACCESS COOLING SYSTEM
1. Remove the projector lid. On the Roadie 25K/HD+30K/HD+35K or CP2000-X/-XB, open the
igniter door (Figure 1, left). On a CP2000-S/-SB/-i/-h (Figure 1, right), open the non-operator
side pedestal door and skip to Step 3.
Coolant Refill Instruction Sheet
020-100686-01 Rev. 1 (03-2011)
(includes JeffCool E105 jug of coolant, refill bottle, funnel, MSDS sheet)
Figure 1 Access Cooling System
Coolant Refill
Instruction Sheet
1 of 9
Advertisement


Need help?
Do you have a question about the I Series and is the answer not in the manual?
Questions and answers