Table of Contents
Advertisement
Quick Links
9124721 Service Instruction
Installation front doors MCC (2nd version)
The technician, working on the unit will be fully responsible for abiding the locally prevailing safety rules and
regulations.
Technical activities must be performed by qualified and authorized persons only.
9124721 Instruction front doors MCC
Before working on any electrical part, or dismantling the unit by means of
using a screwdriver or any other tool, ALWAYS REMOVE THE POWER
PLUG from the main outlet.
Page 1
Advertisement
Table of Contents

Related Manuals for Fri-Jado MCC 60


Summary of Contents for Fri-Jado MCC 60
- Page 1 9124721 Service Instruction Installation front doors MCC (2nd version) The technician, working on the unit will be fully responsible for abiding the locally prevailing safety rules and regulations. Technical activities must be performed by qualified and authorized persons only. Before working on any electrical part, or dismantling the unit by means of using a screwdriver or any other tool, ALWAYS REMOVE THE POWER PLUG from the main outlet.
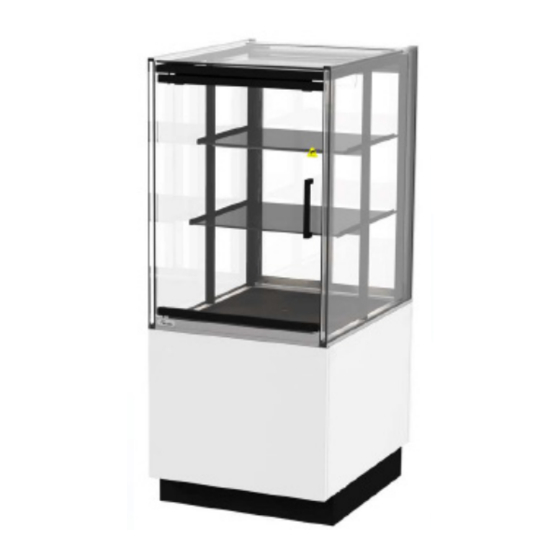
- Page 2 Door set 9380369 MCC 60 9380370 MCC 90 MCC 120 9380371 9380372 MCC 150 9124721 Instruction front doors MCC Page 2...
- Page 3 Bottom Depending on variant: With standard under frame: Remove front under frame panel (two screws, one on each bottom corner). Drop-In: Raise the unit at least 30cm from tabletop level in order to access the screws for the child- guard. Be careful to support the unit such that no components or connections underneath the base of the unit are damaged while doing so.
- Page 4 Step 2. Remove side glass both sides: Slide the double glass pane towards the front along the top (A) and bottom (B) guiding rails. The side pane can be removed from the unit once it has slid entirety past the top guide. CAUTION: Once past the top guide, the glass pane might fall if not properly held.
- Page 5 Step 7. Remove top column cover by removing last screw. (one each side) Step 8. Place new (longer) top column cover(s)/ window support (two screws). Mount screws in new top column cover Step 9. Replace white (or black) stud removed earlier.
- Page 6 Step 13. Bottom Side Check placing bearing(s) in door, one in the top, one at the bottom. Make sure the flange of the bearing sits opposite of the glass. Flange TOP Side Step 14. Place a door on the lower beam, let it stick out of the unit. CAUTION: Be careful not to touch the top beam with the glass door.
- Page 7 Repeat step 14 till 19 for each front door, depending on MCC variation. Replace removed sliding doors covers in reverse order. Replace top air guide or assy air box, in reverse order. If this does not fit anymore please order: Top air guide Assy air box 9382062 N.A. MCC 60 9382061 9380002 MCC 90 9380098 MCC 120 9382063...
Need help?
Do you have a question about the MCC 60 and is the answer not in the manual?
Questions and answers