Table of Contents
Advertisement
Quick Links
Advertisement
Table of Contents

Related Manuals for CYP CUSB-601H


Summary of Contents for CYP CUSB-601H
- Page 1 CUSB-601H HDMI to USB FullHD Capture Operation Manual Operation Manual...
- Page 3 DISCLAIMERS The information in this manual has been carefully checked and is believed to be accurate. Cypress Technology assumes no responsibility for any infringements of patents or other rights of third parties which may result from its use. Cypress Technology assumes no responsibility for any inaccuracies that may be contained in this document.
- Page 4 SAFETY PRECAUTIONS Please read all instructions before attempting to unpack, install or operate this equipment and before connecting the power supply. Please keep the following in mind as you unpack and install this equipment: • Always follow basic safety precautions to reduce the risk of fire, electrical shock and injury to persons.
-
Page 5: Table Of Contents
CONTENTS 1. Introduction ........... 1 2. Applications ..........1 3. Package Contents ........1 4. System Requirement ........1 5. Features ............2 6 . Specifications ..........2 7. Operation Controls and Functions ....3 7.1 Front Panel ..........3 7.2 Rear Panel .......... -
Page 6: Introduction
1. INTRODUCTION HDMI to USB FullHD Capture box supports HDMI 1080p video input and record to H.264 video format. Its low power consumption and superior video processing capabilities make it ideal for integration into high- end portable and desk top PC products. 2. -
Page 7: Features
5. FEATURES • Supports Full HD capture of HDMI signal to USB • Built-in H.264/MPEG4-AVC High Definition encoder • Supports input video timings: 1920 x 1080, 1280 x 720, 576, 720 x 480 • Supports MPEG-4 Advanced Audio Coding (AAC) •... -
Page 8: Operation Controls And Functions
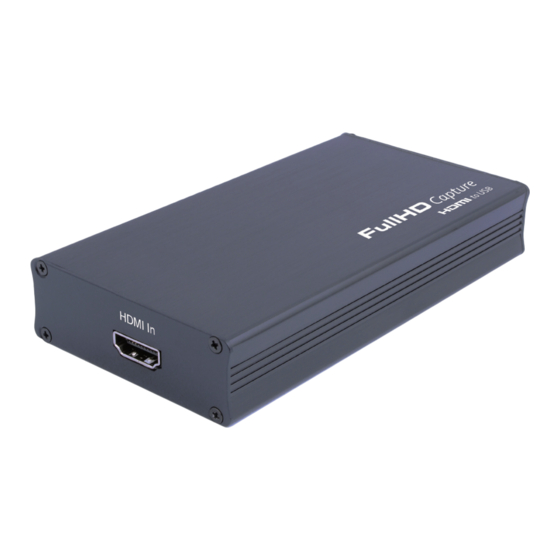
7. OPERATION CONTROLS AND FUNCTIONS 7.1 Front Panel HDMI IN HDMI IN This slot is where you plug your input source equipment with HDMI cable for input signal sending. 7.2 Rear Panel POWER This slot is where you plug the mini USB cable and connect it to the PC/NB for data upstream and power. -
Page 9: Installation
8. INSTALLATION The following sections list the procedures to follow when installing the HDMI to USB Full HD Capture. Please follow the step accordingly to launch the installation successfully. 8.1 Hardware Installation Connect the HDMI to USB Full HD Capture to NB/PC with mini USB to USB type A cable and the LED will illuminate in green with a Found New Hardware message from NB/PC desk screen. - Page 10 Insert the CD driver included in the package now and tick on “Install the software automatically” then click “Next”. Another dialogue will appear as below. Tick “Search” and click on “Next” to continuing the installation.
-
Page 11: Software Installation
Allowing the Wizard to search and find the proper installation file for a while and click “Finish” to complete the installation. 8.2 Software Installation Download “DivXInstaller.exe” from the website: http://www.divx.com/ en/software/divx-plus and click on the “FREE DOWNLOAD” to install it. Run and click the “AUTORUN.EXE”... - Page 12 The setup dialogue of PL330 will appear, click “Next” to continue the setup. Allowing the setup to process for few moments and select a destination location for saving the PL 330’s folder. Users are free to set the destination location and it is recommended to save it under the easy finding place.
- Page 13 Click “Install” to confirm the installation. Click “Finish” again to complete the PL330’s installation.
- Page 14 Then click on Exit to finish the installation. Cypress PL330’s icon should appear on the desk. Double click on the Cypress PL330 to set the configuration of HDMI to USB FullHD Capture.
- Page 15 Select CUSB-601H and click on “OK”. Select your AV system of NTSC or PAL, language and Video type then click on “OK”. A DVR player will appear on the screen.
-
Page 16: Dvr Panel's Functions
9. DVR PANEL’S FUNCTIONS 9 10 Power Click this button to exit the application. Minimize Click this button to minimize the control panel. Record Click this button to save the video file. Play Click this button to play the video file from the recorded file. Pause Click this button to pause the video. - Page 17 Video Setup Click this button to set the video and audio’s parameter. A dialogue will appear as below, please set the parameter accordingly. Save Clipboard Click this button to copy the image for other DDE application. Mute Click this button to mute the audio. Snapshot BMP Click this button to save the still image as the BMP or JPEG file.
-
Page 18: Connection Diagram
10. CONNECTION DIAGRAM HD Media Player Set-top box HD Camera HDMI Cable USB Cable... -
Page 19: Acronyms
11. ACRONYMS ACRONYM COMPLETE TERM Dynamic Data Exchange HDMI High-Definition Multimedia Interface Universal Serial Bus... - Page 20 CYPRESS TECHNOLOGY CO., LTD Home page: http://www.cypress.com.tw MPM-CUSB601H...
Need help?
Do you have a question about the CUSB-601H and is the answer not in the manual?
Questions and answers