Table of Contents
Advertisement
Quick Links
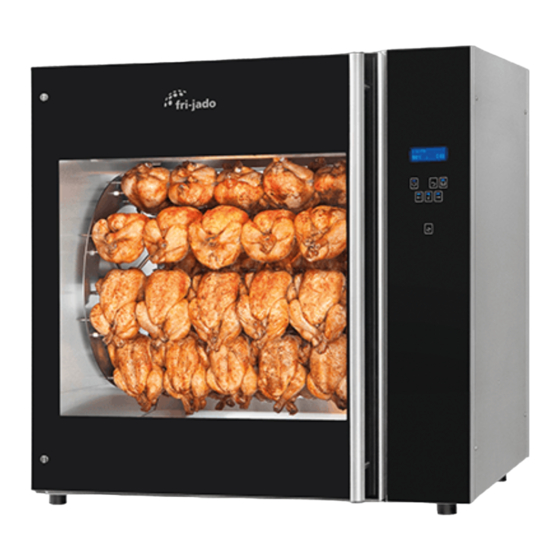
Turbo Deli Rotisserie (TDR) grilling
Important: always wear disposable rubber gloves for food safety!
Meat forks - step 1
Hold the meat fork with the
bended part towards you.
Meat forks - step 2
Prick one point of the spit
through the breast of the
bird near the wings. Push
the other point through the
leg. Do not forget to pin the
wings at the same time.
Meat forks - step 3
Repeat for the other
chickens.
Loading the rotisserie
Meat forks/V-spits - step 1
Mount the spits in the rotor
disk so that the breast of the
chicken points towards the
customer. Push the
points of the spit into the
appropriate holes in the left
rotor disk.
Meat forks/V-spits - step 2
Put the other end into the
corresponding holes in the
right disk.
Cooking & holding - TDR Programmable
Important: the buttons of the TDR Programmable are lit when functional.
Cooking without pre-
heating process
Load the rotisserie as
suggested. Press start
screen shows the last used
program.
Use the arrow keys
select a program and press
OK
program.
Cooking with pre-heating
process
If programmed, the TDR
will start up the pre-heating
process. When pre-heating
is ready, a sound signal will
be given. Load the rotisserie
as suggested and close the
door. A reminder to empty
the fat drawer appears. Press
OK
Holding (optional)
When the holding step has
been programmed, the
holding process automatically
follows after the cooking
process.
. The
to
to confirm the selected
to confirm.
V-spits - step 1
The chicken must be bound
to avoid the parts from
touching and damaging each
other while rotating in the
rotisserie.
V-spits - step 2
Place the V-spit on a flat
surface. Make sure the "V"
shape of the spit is facing
down so the finished spit has
the breasts facing outward.
Pierce the chicken through
the cavity and out the neck.
Slide to the end.
V-spits - step 3
Repeat for two or three more
chicken (depending on size).
Meat forks/V-spits - step 3
Create a bit of free space
between chickens, so the
whole of the chicken will be
browned evenly.
Meat forks/V-spits - step 4
Press the rotor key
.
Skip the next position and
place the second spit. Load
alternating positions to
prevent an unbalanced load
of the rotisserie.
Cooking - TDR Manual
End of program - step 1
When the program is ready,
open the door. A message
to measure the core
temperature appears.
End of program - step 2
(optional)
A request for additional time
appears. Press arrow right
for more minutes or press
arrow left
for less minutes.
Then press OK
to confirm.
End of program - step 3
To unload, press the rotor
key
to rotate. Close the
door afterwards.
Meat baskets
Place the meat basket on a
flat surface and place the
chicken or chicken pieces in
the basket. Make sure no
parts stick out of the basket.
Chicken racks
Place the chicken rack on
a flat surface and place
the chicken on top of the
V-shape.
Chicken racks or meat
baskets
Hold the rack or basket with
two hands and place outside
brackets over support pins
on the rotor disc. Make sure
chicken racks are placed with
the birds breast foreward.
Cooking
Set the temperature knob
and timer knob. Then turn
the main switch to start the
rotisserie.
www.frijado.com
Advertisement
Table of Contents

Related Manuals for Fri-Jado Turbo Deli Rotisserie


Summary of Contents for Fri-Jado Turbo Deli Rotisserie
- Page 1 Turbo Deli Rotisserie (TDR) grilling Important: always wear disposable rubber gloves for food safety! Meat forks - step 1 V-spits - step 1 Meat baskets Hold the meat fork with the The chicken must be bound Place the meat basket on a bended part towards you.
- Page 2 Unloading Removal of parts Cleaning Important: always wear heat protective gloves when Important: make sure the rotisserie is cooled down! Important: all equipment must be cleaned and sanitized everyday unloading the rotisserie! after the last shift. Unloading - step 1 Cleaning - step 1 Removal of parts - step 1 If you used the meat fork or...
Need help?
Do you have a question about the Turbo Deli Rotisserie and is the answer not in the manual?
Questions and answers