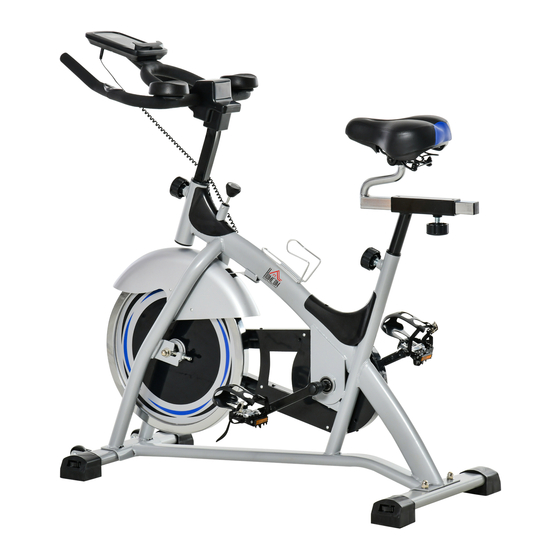
Summary of Contents for HOMCOM A90-254
- Page 1 INaoa008V01_UK A90-254 IMPORTANT, RETAIN FOR FUTURE REFERENCE: READ CAREFULLY ASSEMBLY & INSTRUCTION MANUAL...
-
Page 2: Product Specification
Introduction Thank you for purchasing the Exercise Bike. Please read this user manual carefully and keep it in a safe place for future reference. If you need any assistance, please contact our support team with your product model number and Amazon order number. Included 1 x Handlebar 1 x Handlebar post... -
Page 3: Important Safeguards
Important Safeguards 1.People with knee injuries should not use the product; People with heart disease and high blood pressure should not use the product for long. 2.For using, place the product on a flat surface and tighten all screws. 3.The handlebar and bike seat can be adjusted according your own need. 4.The inertia of the moving flywheel is relatively large, so be careful when you have to stop movements immediately. -
Page 4: Product Assembly
Product Assembly Step1 Install the front stabilizing foot (2) and the rear stabilizing foot (3) on the main frame (1), then tighten with 2 M10*45 carriage bolts (59), 2 M10 flat washers (34), and 2 M10 cap nuts (60). - Page 5 Step 2 Install the pedal (R) (19) and the pedal (L) (20) on the crank arm (R) (21) and crank arm (L) (22) respectively. Note: "L" stands for "left" and "R" stands for "right". Step 3 Install the bike seat (10) on the seat post (8). Then install the seat post (8) on the saddle tube (5) and stabilize with the adjustment knob (17).
- Page 6 Step 4 Install the saddle tube (5) on the main frame (1), and stabilize with the adjustment knob (17). Step 5 Install the handlebar (11) on the handlebar post (12), and stabilize with 4 M8*15 inner hexagonal screws (69), 4 M8 flat washers (48), and 4 M8 anti-loose nuts (70). Install the upper handlebar cover (13) on the handle bar (11) and install the lower handlebar cover (14) on the handlebar post (12), and stabilize with 4 self-tapping screws (68).
- Page 7 Step 6 Install the handlebar (12) on the main frame (1), and stabilize with the adjustment knob (17). Control Panel...
- Page 8 1. SCAN: Press the "MODE" button to select the function to "TIME", at which time the "SCAN" words appear on the left of the monitor and monitor will rotate through all the 6 functions:time, speed, distance, odometer, calorie and pulse. Each display will be hold 6 seconds. In the process of cyclic display of Each function, press "MODE"...


Need help?
Do you have a question about the A90-254 and is the answer not in the manual?
Questions and answers