
Related Manuals for HOMCOM A90-233


Summary of Contents for HOMCOM A90-233
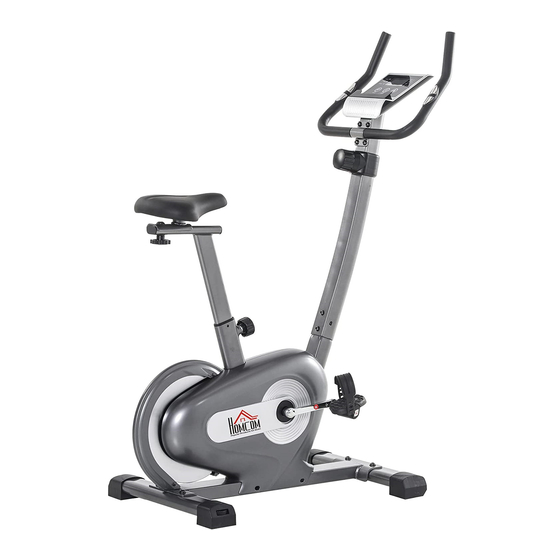
- Page 1 INaoc007_UK A90-233 READ AND SAVE THIS INSTRUCTION FOR FUTURE USE ASSEMBLY INSTRUCTION...
-
Page 2: Important Safety Precautions
IMPORTANT SAFETY PRECAUTIONS This exercise machine is built for optimum safety. However, certain precautions apply whenever you operate a piece of exercise equipment. Be sure to read the entire manual before you assemble or operate your machine. In particular, note the following safety precautions: 1. -
Page 3: Exploded Drawing
EXPLODED DRAWING Explosive view:... -
Page 4: Hardware Pack
HARDWARE PACK: PAST LISTING Description unit ntit Specifications Description unit Specifications ntity Φ10*132*M10*1*22 Main frame 39 Inertia wheel PCS Saddle pipe Chain adjusting M6*36 welding bolt 31*30*δ1.0 Front post 41 U type baffle PCS Magnetic φ180*88.5/3Kg Handle bar wheel Sliding plate φ320*8.4/5Kg 43 Inertial Wheel PCS welding... - Page 5 Screws ST4.2*20 belt 430PJ6 Φ40×25,6000 bearing, Hex thin nut M10x1.0xH5 S17 56 Idler M6*60,full teeth Tension control Bolts wire long 515mm, wire Tension control Nylon nuts M8 S13 50MAX/wire long 1070mm wire Nylon nuts Cover M6x15 full teeth Screws Top cover M6x20 full teeth Screws 61 Digital watch...
-
Page 6: Assembly Instruction
ASSEMBLY INSTRUCTION 1. THE PREPARATORY WORK: A. Please confirm that there is sufficient space around the site before installation; B. Please use the tools provided by the vehicle or your own special tools; C. Before installation, make sure all parts are complete (in front of the product breakdown diagram have marked the name and location of each component). - Page 7 Step 2: please connect the wire in this picture first, then put front post (3) on the frame and use bolts (14) and flat washers (15) to lock with the wrench. The sensing line hand pulse sensors (64) through the riser hole front post (3) from the dashboard, reoccupy bolts (14) and flat washers (15) lock with a wrench.
- Page 8 Step 3: please turn out the screws (44) on the digital watch (61), and then you will attach the hand pulse sensors (64), hand pulse wire (62), and then install the electronic form digital watch (61) and lock it with the screws (44). This is shown in the figure below.
- Page 9 Step 4: please push the pedal (69) R into the crank (32) R screw hole and tighten the pedal (69) L assembly according to the above procedure.
- Page 10 Step 5: please assemble the seat cushion (66) and sliding plate welding (5) first, then sliding plate welding (5) and saddle pipe welding (2) use flat washers (29) nut with pium handle (48) lock as shown, and finally saddle pipe welding (2) to load main frame (1) into adjustment knob (68) to select the appropriate gear lock.
- Page 11 Step 6: as shown, decorative cover (74) (attention direction), then screw (72) and bolts (73) lock respectively, as shown below.
-
Page 12: Exercise Instructions
EXERCISE INSTRUCTIONS Using your BIKE will provide you with several benefits, it will improve your physical fitness, tone muscle and in conjunction with a calorie controlled diet help you lose weight. The Warm Up Phase This stage helps get the blood flowing around the body and the muscles working properly. It will also reduce the risk of cramp and muscle injury. -
Page 13: Muscle Toning
3. The Cool Down Phase This stage is to let your Cardio-vascular System and muscles wind down. This is a repeat of the warm up exercise e.g. reduce your tempo, continue for approximately 5 minutes. The stretching exercises should now be repeated, again remembering not to force or jerk your muscles into the stretch.
Need help?
Do you have a question about the A90-233 and is the answer not in the manual?
Questions and answers