Page 1
Install and set up 12 and 24-drives E-Series NetApp December 14, 2021 This PDF was generated from https://docs.netapp.com/us-en/e-series/install-hw-e2800-e5700/e2824- e5724-prepare-task.html on December 14, 2021. Always check docs.netapp.com for the latest.
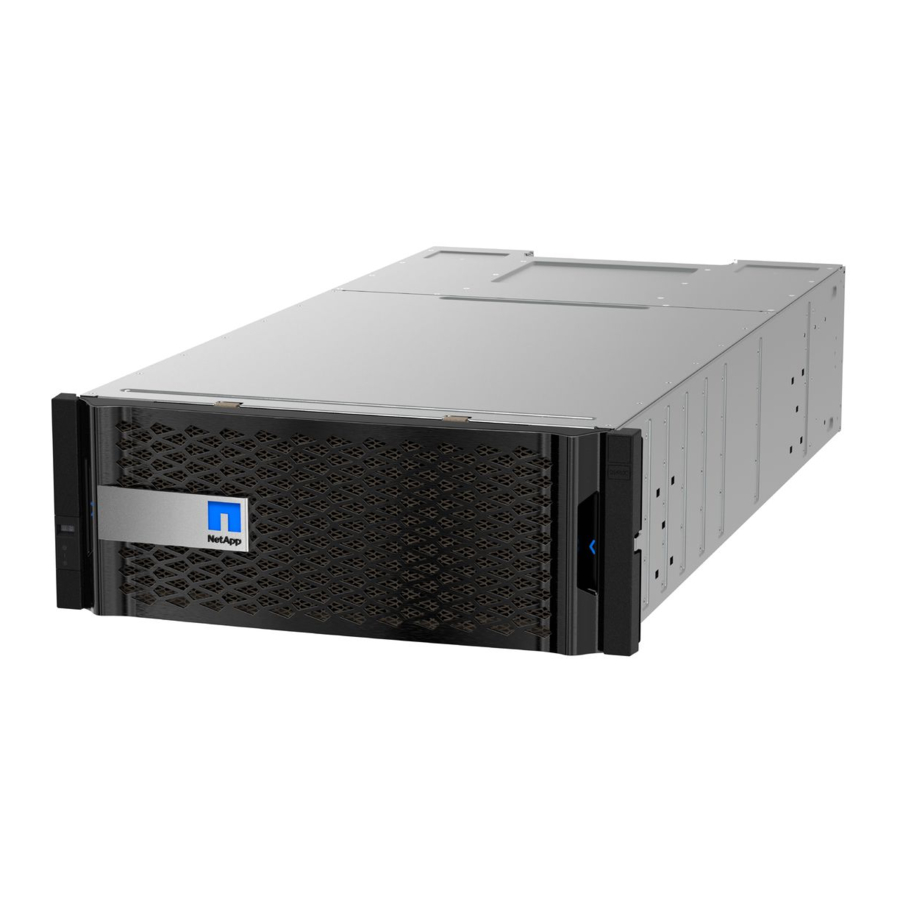
Learn how to prepare to install your E5724, EF570, EF280, E2812, E2824, DE212C, or DE224C series storage system. Steps 1. Create an account and register your hardware at mysupport.netapp.com. 2. Ensure that the following items are in the box that you received. Shelf with drives installed (bezel packaged...
Page 4
Connector type Cable type Power cables Powering up the storage system (if ordered) SAS cables included only with the SAS cables drive shelves 3. Ensure that you provide the following items. Phillips #2 screwdriver Flashlight ESD strap...
Install the hardware Learn how to install a E5724, EF570, EF280, E2812, E2824, DE212C, or DE224C storage system in a two-post rack or a NetApp system cabinet. Before you begin Before you install the hardware, make sure you do the following: •...
Page 6
Install hardware from the bottom of the rack or cabinet up to the top to prevent the equipment from toppling over. 3. Install the shelf. When fully loaded with drives, each shelf weighs approximately 64 lb (29 kg). Two persons or mechanical lift are required to safely move the shelf.
Page 7
4. Secure the shelf. Secure the shelf to the rack as directed in Rack-mount hardware. a. Insert screws into the first and third holes from the top of the shelf on both sides to secure it to the front of the cabinet. b.
5. Install the bezel or end caps. a. Position the front bezel in front of the controller shelf so that the holes at each end align with the fasteners on the controller shelf. b. Snap the bezel into place. c. If you have optional drive shelves, position the left end cap in front of the drive shelf so that the holes in the end cap align with the fasteners on the left side of the shelf.
Page 9
• Take anti-static precautions. Steps 1. Cable the shelves. Cable the system according to your configuration. If you need more cabling options than the examples shown, see Cabling. For the examples shown, you need the following cables: SAS cables Example A: E5700 controller shelf with three DE212C/DE224 disk shelves in a standard SAS configuration.
Page 10
a. Cable controller A to IOM A. b. Cable controller B to IOM B. 2. Power the drive shelves. You need the following cables: Power cables Confirm the drive shelf power switches are off. a. Connect the two power cables for each shelf to different power distribution units (PDUs) in the cabinet or rack.
Example: Power connections are on the rear of the shelf. Complete storage system setup and configuration Learn how to cable the controllers to your network and complete storage system setup and configuration. Step 1: Cable the data hosts Cable the system according to your network topology. If you are using AIX®, you must install the E-Series multipath driver on the host before connecting it to the array.
Page 12
1. Connect each host adapter directly to the switch. 2. Connect each switch directly to the host ports on the controllers. Step 2: Connect and configure the management connection You can configure the controller management ports using one of two options: using a DHCP server or using a static IP address.
Page 13
E2800 controller P1 Management Port E5700 controller P1 Management Port 2. Open a browser and connect to the storage system using one of the controller IP addresses provided to you by your network administrator. Option 2: Static IP address Learn how to configure the management ports manually by entering the IP address and the subnet mask.
Page 14
E2800 controller P1 Management Port E5700 controller P1 Management Port 2. Open a browser and use the default IP address (169.254.128.101) to establish a connection to the controller. The controller sends back a self-signed certificate. The browser informs you that the connection is not secure.
Page 15
11. Validate controller B’s network settings by entering controller B’s newly configured IP address in a browser. If you lose the connection to controller B, you can use your previously validated connection to controller A to reestablish connection to controller B through controller A. Step 3: Configure storage system After you have installed your hardware, use the SANtricity software to configure and manage your storage system.
Page 16
NetApp. The use or purchase of this product does not convey a license under any patent rights, trademark rights, or any other intellectual property rights of NetApp.
Need help?
Do you have a question about the E Series and is the answer not in the manual?
Questions and answers