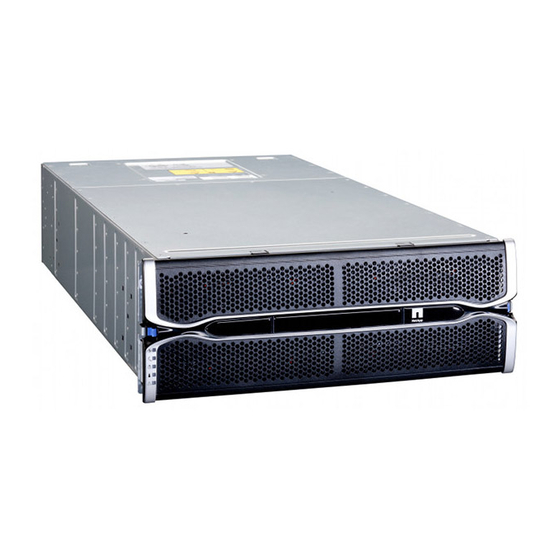
NetApp E-Series Manual
Hide thumbs
Also See for E-Series:
- Hardware maintainence manual (397 pages) ,
- Manual (133 pages) ,
- Maintaining (90 pages)
Summary of Contents for NetApp E-Series
- Page 1 Drives E-Series NetApp December 14, 2021 This PDF was generated from https://docs.netapp.com/us-en/e-series/maintenance-ef600/drives- overview-supertask-concept.html on December 14, 2021. Always check docs.netapp.com for the latest.
- Page 2 Table of Contents Drives ................. . ...
-
Page 3: Drives
Drives Requirements for EF300 or EF600 drive replacement Before replacing a drive in an EF300 or EF600 array, review the requirements and considerations. Be aware that the drives in your storage array are fragile; improper drive handling is a leading cause of drive failure. -
Page 4: Replace Drive In An Ef300 Array
• Review drive handling requirements in Requirements for EF300 or EF600 drive replacement. What you’ll need • A replacement drive that is supported by NetApp for your controller shelf or drive shelf. • An ESD wristband, or you have taken other antistatic precautions. - Page 5 • A flat, static-free work surface. • A management station with a browser that can access SANtricity System Manager for the controller. (To open the System Manager interface, point the browser to the controller’s domain name or IP address.) Step 1: Prepare to replace drive (24-drive) Prepare to replace a drive by checking the Recovery Guru in SANtricity System Manager and completing any prerequisite steps.
- Page 6 of the drive. The cam handle on the drive springs open partially, and the drive releases from the midplane. 3. Open the cam handle, and slide out the drive slightly. 4. Wait 30 seconds. 5. Using both hands, remove the drive from the shelf. 6.
- Page 7 When the drive reconstruction completes, the volume group is in an Optimal state. 4. As required, reinstall the bezel. 5. Return the failed part to NetApp, as described in the RMA instructions shipped with the kit. What’s next? Your drive replacement is complete. You can resume normal operations.
- Page 8 For example, do not attempt to replace a hard disk drive (HDD) with a solid-state disk (SSD). Similarly, if you are replacing a secure-capable drive, make sure the replacement drive is also secure-capable. 3. If needed, use SANtricity System Manager to locate the drive within the storage array. a.
- Page 9 (1) Attention LED light on for the drive on the top right side The drive drawer Attention LEDs are on the left side in front of each drive, with an attention icon on the drive handle just behind the LED.
- Page 10 (1) Attention icon (2) Attention LED Step 2: Remove failed drive (60-drive) Remove a failed drive to replace it with a new one. Steps 1. Unpack the replacement drive, and set it on a flat, static-free surface near the shelf. Save all packing materials for the next time you need to send a drive back.
- Page 11 (1) Orange release latch 5. Open the cam handle, and lift out the drive slightly. 6. Wait 30 seconds. 7. Use the cam handle to lift the drive from the shelf.
- Page 12 8. Place the drive on an antistatic, cushioned surface away from magnetic fields. 9. Wait 30 seconds for the software to recognize that the drive has been removed. If you accidentally remove an active drive, wait at least 30 seconds, and then reinstall it. For the recovery procedure, refer to the storage management software.
- Page 13 (1) Raised button on the right side of the drive carrier 3. Lower the drive straight down, and then rotate the cam handle down until the drive snaps into place under the orange release latch. 4. Carefully push the drive drawer back into the enclosure. Push the drawer in slowly to avoid jarring the drawer and causing damage to the storage array.
-
Page 14: Replace Drive In An Ef600 Array
When the drive reconstruction completes, the volume group is in an Optimal state. 4. As required, reinstall the bezel. 5. Return the failed part to NetApp, as described in the RMA instructions shipped with the kit. What’s next? Your drive replacement is complete. You can resume normal operations. - Page 15 Step 1: Prepare to replace drive Prepare for drive replacement by checking the Recovery Guru in SANtricity System Manager and completing any prerequisite steps. Then, you can locate the failed component. Steps 1. If the Recovery Guru in SANtricity System Manager has notified you of an impending drive failure, but the drive has not yet failed, follow the instructions in the Recovery Guru to fail the drive.
- Page 16 6. Place the drive on an antistatic, cushioned surface away from magnetic fields. 7. Wait 30 seconds for the software to recognize that the drive has been removed. If you accidentally remove an active drive, wait at least 30 seconds, and then reinstall it. For the recovery procedure, refer to the storage management software.
- Page 17 When the drive reconstruction completes, the volume group is in an Optimal state. 4. As required, reinstall the bezel. 5. Return the failed part to NetApp, as described in the RMA instructions shipped with the kit. What’s next? Your drive replacement is complete. You can resume normal operations.
- Page 18 NetApp. The use or purchase of this product does not convey a license under any patent rights, trademark rights, or any other intellectual property rights of NetApp.


Need help?
Do you have a question about the E-Series and is the answer not in the manual?
Questions and answers