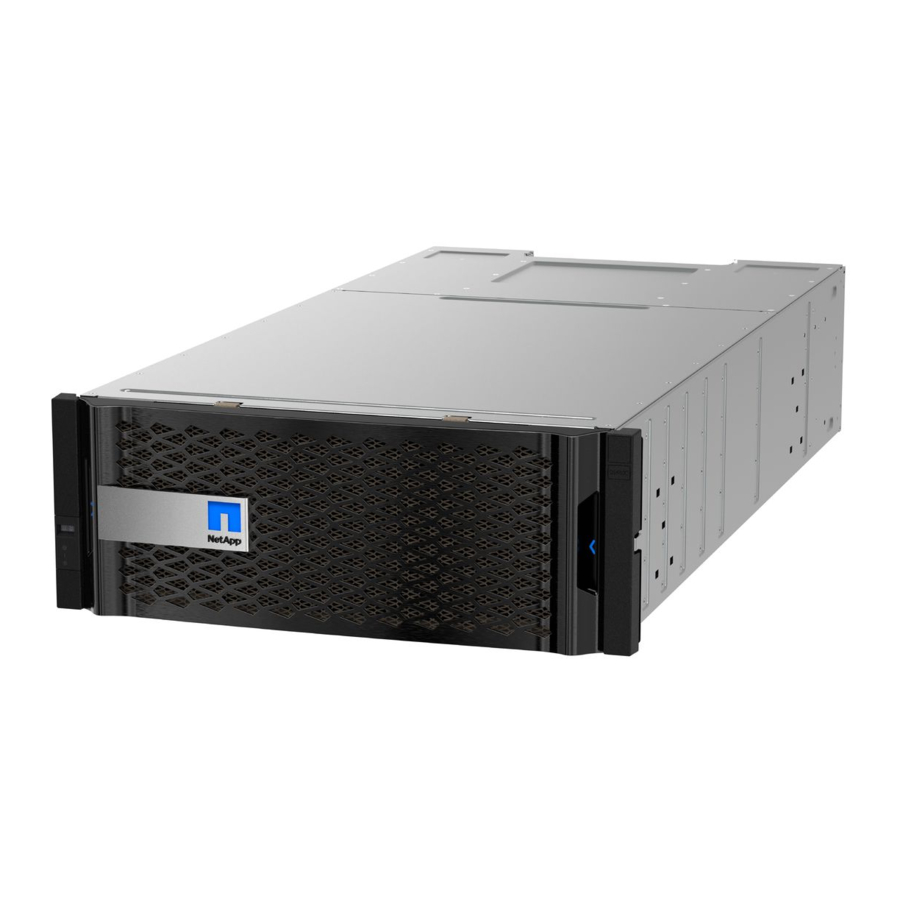
NetApp E Series Installation Manual

NetApp E Series Installation Manual

40u cabinet
Hide thumbs Also See for E Series:

Advertisement

Quick Links

E-Series
Installing E-Series 3040 40U
Cabinet
September 2018 | 215-13048_A0
doccomments@netapp.com

Advertisement

Table of Contents
loading

Summary of Contents for NetApp E Series

  • Page 1 E-Series Installing E-Series 3040 40U Cabinet September 2018 | 215-13048_A0 doccomments@netapp.com...
  • Page 3: Table Of Contents

    Table of Contents | 3 Contents Overview and specifications ................ 4 Cabinet features ......................4 Power requirements and heat dissipation ..............6 Maximum number of trays ..................7 Install the cabinet ..................8 Gather required tools and equipment ................8 Prepare to move cabinet ....................
  • Page 4: Overview And Specifications

    E2812, E2824, and E5724 controller shelves • DE212C and DE224C drive shelves For specifications for the SAS-3 controller shelves and drive shelves listed above, refer to the NetApp Hardware Universe Cabinet features The model 3040 40U cabinet has these standard features: •...
  • Page 5 Overview and specifications | 5 Ventilation cover Interface cable access openings Rear plate EIA support rails Vertical support rails Cabinet mounting rails Stability foot Adjustable leveling feet Power distribution unit (one of two) AC power entry boxes Front of the cabinet Rear of the cabinet Warning: Risk of bodily injury –...
  • Page 6: Power Requirements And Heat Dissipation

    6 | Installing E-Series 3040 40U Cabinet half, the cabinet might fall and cause bodily injury. Always install a component in the lowest available position in the cabinet. Warning: Risk of bodily injury – Only move a populated cabinet with a forklift or adequate help from other persons.
  • Page 7: Maximum Number Of Trays

    Overview and specifications | 7 Component Watts BTU/Hr E5412 controller-drive tray 0.558 1883 E5424 controller-drive tray and the EF540 0.607 2051 flash array E5460 controller-drive tray 1.254 1242 4237 E5512 controller-drive tray 0.587 1982 E5524 controller-drive tray and the EF550 0.637 2150 flash array...
  • Page 8: Install The Cabinet

    Install the cabinet The cabinet is a large and heavy piece of equipment. Installation requires planning with attention to detail. Steps Gather required tools and equipment on page 8 Before installing the 3040 40U cabinet, make sure you have required tools and equipment. Prepare to move cabinet on page 9 You prepare to move the cabinet from its location in your receiving area by estimating its total...
  • Page 9: Prepare To Move Cabinet

    Install the cabinet | 9 Item Included with the cabinet NEMA L6-30 AC power cords – To connect the cabinet to external power sources (wall plugs). • The NEMA L6-30 connectors are for use in the USA and Canada. • The IEC-60309 connectors are for use worldwide, except for USA and Canada.
  • Page 10: Estimate Cabinet Weight

    10 | Installing E-Series 3040 40U Cabinet Steps Estimate cabinet weight on page 10 The cabinet reliably and safely transports up to 909.1 kg (2000 lb) of capacity. You need to know the approximate weight of the cabinet so that you can safely move it. Acclimate cabinet on page 11 Make sure that the cabinet and the trays are acclimated to the indoor environment before removing...
  • Page 11: Acclimate Cabinet

    Install the cabinet | 11 Component Weight Notes E5624 controller-drive tray 27.9 kg (61.52 lb) Maximum configuration E5660 controller-drive tray 107.13 kg (236.2 lb) Maximum configuration EF540 flash array 23.64 kg (52.12 lb) Maximum configuration EF550 flash array 24.63 kg (54.32 lb) Maximum configuration EF560 flash array 24.63 kg (54.32 lb)
  • Page 12: Checking Shipping Contents

    12 | Installing E-Series 3040 40U Cabinet 3. Go to Check shipping contents on page 12. Checking shipping contents Check the shipping contents to make sure that all equipment arrived at the site. Steps 1. Compare the packing list with the equipment that you received. 2.
  • Page 13 Install the cabinet | 13 About this task Note: Many of the cabinets are populated with drive trays. This situation results in most of the weight in the front portion of the cabinet, making the center of gravity closer to the front. Steps 1.
  • Page 14: Complete Cabinet Installation

    14 | Installing E-Series 3040 40U Cabinet Related tasks Estimate cabinet weight on page 10 The cabinet reliably and safely transports up to 909.1 kg (2000 lb) of capacity. You need to know the approximate weight of the cabinet so that you can safely move it. Complete cabinet installation After you move the cabinet, lower the leveling feet and the stability foot, reinstall the components you removed, install other required components, and connect the cabinet to power.
  • Page 15: Reinstall Trays

    Install the cabinet | 15 Leveling feet Stability foot Reinstall trays 3. Go to on page 15. Reinstall trays After you move the cabinet, you can reinstall the trays in their original locations. About this task Be sure to install the trays in their original locations. Do not install the following trays in the top of the cabinet over your head.
  • Page 16: Install Cable Spools And Tie Wraps

    16 | Installing E-Series 3040 40U Cabinet • E2660 controller-drive tray • E2760 controller-drive tray • E5460 controller-drive tray • E5560 controller-drive tray • E5660 controller-drive tray Steps 1. Reinstall all of the trays in their original locations in the cabinet. Risk of bodily injury –...
  • Page 17: Install Additional Trays

    Install the cabinet | 17 Tie wrap location Cable spool 2. Go to Install additional trays on page 17. Related tasks Gather required tools and equipment on page 8 Before installing the 3040 40U cabinet, make sure you have required tools and equipment. Install additional trays If needed, you can install additional trays.
  • Page 18: Install Additional Mounting Rails

    18 | Installing E-Series 3040 40U Cabinet Related references Maximum number of trays on page 7 Install additional mounting rails If you are installing controller-drive trays, or drive trays that were shipped separately (not already installed in the cabinet), you might need to install additional mounting rails in the cabinet. Steps 1.
  • Page 19 Install the cabinet | 19 Front adjustable rail Rear adjustable rail Adjustment plate and screws Rail mounting M5×10mm screws Clip nuts Rear hold down bracket Vertical support The clip nuts and the rear hold down bracket are not used when the rails are installed in a Note: 3040 cabinet.
  • Page 20: Connect The Cabinet To Power

    20 | Installing E-Series 3040 40U Cabinet 3. Place the rear adjustable rail on the vertical support. 4. On the rear adjustable rail, align the adjustable rail holes in front of the holes in the vertical support. 5. Attach two M5×10mm screws. a.
  • Page 21 Install the cabinet | 21 Circuit breakers Electrical outlets Power entry boxes 5. Turn on the power to all drive trays in the cabinet. Wait 30 seconds after turning on the drive trays before you turn on the power to the Important: controller-drive trays.
  • Page 22: Copyright Information

    NetApp assumes no responsibility or liability arising from the use of products described herein, except as expressly agreed to in writing by NetApp. The use or purchase of this product does not convey a license under any patent rights, trademark rights, or any other intellectual property rights of NetApp.
  • Page 23: Trademark Information

    Trademark information NETAPP, the NETAPP logo, and the marks listed on the NetApp Trademarks page are trademarks of NetApp, Inc. Other company and product names may be trademarks of their respective owners. http://www.netapp.com/us/legal/netapptmlist.aspx...
  • Page 24: How To Send Comments About Documentation And Receive Update Notifications

    Twitter account @NetAppDoc. You can also contact us in the following ways: • NetApp, Inc., 1395 Crossman Ave., Sunnyvale, CA 94089 U.S. • Telephone: +1 (408) 822-6000 • Fax: +1 (408) 822-4501 •...

This manual is also suitable for:

3040

Table of Contents