NetApp E Series Installation And Setup Instructions
Shelves
Hide thumbs
Also See for E Series:
- Hardware maintainence manual (397 pages) ,
- Manual (133 pages) ,
- Maintaining (90 pages)
Table of Contents
Advertisement
Complete System Setup and Configuration | 4
Cable the Data Hosts
Cable the system according to your network topology.
NOTE: If you are using AIX®, you must install the E-Series multipath driver on
the host before connecting it to the array.
Direct-attach topology
Option
Connect each host adapter directly to the host ports on the controllers.
Fabric topology
Option
Connect each host adapter directly to the switch.
2
Connect each switch directly to the host ports on the controllers.
Connect and Configure the Management Connection
Using the SANtricity Quick Connect Utility
(automated management port configuration)
Option
In a compatible web browser, navigate to mysupport.netapp.com/quickconnect
to download the Quick Connect Utility. (User account required.)
2
Use an Ethernet cable to connect your controller's P1 port to the network.
NOTE: Do not use P2 port. This port is reserved for NetApp technical support.
NOTE: When configuring the Quick Install utility for the first time, enter the user name "admin"
and a password of your choosing.
NOT using the SANtricity Quick Connect Utility
(manual management port configuration)
Option
Using an Ethernet cable, connect to controller A port 1 (P1).
to the ethernet port on your laptop.
2
Manually specify the following IP address and subnet mask on the laptop's
Ethernet port that you have physically connected to the storage array:
IP address: 192.168.128.100
Subnet mask: 255.255.255.0
3
Use the laptop's browser to access the storage array's management software
using the following IP address:
IP address: 192.168.128.101
4
In the management software, go to the Hardware tab and select Show back
of shelf under Controller Shelf. Highlight controller B, and then select
Configure management ports to set the IP addresses for management
port 1 on controller B. Do not configure management port 2. This port is
reserved for NetApp technical support. After you have configured controller
B's management port, repeat for controller A.
5
Disconnect your laptop from the storage array and connect an Ethernet
cable to management port 1 (labeled P1) on each E2800 or E5700 controller
and connect the other end to your network.
After Installing the Hardware
Use the SANtricity software to configure and manage your storage arrays.
2
In the simplest network configuration, connect your controller to a web browser and use
SANtricity System Manager for managing a single E2800 or E5700 series storage array.
3
In a more complex environment, install the client package in SANtricity
Storage Manager and use the Enterprise Management Window (EMW) for
managing multiple storage arrays.
NetApp Inc.
Telephone: +1 (408) 822-6000
Fax: +1 (408) 822-4501
Support Telephone: +1 (888) 463-8277
1395 Crossman Ave.
Sunnyvale CA, 94089 U.S.A.
Comments: doccomments@netapp.com
E2800 controller
P1
P2
0a
0b
EXP1
EXP2
P1
P2
E5700 controller
Copyright © 2018
NetApp Inc.
All rights reserved.
Prepare for Installation
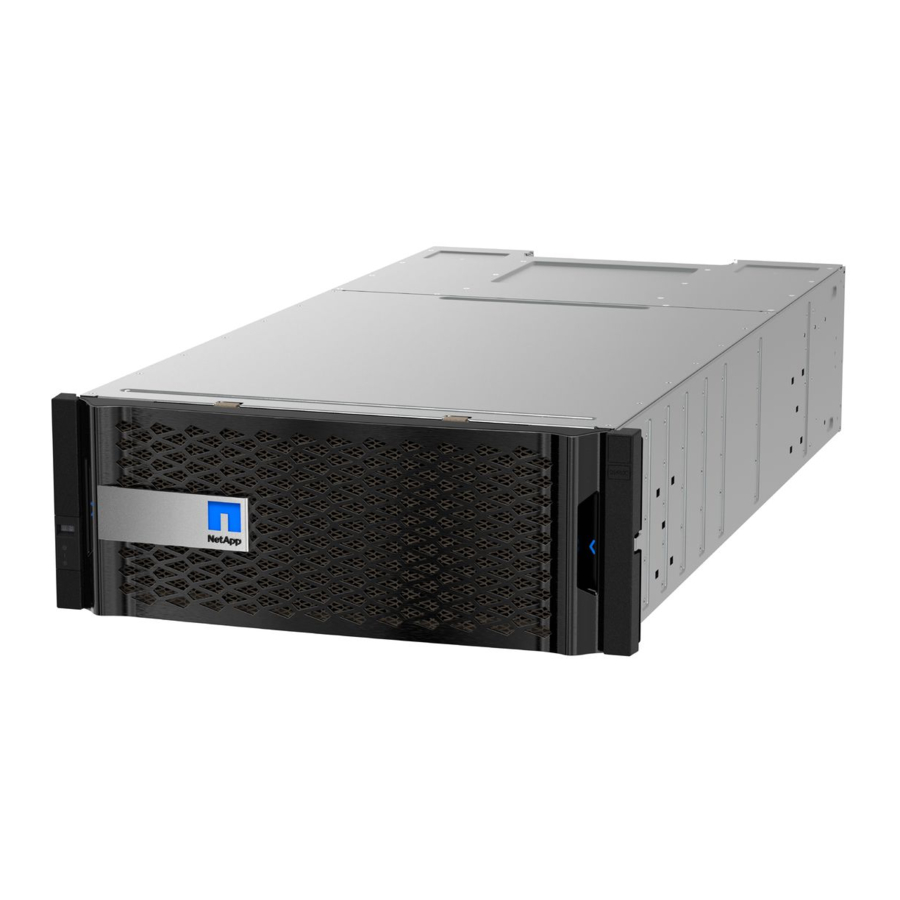
E-Series E2860, E5760
and DE460C Shelves
Installation and Setup Instructions
Prepare for Installation | 1
Create an account and register your hardware at mysupport.netapp.com.
Inventory cables and make note of the quantity.
Confirm that your location provides 240V AC power.
In the box
Shelf, bezel, and
rackmount hardware
2
Phillips
2 screwdriver,
You provide
flashlight, and ESD strap
Cabling Guide
http://docs.netapp.com/ess-11/topic/
com.netapp.doc.e-hw-cabling/home.html
NetApp Interoperability Matrix
mysupport.netapp.com/matrix
E-Series Documentation Center
https://docs.netapp.com/ess-11/topic/
Resources
com.netapp.nav.siu/
Complete System Setup
and Configuration
1
2
3
Ethernet cables
if ordered
included only with
the drive shelves
× 4
Shelf handles
I/O cables
Power cables
if ordered
two for each shelf
A 19 in. (48.30 cm)
rack to fit 4U shelves of the
4U
following dimensions:
Height: 6.87 in. (17.46 cm)
Width: 17.66 in. (44.86 cm)
Depth: 38.25 in (97.16 cm)
Max Weight: 250 lb. (113 kg)
4U rack space
A supported browser
for the management
Hardware Universe
hwu.netapp.com
Quick Connect Utility
mysupport.netapp.com/quickconnect
4
SAS cables
software
Advertisement
Table of Contents

Related Manuals for NetApp E Series


Summary of Contents for NetApp E Series
- Page 1 Quick Connect Utility. (User account required.) Use an Ethernet cable to connect your controller’s P1 port to the network. NOTE: Do not use P2 port. This port is reserved for NetApp technical support. Create an account and register your hardware at mysupport.netapp.com.
- Page 2 Unpack the contents and inventory the contained hardware against Examples are shown in this section. For more cabling the packing slip. Read through all the instructions before proceeding. options, see Cabling E-Series Hardware. Install the Rails docs.netapp.com/ess-11/index.jsp EXP1 EXP2 Cable a controller shelf and EXP1...
Need help?
Do you have a question about the E Series and is the answer not in the manual?
Questions and answers