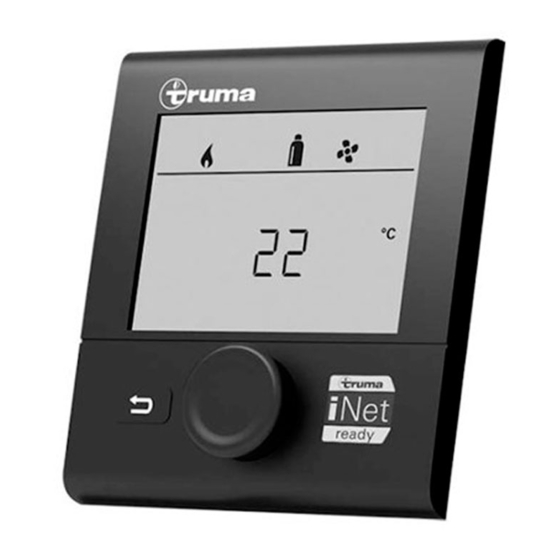
Truma CP plus Operating Instructions Manual
Hide thumbs
Also See for CP plus:
- User manual ,
- Operating instructions manual (96 pages) ,
- Installation instructions manual (32 pages)
Summary of Contents for Truma CP plus
- Page 1 Truma CP plus Operating instructions To be kept in the vehicle. This document is part of the product.
-
Page 2: Table Of Contents
Display and Operating Elements ........4 Description ................4 Trademark information Rotary push button ..............4 Initial start-up ................4 Truma CP plus control panel referred to as Start-up ..................5 CP plus below. Functions .................. 5 Truma Combi referred to as Combi below. -
Page 3: Consumer Safety Information
Make absolutely sure that the Combi or Combi D cannot be switched on via the time switch. To do this, you have to switch the CP plus off or inter- rupt the power supply to the control panel. -
Page 4: Operating Instructions
Rotary push button Operating Instructions The rotary push button (8) is used to select and change setpoints and parameters; it is then Display and Operating Elements tapped to save the values. Selected menu items flash. Turn clockwise • The menu is scrolled through from left to right •... -
Page 5: Start-Up
Select the setting level Start / Stand-by screen • Tap the rotary push button. When the CP plus is connected to the power supply, a start screen is displayed after a few The display shows the setting level. The first seconds. -
Page 6: Change Hot Water Mode
Change hot water mode ing elements is connected (Truma Combi eco plus or Truma Combi (D) comfort plus). • Use the rotary push button to select the icon in the menu line (Fig. 5 – 3). -
Page 7: Select Fan Level
Electricity 1700 W Fig. 7 Mixed mode and electricity mode Furnace (“HEATER”) Possible only with Truma Combi eco plus and Truma Combi D comfort plus furnaces with electric heating elements. When the Combi is switched on (room temperature, hot water Icon Displayed... -
Page 8: Set Time Switch
Air conditioning system (AC) 24 h mode 12 h mode Air conditioning system can also be oper- ated with IR remote, see page 12. Icon Displayed Description text = a. m. = p. m. – Fan is switched off Fig. 8 Fig. 9 (can be selected only if no appliance is in operation). -
Page 9: Set Clock
• Select the desired energy mode with the ro- Set clock tary push button (8). Display 24 h mode Display 12 h mode • Tap the rotary push button (8) to confirm the value. Select fan level For more information „Select fan level“ auf Page 7. - Page 10 Default setting: °C (Celsius). factory settings. All your settings are deleted. 5. Change backlighting Newly connected devices are recognized and Change the backlighting of the CP plus in recorded in the control panel. 10 increments. Reset • Select “RESET” with the rotary push button (Fig. 1 – 8).
-
Page 11: Warning / Error
Fig. 22 Malfunction When you have confirmed the selection, the CP In the event of an error, the CP plus immediately plus is initialized. jumps to the “Warning / Error” menu level and displays the respective error code. The cause of “INIT ..”... -
Page 12: Special Displays
Protection class that are shown in its display (no bidirectional Class III communication). • Only the time switch of the CP plus may be Protection type used to clearly define the start and end time IP00 of a required period. -
Page 13: Troubleshooting Charts
Undervoltage, battery voltage too Charge battery. If necessary, replace old low < 10.0 V. battery. W 45 H Only Truma Combi eco plus or Truma Combi comfort plus models. No 120 V AC supply voltage. Restore 120 V AC supply voltage. Overheating protection has Contact Truma Service. - Page 14 Remedy If none of the measures in the troubleshooting chart proves successful or error codes are displayed that cannot be found in the troubleshooting chart, please contact the Truma Service Center at 1-855-558-7862 or one of our authorized service partners.
-
Page 15: Truma Aventa Eco / Comfort
If none of the measures in the troubleshooting chart proves successful or error codes are displayed that cannot be found in the troubleshooting chart, please contact the Truma Service Center at 1-855-558-7862 or one of our authorized service partners. - Page 16 In case you encounter any problems, please contact the Truma Service Center at 855-558-7862 or one of our authorized service partners. For details see www.truma.net. Please have the model number and serial number (on type plate of appliance) handy when you call.


Need help?
Do you have a question about the CP plus and is the answer not in the manual?
Questions and answers