Advertisement
Quick Links
Advertisement

Related Manuals for WATSON Edison Rail Accessories


Summary of Contents for WATSON Edison Rail Accessories
- Page 1 ASSEMBLY Edison Rail Accessories 360.394.1300 watsonfurniture.com V.21.00 06/2021...
- Page 2 Edison Accessories Workshelf, Dual Planter Box Rail Lamp Workshelf, Single *See separate document Pencil Cup Paper Tray Tech Stand Rail Screen Acrylic Screen Rail Screen Personal Shelf Rail Screen Markerboard Acrylic Screen Clamp Rail Round Table Rail Team Table Riser Desk 2 EDISON ACCESSORIES ASSEMBLY INSTRUCTIONS...
- Page 3 Hardware M4-0.7 X 5mm M6-1.0x12mm Low Hex Head Screw Truss Head Panhead M6-1.0x8mm Low Flat Tip Set Screw Profile Cap Screw 5/16-18x3.5” Screw 10x5/8” Profile Cap Screw (0001612) (0001140) (0002127) (122800) (0001259) Washer M8, 8.4MM Screw M6 X 6 BHCS Nut 5/16-18 Zinc Screw SMS #10 X 1 ID, 32MM OD...
-
Page 4: General Assembly Notes
General Assembly Notes Assembly of Edison Rail Accessories is performed in the same manner for both Edison Junior and Edison Senior Rail systems: accessories are mounted along the slot spanning the top of the rail. Rail modesty side panels (and water tray, Edison Senior only) must be removed prior to mounting accessories (pages 4 - 5), and reinstalled after mounting accessories (pages 17 - 18). - Page 5 Edison Junior Panel Removal Grabbing from the bottom of the screen, pull the screen away. The magnet that hold the panel in place will disengage and the panel will become separated from the frame. Reassembly on page 18. 5 EDISON ACCESSORIES ASSEMBLY INSTRUCTIONS...
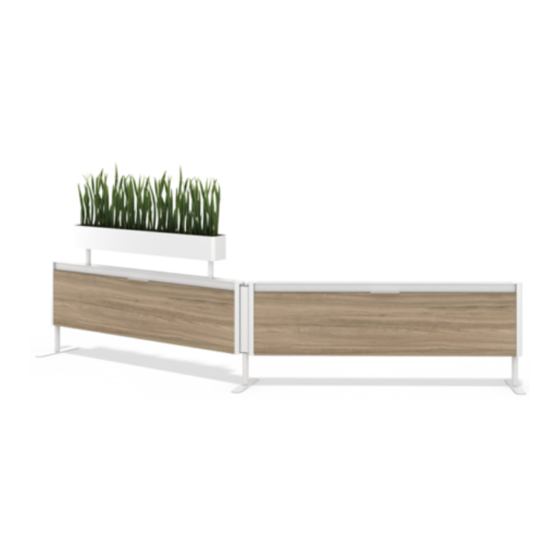
- Page 6 Rail Round, Workshelf, and Planter Box Assembly Mount Rail Round Legs With the Rail Round table flipped upside down, place the leg brackets on the underside of the surface and line up the bracket holes with the pilot holes in the surface.
- Page 7 Secure Accessory to Rail One or both of the rail modesty panels should be removed for this operation. From the underside of the rail, drive (1) screw through (1) washer and the slot in the rail into each leg stem of the rail accessory. Complete this step for each accessory leg.
- Page 8 Team Table Assembly Attach the Base to the Surface Place the surface upside down on the ground. Position the leg on the underside of the surface and align the holes of the leg bracket with the pilot holes in the surface. Secure the base to the surface using (6) wood screws.
- Page 9 Mount Table to Rail Screw the rail and table brackets together. Tighten down the rail bracket bolts once the table is properly placed. Level the table to the appropriate height by rotating the round Team Table base. 9 EDISON ACCESSORIES ASSEMBLY INSTRUCTIONS...
- Page 10 Riser Desk Assembly The Riser Desk can be mounted to a rail segment either parallel to the rail, or perpendicular. The first step shows how to mount the brackets depending on how the customer specified. Mount Legs, Riser Brackets, and Cable Tray to Desk Surface Place the surface upside down on the ground.
- Page 11 Position Mounts on Rail Place the riser mounts onto the rail at the same distance apart as the brackets on the surface. Slide the threaded rod through the channel on the top of the rail. Use a socket wrench to tighten the washer and nut to the threaded rod.
- Page 12 Screen and Screen Accessories Assembly Fabric & Markerboard Screens: Position Screen on Rail Place the screen onto the rail, centering the screen along the rail. Acrylic Screens: Attach Clamps Screw the hex head mounting screws part way into the acrylic screen clamps to increase ease of positioning.
- Page 13 Attach Screen to Rail From the underside of the rail, drive (2) screws through (2) washers and through the slot in the rail into each internal screen bracket. Complete this step on both sides of the screen. It can be helpful to lift the screen in the air slightly when trying to align the screws.
- Page 14 Screen Accessories Assembly Personal Shelf This unit is non-handed, the coat hooks and planter pot can be installed on either side of the unit. Align the holes in the coat hooks with the holes in the shelf as shown below. Drive (2) cap screws through the personal shelf into the coat hooks to secure them in place.
- Page 15 Mount Screen Accessories to Screen Hold the screen accessory at a 45 degree angle. Insert the tab at the top of the accessory into the slot located at the top of the screen. Rock the accessory back to vertical while keeping the tab engaged with the slot at the top of the spine screen.
- Page 16 Tool Instructions Mounting Tools Tools can be mounted on Edison Rail Workshelves and Edison Rail Fabric Screens. Hold the work tool at a 45 degree angle. Insert the tab on the top of the work tool into one of the slots on the workshelf or top slot in screen. Rock the work tool back to vertical while keeping the tab engaged with the slot.
- Page 17 Re-installation of Rail Modesty Side Panels Edison Senior: Water Tray After accessories are installed, mount drain tray back in place with the set aside hardware. Edison Senior: Side Panels Attach the panels that were set aside in Step 1 by lifting and clipping them onto the rail clips.
- Page 18 Edison Junior: Side Panels Holding the bottom handle of the side panel, align the cutouts for the power with the plug faces in the rail and push against the rail. Magnets will catch and secure the panel to the rail. 18 EDISON ACCESSORIES ASSEMBLY INSTRUCTIONS...
Need help?
Do you have a question about the Edison Rail Accessories and is the answer not in the manual?
Questions and answers