Advertisement
Quick Links
Advertisement

Subscribe to Our Youtube Channel
Related Manuals for WATSON Edison Senior Rail


Summary of Contents for WATSON Edison Senior Rail
- Page 1 ASSEMBLY Edison Senior Rail 360.394.1300 watsonfurniture.com V.21.0 06/2021...
- Page 2 NOTE - Installation must be in accordance with the National Electrical Code and local codes. Electrically interconnected tables need to be mechanically connected. The Edison Senior Rail is ETL listed to UL962 General Rail Assembly Notes It is recommended to perform as much of the rail assembly upside-down, keeping in mind how many installers are available to flip the run right-side up once assembled.
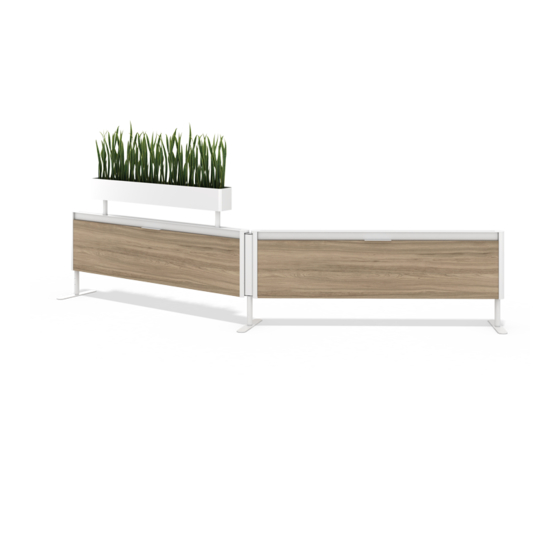
- Page 3 Edison Senior Rail Components Rail Segment End Leg Floor Anchor Mid-Leg Cap Bracket Mid-Leg Modesty End-Leg Cap Panel Power Harness Gallery End Panel Gallery End Panel Gallery End Panel Joiner Panel Rail Mount 3 EDISON SENIOR RAIL ASSEMBLY INSTRUCTIONS...
- Page 4 2mm Hex Drill/ 3mm Hex Drill/ Driver Bit Driver Bit Additional tools such as a 90 Degree Bit and an 18” Extension are helpful for some steps *No torque or ball bits should be used 4 EDISON SENIOR RAIL ASSEMBLY INSTRUCTIONS...
- Page 5 4 (0000822) push rivets on the other end of the rail. Repeat this step for all middle rail segments, adding two mid-leg caps to each mid-segment rail, and one end-leg cap to each end-segment rail. Plastic Reusable Push Rivet (0000822) 5 EDISON SENIOR RAIL ASSEMBLY INSTRUCTIONS...
- Page 6 The bottom plate of the leg sits internal to the bottom plate of the rail. M6-1.0x12mm Low *Please note: a drill Profile Cap Screw extension or 90 degree (0001140) bit is helpful for this step. 6 EDISON SENIOR RAIL ASSEMBLY INSTRUCTIONS...
- Page 7 (0002086) Two-Piece Panels: Join Panels Together In the case of a two-piece Gallery End Panel, slide the spline rod into one screen, and then push the second screen onto the rod to secure together. 7 EDISON SENIOR RAIL ASSEMBLY INSTRUCTIONS...
- Page 8 Screw the rail mount to the joiner panel using (3) screws, the top of the rail mount should come to a height of 27”. Screw SMS #10 x 3/4 Truss Head PH, Black (122875) 8 EDISON SENIOR RAIL ASSEMBLY INSTRUCTIONS...
- Page 9 Drive (3) M6 screws up from the bottom of the rail, then drive one screw from each side and one from inside the rail for (6) total. Screw M6-1.00 x 12MM BHSCS, Black (125285) 9 EDISON SENIOR RAIL ASSEMBLY INSTRUCTIONS...
- Page 10 Screw the ground wire to the tab on the frame and bend the tab back and inward and out of the way. Only one ground wire is needed per jumper. 8/32x1/4 Thread Cutting Screw (121405) 10 EDISON SENIOR RAIL ASSEMBLY INSTRUCTIONS...
- Page 11 When the desired height is reached, be sure to re-tighten the screws. PLEASE NOTE - the leg must always be re- tightened perpendicular to the rail for end-legs, and perpendicular to the mid-leg assembly for mid-legs. 11 EDISON SENIOR RAIL ASSEMBLY INSTRUCTIONS...
- Page 12 Align the hooks on the four corners of the modesty panel with the hooks on the four corners of the rail segment, lining up the bottom two hooks first, then lifting and hooking the top two hooks, and dropping the panel in place. 12 EDISON SENIOR RAIL ASSEMBLY INSTRUCTIONS...
- Page 13 Floor Mount (for single segments) In the case of only a single segment being used, the segment must be mounted to the floor using the supplied floor anchor bracket and 4 floor anchor screws (480136) per foot. 13 EDISON SENIOR RAIL ASSEMBLY INSTRUCTIONS...
-
Page 14: Wiring Schematic
RISK OF FIRE OR ELECTRIC SHOCK. THIS OFFICE FURNISHING SYSTEM MAY BE CONNECTED TO MORE THAN ONE SOURCE OF SUPPLY. ALL SOURCES MUST BE DISCONNECTED PRIOR TO ANY SERVICING. NO SINGLE CIRCUIT MAY BE POWERED BY MORE THAN ONE SOURCE. 14 EDISON SENIOR RAIL ASSEMBLY INSTRUCTIONS...
Need help?
Do you have a question about the Edison Senior Rail and is the answer not in the manual?
Questions and answers