Advertisement
Available languages
Available languages
Quick Links
H-2557
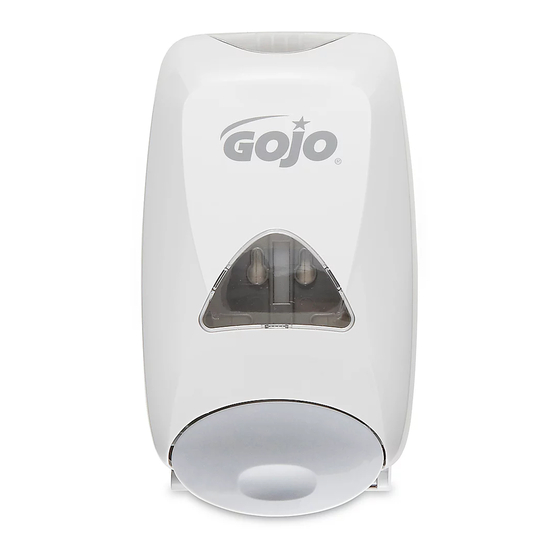
FOAMING SOAP
PUSH DISPENSER
(FOR OPTIONAL FASTENER INSTALLATION. NOT INCLUDED)
TOOL NEEDED
Drill with 1/4" Bit
TAPE INSTALLATION
Use only on smooth, dry surfaces
1. Install the dispenser at least 10"
Figure 1
(25.4 cm) above counter top. (See
Figure 1)
2. Clean installation surface with
supplied prep pad. Allow surface
to dry for 60 seconds.
10 in.
3. Peel paper off of installation
tape and press dispenser firmly into
position. (See Figure 2)
Figure 2
4. Open dispenser by inserting key
into key access holes and push up
until front cover opens.
(See Figure 3)
Figure 3
5. Press firmly on back plate for 30
seconds. For maximum adhesion,
do not load refill for 24 hours. (See
Figure 4)
Figure 4
PAGE 1 OF 6
1-800-295-5510
uline.com
PARTS NEEDED
Type A
#10 x 1" Anchors x 4
#10 x 1" Screw x 4
INSTALLATION
FASTENER INSTALLATION (PARTS NOT INCLUDED)
Use on rough or smooth surfaces
Para Español, vea páginas 3-4.
Pour le français, consulter les pages 5-6.
1. Open dispenser by pushing on
Figure 5
cover latch until it releases.
(See Figure 5)
2. Using backplate as template,
mark and drill 4 center holes
using 1/4" spiral masonry drill or
1/4" wood drill. If required, pierce
installation tape at installation
holes. Make sure tape backing
remains in place.
3. Install #10 x 1" anchors into the
4 drilled holes. Insert Type A
Figure 6
#10 x 1" screws into installation
holes in backplate and through
installation tape. (See Figure 6)
4. Peel paper off of installation
tape, line up screws with
anchors, and press firmly into
position. (See Figure 7)
Figure 7
5. Tighten screws securely, being
Figure 8
careful not to overtighten.
(See Figure 8)
0421 IH-2557
Advertisement

Related Manuals for U-Line H-2557


Summary of Contents for U-Line H-2557
- Page 1 Para Español, vea páginas 3-4. Pour le français, consulter les pages 5-6. H-2557 1-800-295-5510 uline.com FOAMING SOAP PUSH DISPENSER (FOR OPTIONAL FASTENER INSTALLATION. NOT INCLUDED) TOOL NEEDED PARTS NEEDED Drill with 1/4" Bit Type A #10 x 1" Anchors x 4 #10 x 1"...
-
Page 2: Lock Options
LOCK OPTIONS STANDARD KEY LOCK BYPASS OPTION 1. Insert standard key into key This option is permanently affixed once it has access hole underneath the been inserted into the dispenser. cabinet. (See Figure 9) 1. Snap insert into key access hole. Make sure it snaps in place. - Page 3 H-2557 800-295-5510 uline.mx DESPACHADOR MANUAL DE JABÓN ESPUMOSO (PARA INSTALACIÓN OPCIONAL CON ANCLAJES. NO INCLUIDOS). HERRAMIENTA NECESARIA PARTES NECESARIAS Taladro con 4 Tornillos de 4 Anclajes #10 x 1" Broca de 1/4" #10 x 1" Tipo A INSTALACIÓN COLOCACIÓN CON CINTA ADHESIVA INSTALACIÓN CON FIJADORES (NO INCLUYE PARTES)
- Page 4 OPCIONES DE CIERRE LLAVE ESTÁNDAR OPCIÓN PARA EVITAR EL CIERRE 1. Inserte la llave estándar en el Esta opción se activa de forma permanente orificio de acceso de la llave una vez que se ha insertado en el ubicado debajo del gabinete. despachador.
- Page 5 H-2557 1-800-295-5510 uline.ca DISTRIBUTEUR DE SAVON MOUSSEUX AVEC BOUTON POUSSOIR (POUR L'INSTALLATION PAR FIXATION OPTIONNELLE. NON COMPRIS) OUTIL REQUIS PIÈCES REQUISES Perceuse avec Vis de type A Chevilles d'ancrage mèche de 1/4 po n° 10 x 1 po x 4 n°...
- Page 6 OPTIONS DE VERROUILLAGE CLÉ STANDARD OPTION DE DÉSARMEMENT DU VERROUILLAGE 1. Insérez la clé standard dans le Cette option est appliquée de façon trou d'accès de la clé situé sous le permanente lorsque la plaquette est insérée distributeur. (Voir Figure 9) dans le distributeur.
Need help?
Do you have a question about the H-2557 and is the answer not in the manual?
Questions and answers