Advertisement
Quick Links
π
H-2557
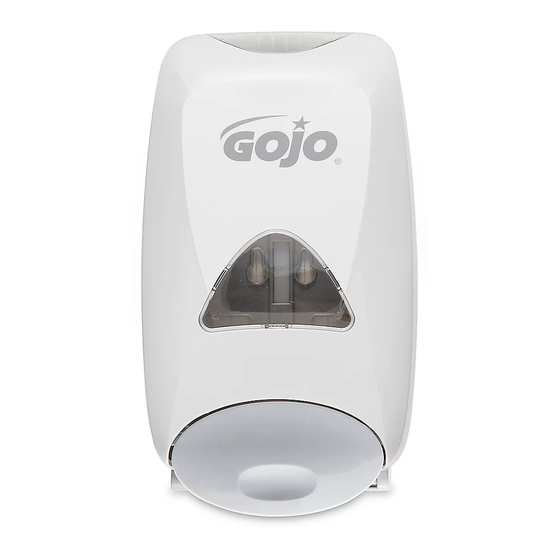
Foaming Soap
puSH DiSpenSer
TAPE InsTAllATIOn
Use only on smooth, dry surfaces
1. Install the dispenser at least 10"
Figure 1
2. Clean installation surface
10 in.
3. Peel paper off of installation
Figure 2
4. Open dispenser by inserting key
Figure 3
5. Press firmly on back plate for 30
Figure 4
PAGE 1 OF 2
1-800-295-5510
uline.com
(25.4 cm) above counter top.
(see Figure 1)
with supplied prep pad. Allow
surface to dry for 60 seconds.
tape and press dispenser firmly
into position. (see Figure 2)
into key access holes and push
up until front cover opens. (see
Figure 3)
seconds. For maximum adhesion,
do not load refill for 24 hours.
(see Figure 4)
INSTALLATION
FAsTEnEr InsTAllATIOn
Use on rough or smooth surfaces
1. Open dispenser by pushing on
Figure 1
cover latch until it releases. (see
Figure 1)
2. Using back plate as template,
mark and drill center holes using
1/4" (6.3 mm) spiral masonry drill
or 1/4" wood drill.
3. Install #10 x 1" (2.54 cm)
fasteners into 4 installation holes
Figure 2
in back plate and through
installation tape. (see Figure 2)
4. Peel paper off installation tape,
line up fasteners with anchors,
and press dispenser firmly into
position. (see Figure 3)
Figure 3
5. Tighten fasteners securely. Be
Figure 4
careful not to over-tighten. (see
Figure 4)
0115 IH-2557
Advertisement

Summary of Contents for U-Line H-2557
- Page 1 π H-2557 1-800-295-5510 uline.com Foaming Soap puSH DiSpenSer INSTALLATION TAPE InsTAllATIOn FAsTEnEr InsTAllATIOn Use only on smooth, dry surfaces Use on rough or smooth surfaces 1. Install the dispenser at least 10" 1. Open dispenser by pushing on Figure 1 Figure 1 (25.4 cm) above counter top.
- Page 2 LOck OpTIONS sTAndArd kEy lOCk ByPAss OPTIOn 1. Insert standard key into key This option is permanently affixed once it has access hole underneath the been inserted into the dispenser. cabinet. (see Figure 1) 1. snap insert into key access hole. Make sure it snaps in place.


Need help?
Do you have a question about the H-2557 and is the answer not in the manual?
Questions and answers