Advertisement
FLUX
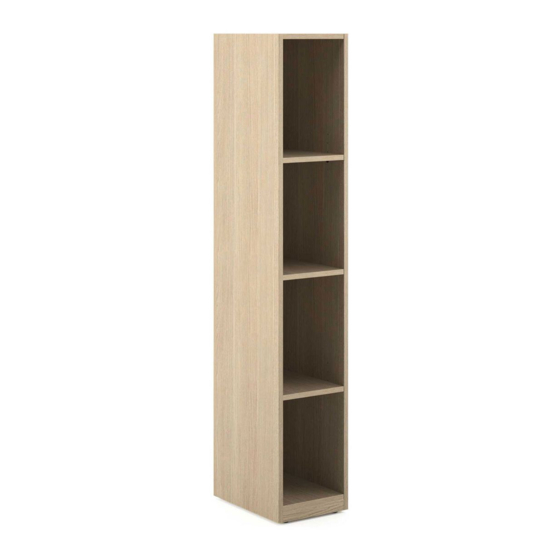
Flux Locker Assembly
Recommended tools
Level
Hardware enclosed
#8 1-1/4"
FHP
(QTY Varies)
#8 1-1/2"
FHP
(QTY Varies)
NOTE: All screws provided must be installed for proper
installation and compliance with product warranty.
ATTACHING A TOP PANEL
Figure 1
Figure 2
1. Align the top panel so that the
back of the panel is flush with
the back of the locker(s). The
panel should be centered
horizontally
2. Screw the top panel to the
locker(s) using #8 1-1/2"
Screws
ATTACHING A BACK/TOP PANEL
Figure 1
1.
Center the top/back panel. The
bottom of the back panel must be
flush with the bottom of the
locker(s)
2.
Screw the back/top panel to the
back and top of the locker(s) using
#8 1-1/4" screws for the back and #8
1-1/2" screws for the top through
the pre-drilled holes
INSTALLATION INSTRUCTIONS
INST-FL0015
Figure 2
Advertisement
Table of Contents

Related Manuals for JSI FLUX LOCKER


Summary of Contents for JSI FLUX LOCKER
- Page 1 FLUX ATTACHING A BACK/TOP PANEL ATTACHING A TOP PANEL Flux Locker Assembly Figure 1 Figure 1 Recommended tools Figure 2 Figure 2 Level Hardware enclosed 1. Align the top panel so that the Center the top/back panel. The back of the panel is flush with #8 1-1/4”...
- Page 2 FLUX Flux Locker Assembly Figure 2 ATTACHING MULTIPLE LOCKERS 1. Align the two lockers so that they are flush on all sides 2. Screw the two lockers together using the holes found on the inside of the rightmost locker and the screws...
Need help?
Do you have a question about the FLUX LOCKER and is the answer not in the manual?
Questions and answers