
Related Manuals for Techni Mobili RTA-8807


Summary of Contents for Techni Mobili RTA-8807
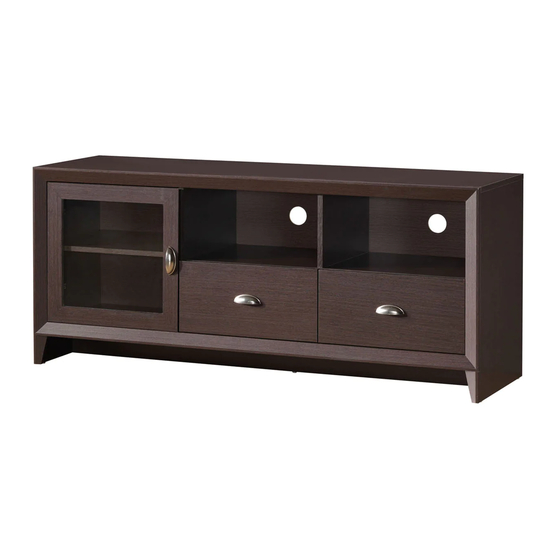
- Page 1 ASSEMBLY INSTRUCTIONS Thanks for purchasing one of our products. Please read carefully the assembly instructions before the installation. Please save this manual for future reference.
- Page 3 ▪...
- Page 6 MAKE SURE TO INSERT THE WOODEN PINS IN THE CORRECT HOLES AS SOME ARE INTENDED FOR OTHER KIND OF HARDWARE! Install the wooden pins (1) into the panels (A), (B), (C), (D), (E), (F), (G), (H), (L), (Q) and (R) in the corresponding holes as shown in the illustrations, but make sure to use the correct holes as some are intended for other kind of hardware in subsequent steps.
- Page 7 Attach cam bolts (9) to the corresponding holes on panels (D), (E), (L), (O) and (P) as shown, but make sure to use the correct holes as some are intended for other kind of hardware in subsequent steps. Insert the metal pins (11) into the corresponding holes on panels (D) and (L) as shown.
- Page 8 Assemble the plastic bases (13) to the panels (D) and (E) using screws (4) as shown. x2 Right x2 Left Assemble the FLAT sliders (12) to the panels (E), (G) and (L) using screws (3) as shown. Screw first at the front of the sliders then at the back. On panel (E), the slider assembles to the plastic bases Grab the hinges (16) and if they come already joined, unscrew them in the middle to separate them into parts (a) and (b).
- Page 9 (This view is from the underside of the unit) First install and align the cam locks (9) to panel (C), then assemble the panel (L) to (C) as explained in page 4. Finally, join the panel (G) to panel (C) as shown. Assemble the Bottom panel (B) to panels (G/L) using screws (6) as shown.
- Page 10 Install and align the cam locks (9) to the bottom panel (B) and middle shelf (C) in the locations shown, and assemble the panel (D) to (B) and panel (E) to (B/C) as explained in page 4. (This view is from the front of the unit) Attach the Partition Panel-Upper (F) to the Middle shelf (C) as shown.
- Page 11 Attach the cam bolts (9) to the panels (I), (K1) and (K2) in the corresponding holes as shown, but make sure to use the correct holes as some are intended for other kind of hardware in subsequent steps. (This view is from the underside of the unit with its front facing UP).
- Page 12 (This view is from the underside of the unit with its front facing DOWN). Attach the back panel (V) to the backside of the unit using nails (8) as shown, but please pay attention to the orientation of the cable holes on the panel. Attach the L bracket (17) to the panels (B) and (H) using screws (4) as shown.
- Page 13 Attach the plastic feet (15) to the panels (D), (E) and (H) as shown. Attach the Handle (14) to the Door (N) Attach the Door Hinges (16b) to the using the screws that come with it. Please Door (N) using screws (7) as shown. note the orientation of the handle.
- Page 14 First install and align the cam locks (9) into the corresponding holes on panels (R), (T) and (Q) as explained in page 4. Then Assemble those panels to the Front panels (O) and (P) respectively as explained in page 4. Finally, slide the bottom panels (U) thru the grooves of panels (O/P/R/Q). x2 Left x2 Right (This view is from the...
- Page 15 Assemble the handles (14) to the front panels (O) and (P) on both drawers using the screws that come with them. Please note the orientation of the handles. Then cover the cam locks with the plastic caps (10). First insert the drawers into the unit, making sure the drawer with front panel (O) goes on the LEFT and the one with panel (P) goes on the RIGHT.
- Page 16 Assemble the Door (N) to the unit by joining the 2 parts of the hinges as shown...
Need help?
Do you have a question about the RTA-8807 and is the answer not in the manual?
Questions and answers